- TOSIZE.se
- Do it yourself
- DIY Projects
Homemade photo box for events, by Thomas


Create this project yourself with sheet material cut to size by TOSIZE.se!
Thomas
Average
2 minutes
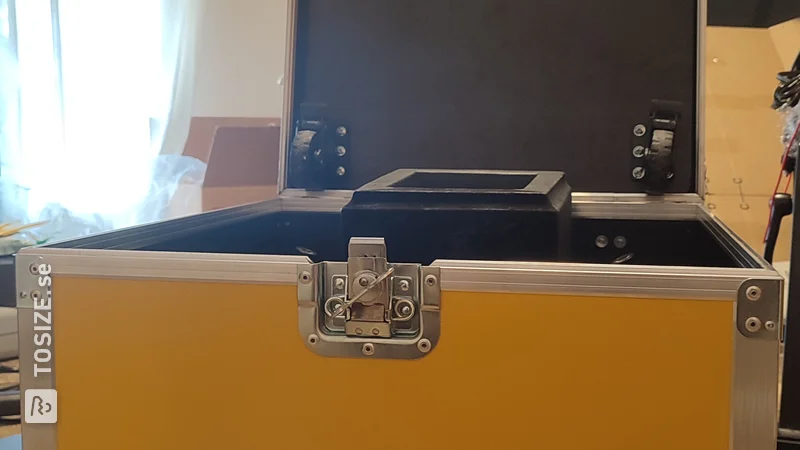
In this DIY project, Thomas shows how he made his own photo box out of poplar plywood. A practical material because it is light and therefore easy to transport! Read below how Thomas tackled this original project.
Description by Thomas
The idea was to plan a photo box and then build it in such a way that the user can operate the photo box easily and without any specialist knowledge. The procedure is relatively simple: just tap the touch monitor to start. A 5-second timer then appears before the camera focuses and takes a photo. The photos are all saved digitally on the PC. If the customer wants the photo printed immediately, all they have to do is click on the screen and the printer will print out the photo in lab quality within 10 seconds.
How I did this project
- Step 1: The photo box was planned using a 3D program on the PC and the dimensions were configured so that all of the components would have space inside the box.
- Step 2: The panels were ordered to the finished size, then the recesses for the monitor, flash, camera, fan and printer had to be milled.
- Step 3: The body was assembled, painted and covered with aluminum angles to protect it from damage. In order to be able to access the components inside at any time, a door with hinges was attached to the back.
- Step 4: All components were installed inside the housing and the connecting cables were laid accordingly.
- Step 5: The photo box was attached to an aluminum crossbar to ensure the appropriate height of the camera.
Dimensions of my DIY project
The external dimensions of the photo box itself are 50.0 x 60.0 x 40.0 cm (W/H/D). The height including the stand is 160.0 cm.
Tip! Also check out our handy DIY tips!
What now?
Want to make this DIY project? Check out Thomas's saw list and complete your order easily.
1 496,86 Skr
All materials used
View all sheet materials
