- TOSIZE.se
- Do it yourself
- DIY Projects
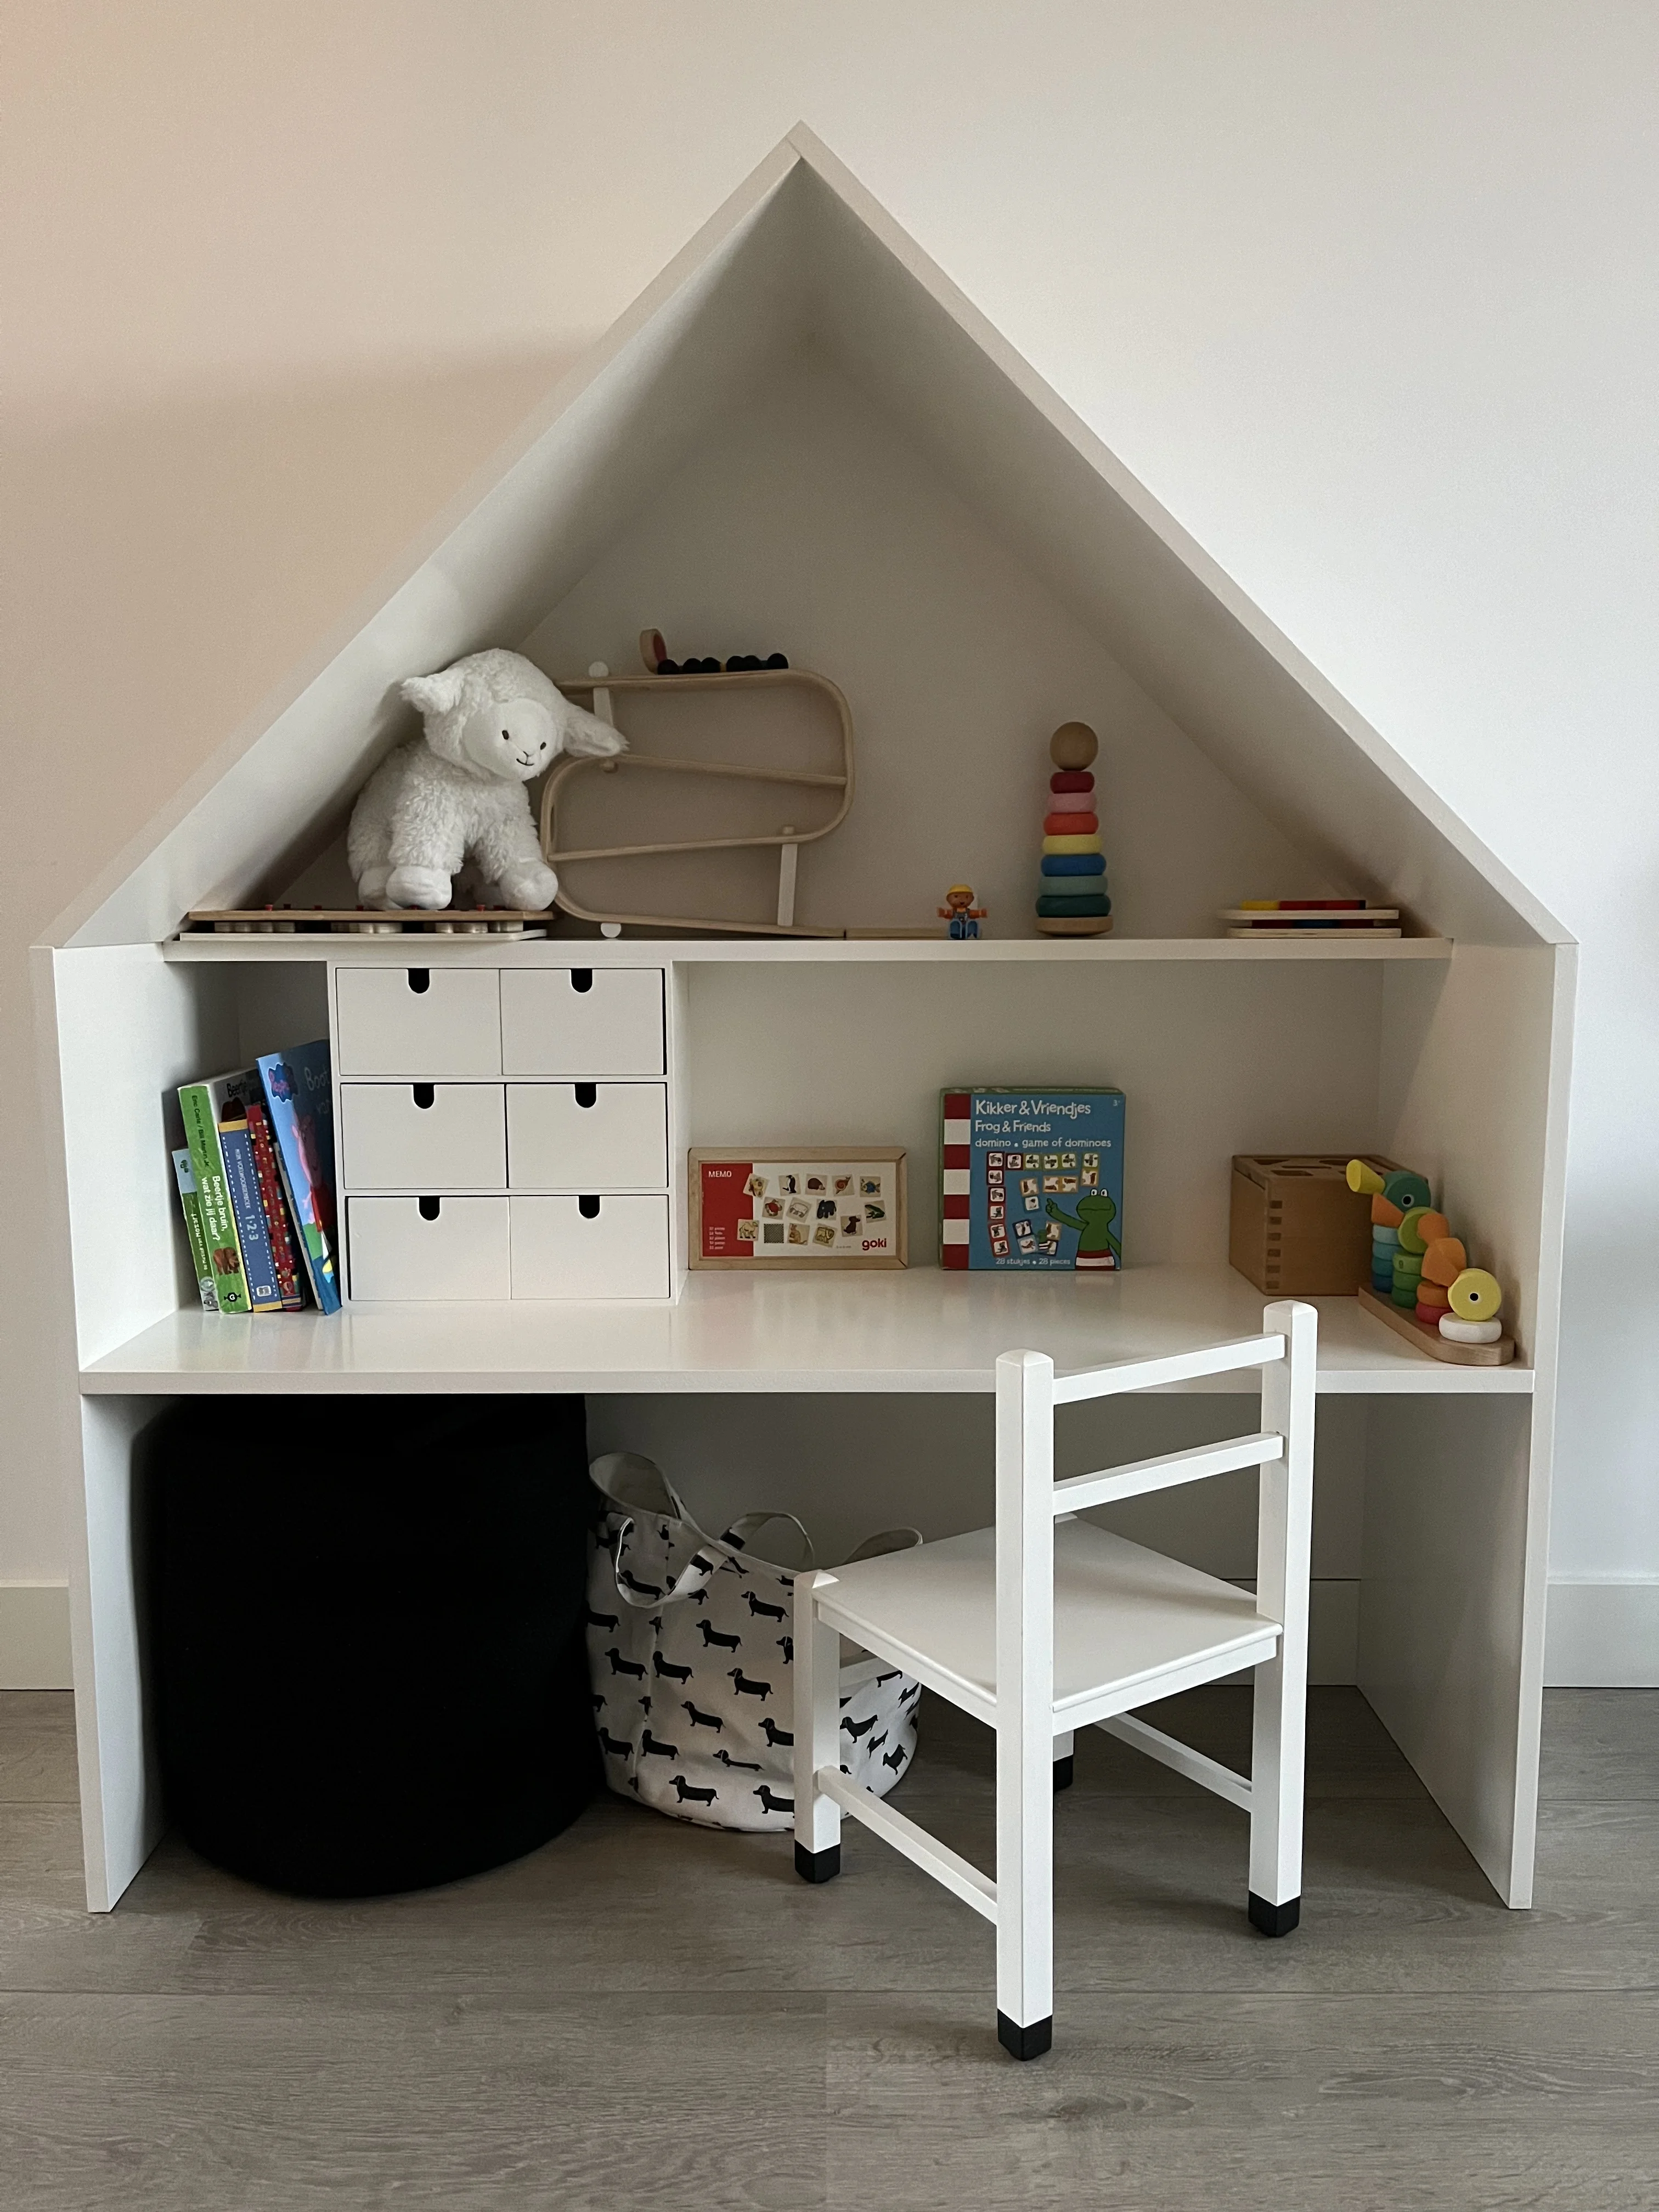
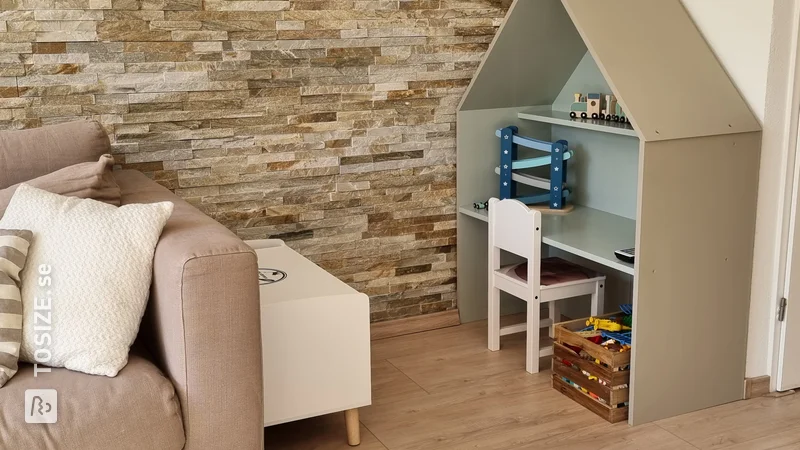
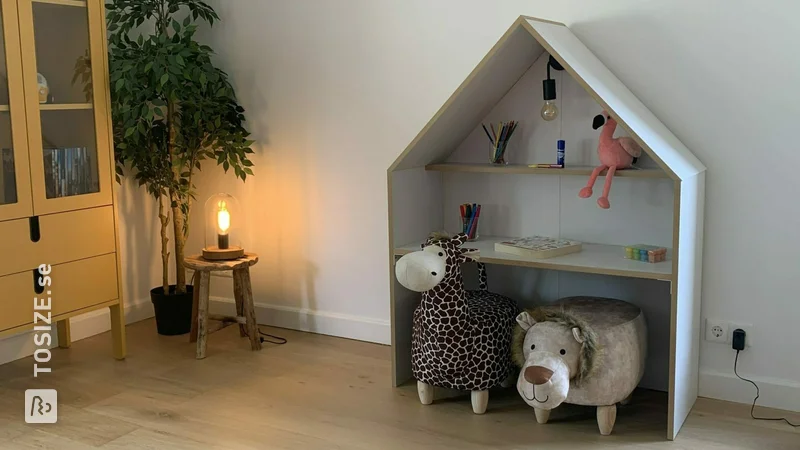
A custom-made playhouse made of MDF, by Brigitte
A custom-made playhouse made of MDF, by Brigitte
Create this project yourself with sheet material cut to size by TOSIZE.se!
Brigitte
Average
2 minutes
In this DIY project, Brigitte shares her experience with making an (amazing) custom playhouse. She ordered custom-made primed MDF panels for this project. Read more about her experience and approach below.
Description of Brigitte
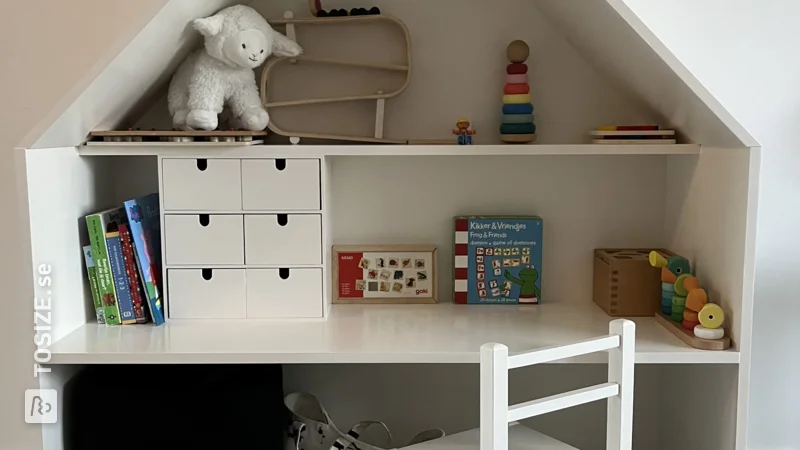
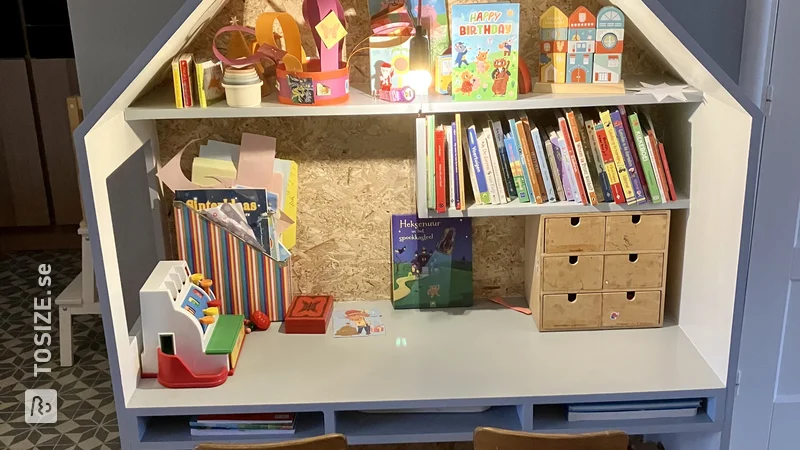
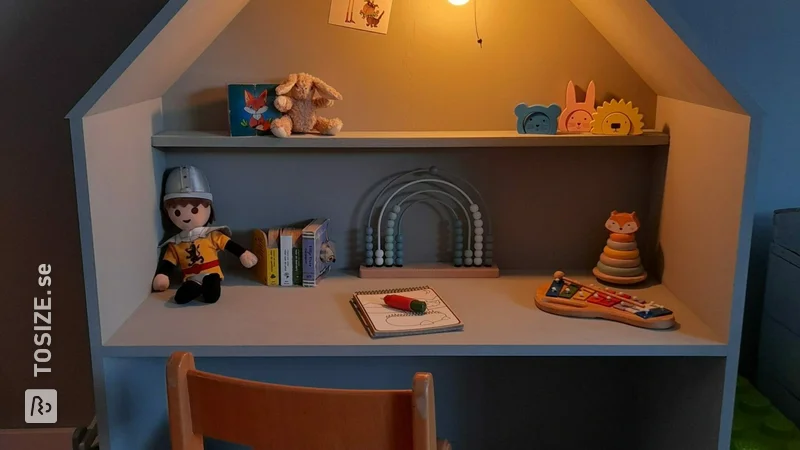
A playhouse made of MDF with different activities on all sides that my toddler can play with.
How I made this project
The purpose of this project was to make a fun playhouse for my toddler in which he can do different activities.
Steps:
- Pre-drill and countersink holes. This way they are nicely concealed and no longer visible after painting. It also prevents cracks. Make sure you drill straight down, especially at the slanted points.
- Because I have a high and wide skirting board in the room (see photos), the bottom and back are slightly shorter and I sawed off a piece of the sides myself
- There is a bench in the house. This gives a lot of strength. First assembled the bench. Front under the seat and the two supports under the seat.
- Seat attached to one side, then to the bottom, the back and then the other side.
- Triangle on the back is secured with two screws on the side and a metal mounting plate on the back.
- The roof is first attached to each other at the point, at the back and then at the sides.
- Holes repaired and everything painted.
- On the inside I painted two walls with blackboard paint and hung lights.
- There are circles of Velcro taped on the left side. This allows you to attach the tubes where the other side of the Velcro is located in different ways. The 'gutter' I attached two leftover pieces of MDF to the bottom.
- On the other side are several wooden toys that you can order under 'Montessori toys' online. Have fun!
One last tip: I used 18mm MDF for all the panels. This has made it very difficult. The bench provides a lot of strength, so I think you can also use thinner and lighter MDF for the back and bottom. Then adjust the dimensions, do not attach between but over the sides. This is due to screwing.
Dimensions of my DIY project
117.5 x 65.0 x 65.0 cm
Tip! Also check out our handy DIY tips!
What now?
Want to make this DIY project? Check out Brigitte's saw list and complete your order easily.
1 639,98 Skr
All materials used
View all sheet materials