- TOSIZE.se
- Do it yourself
- DIY Projects
Wall-filling wall cabinet completely homemade from MDF, by Ezra
Wall-filling wall cabinet completely homemade from MDF, by Ezra
Create this project yourself with sheet material cut to size by TOSIZE.se!
Ezra
Challenging
3 minutes
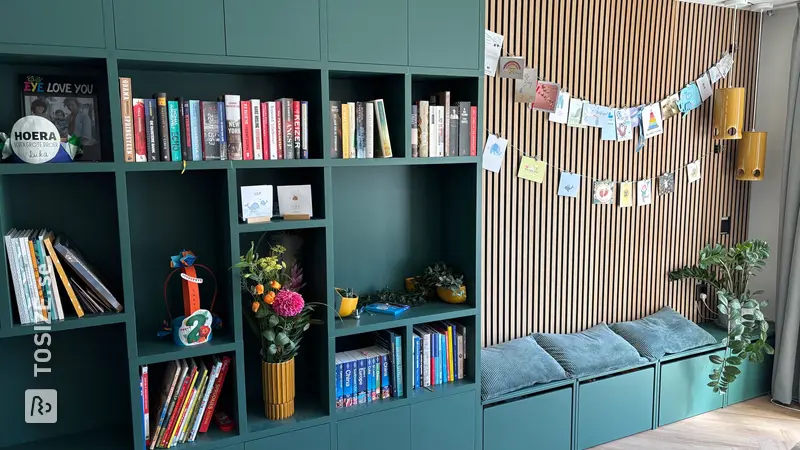
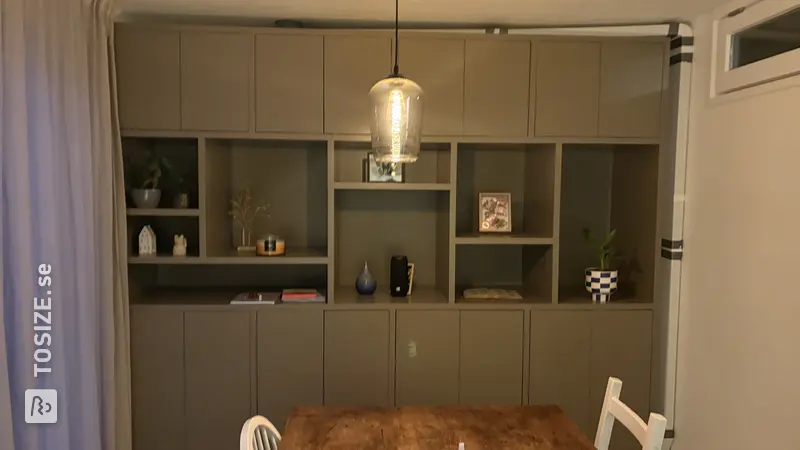
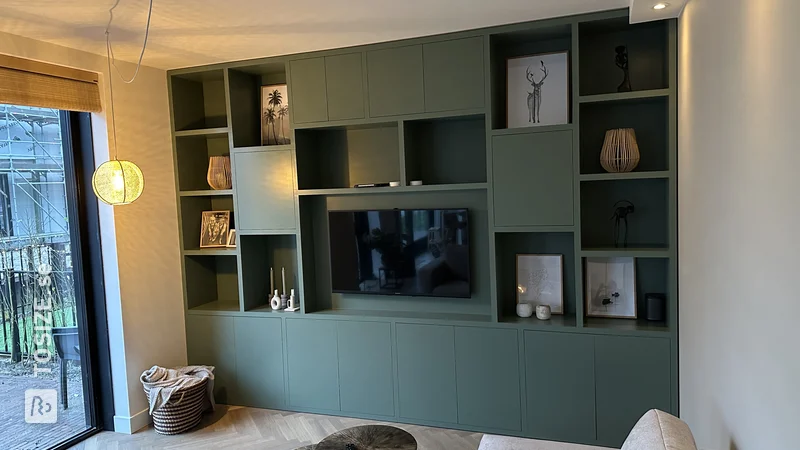
Ezra shares his impressive DIY project in which he made a wall-sized cabinet entirely from MDF. He shares detailed steps and helpful tips for creating this grand piece of furniture. With his approach, Ezra has not only created a functional storage solution, but also a striking aesthetic addition to his interior. Discover how you can build a wall cabinet of this size yourself and transform your space.
Description by Ezra
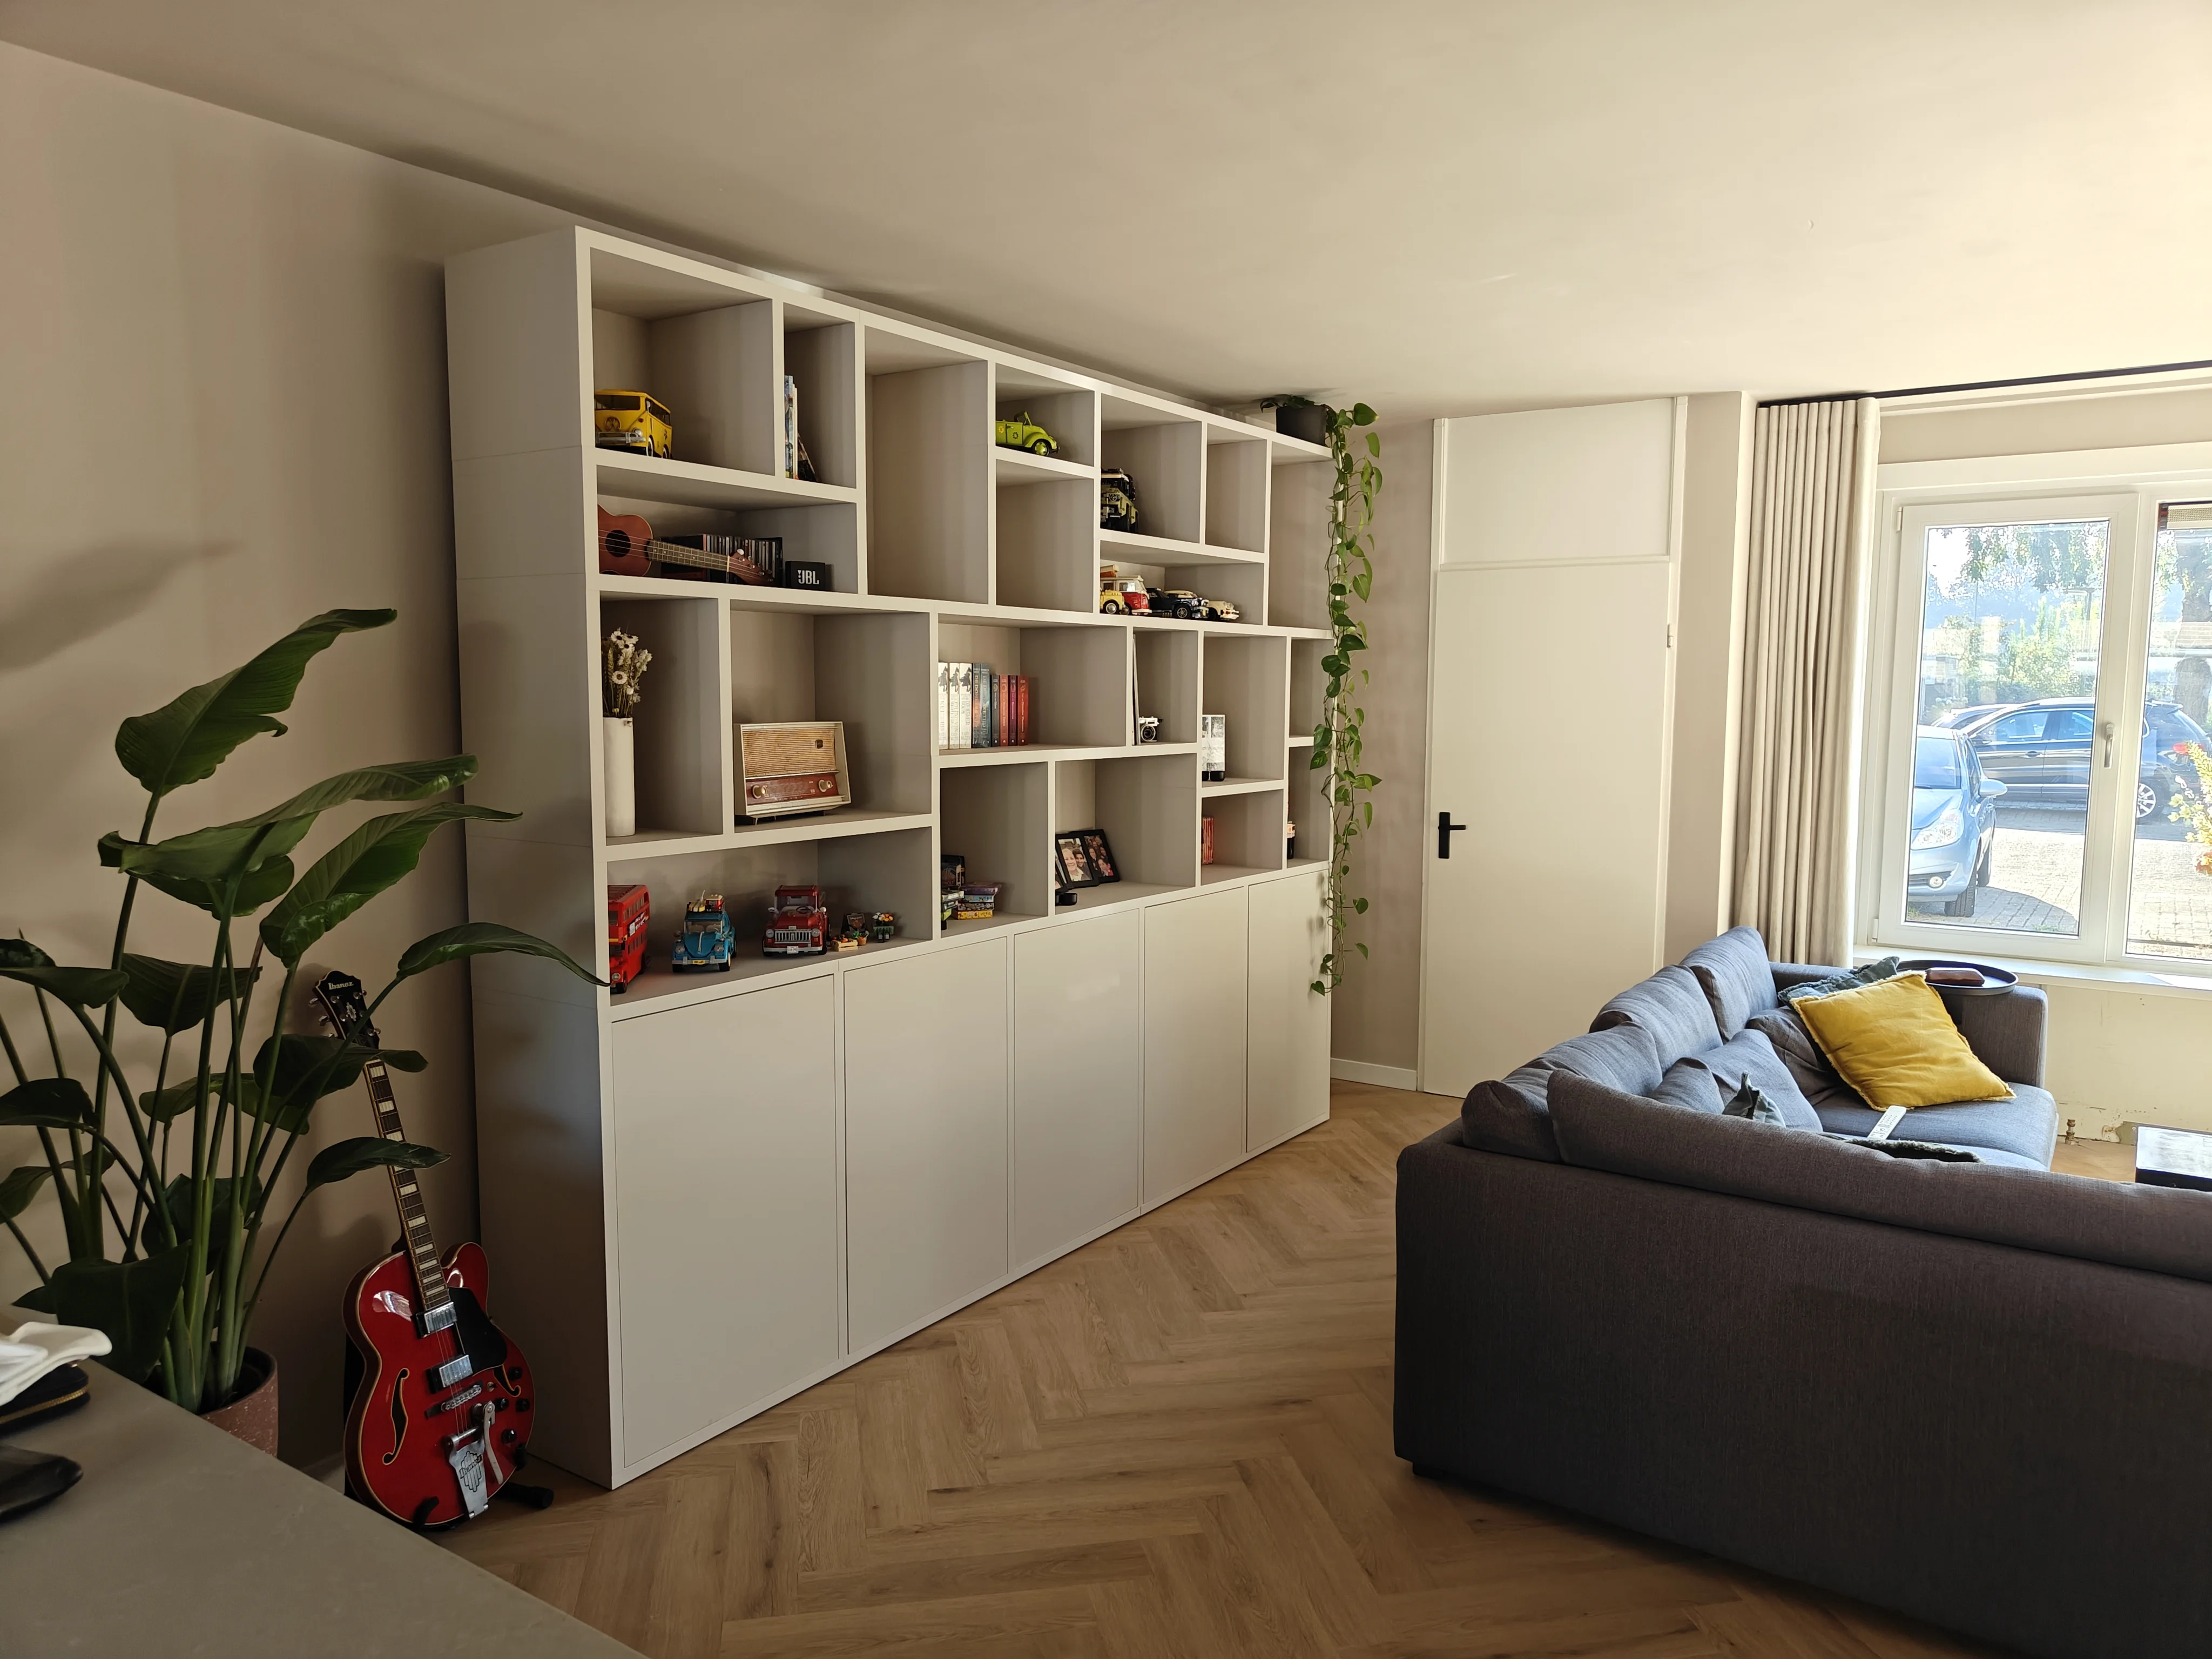
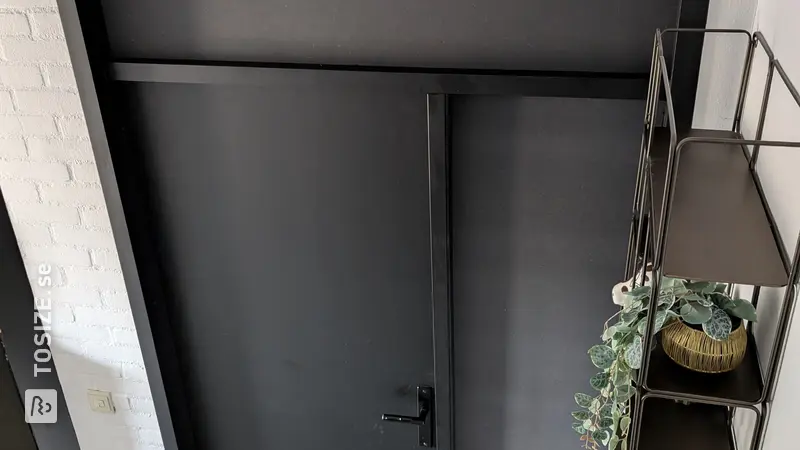
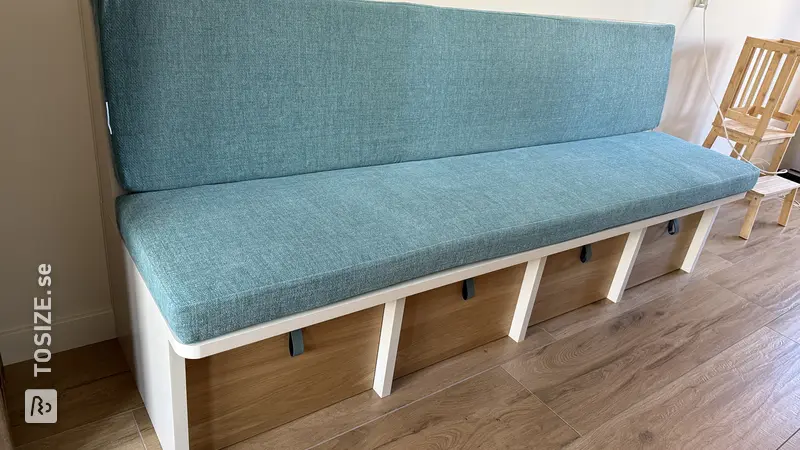
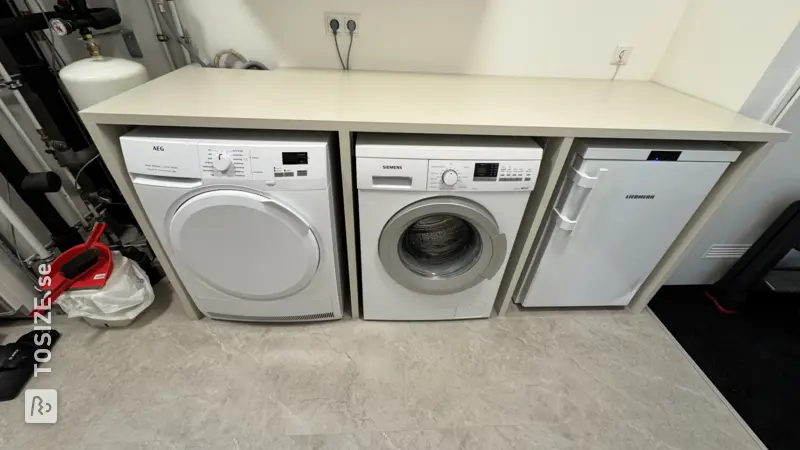
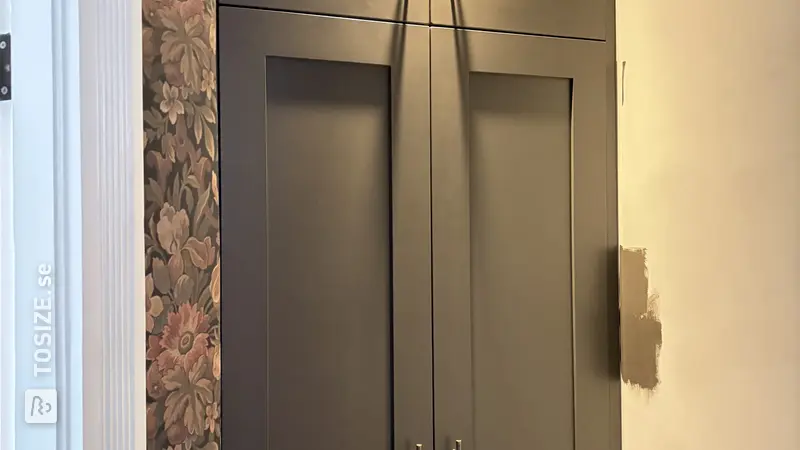
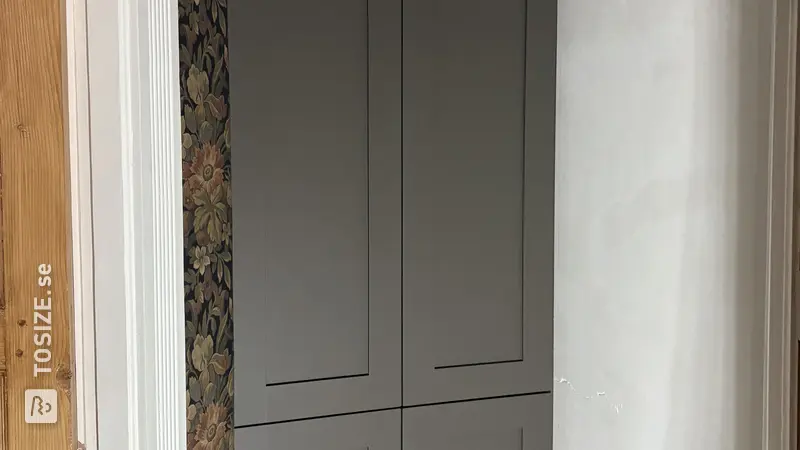
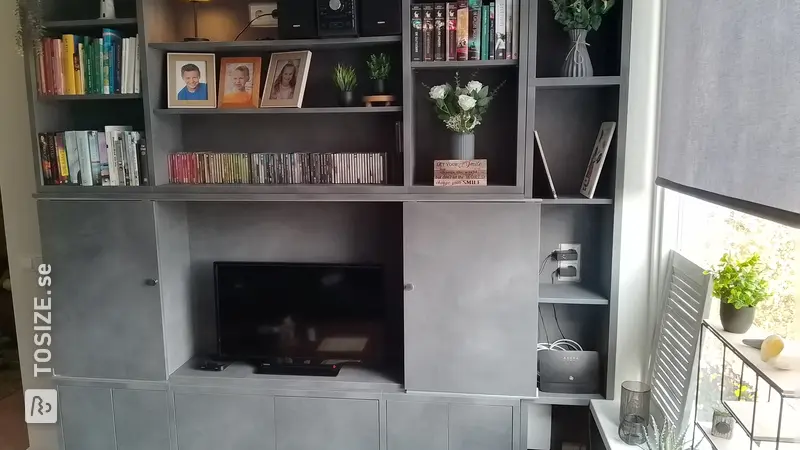
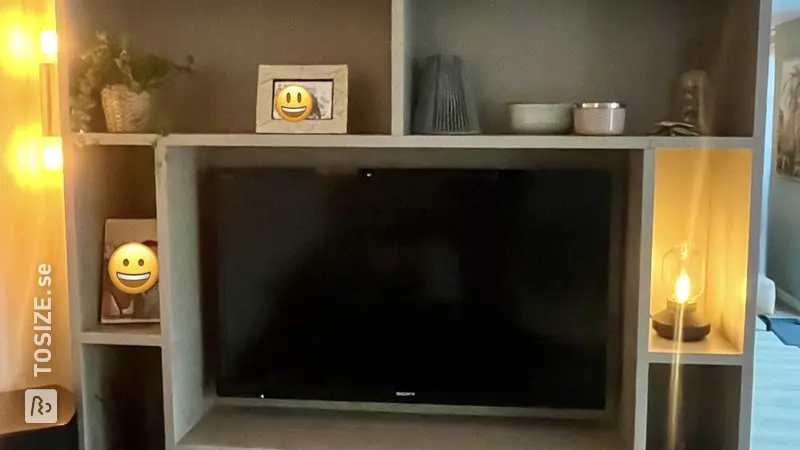
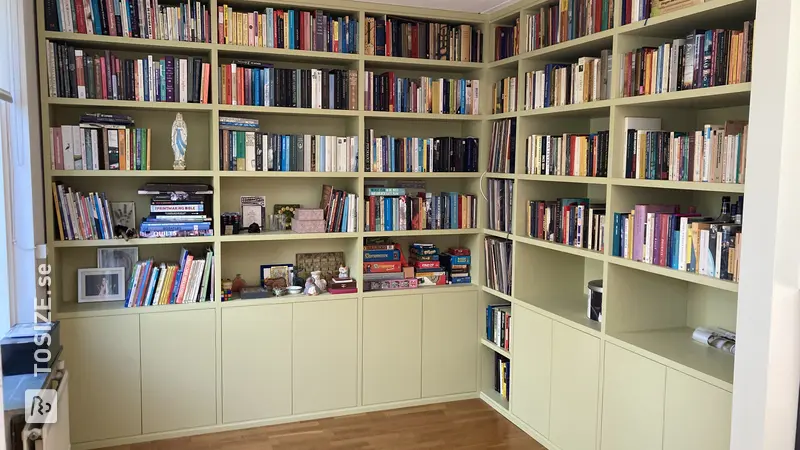
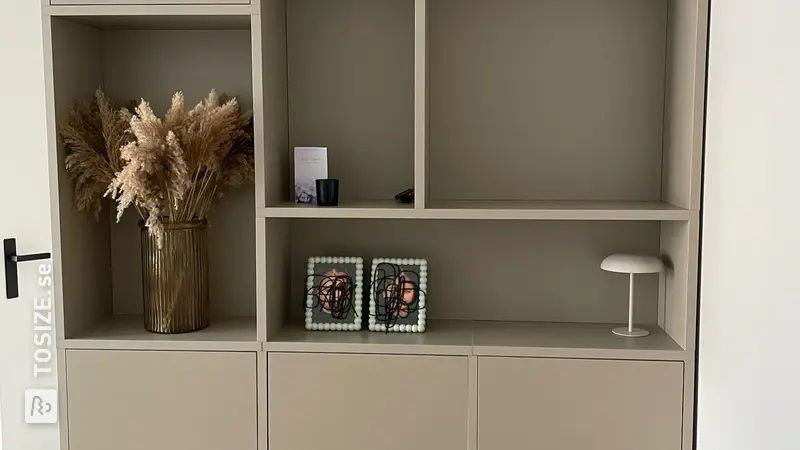
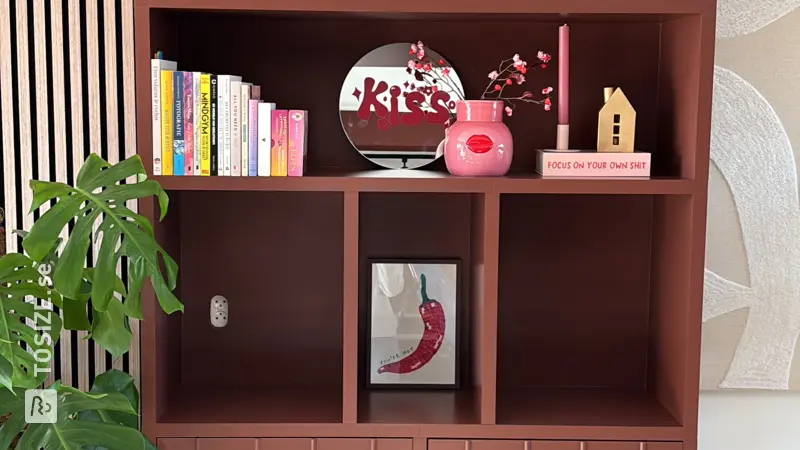
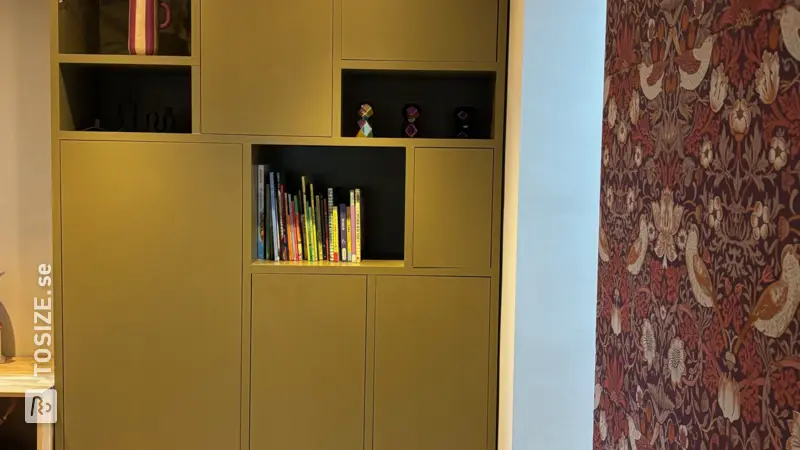
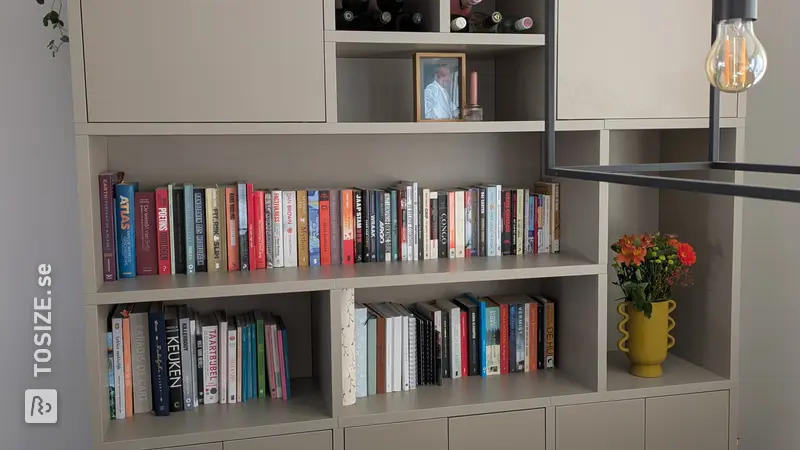
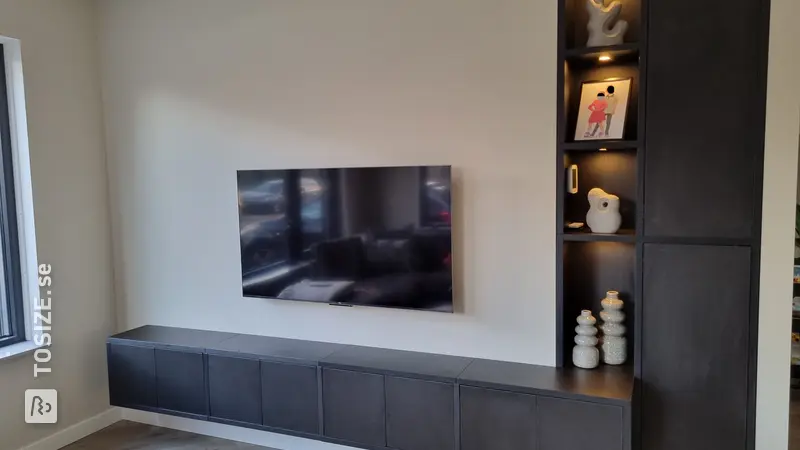
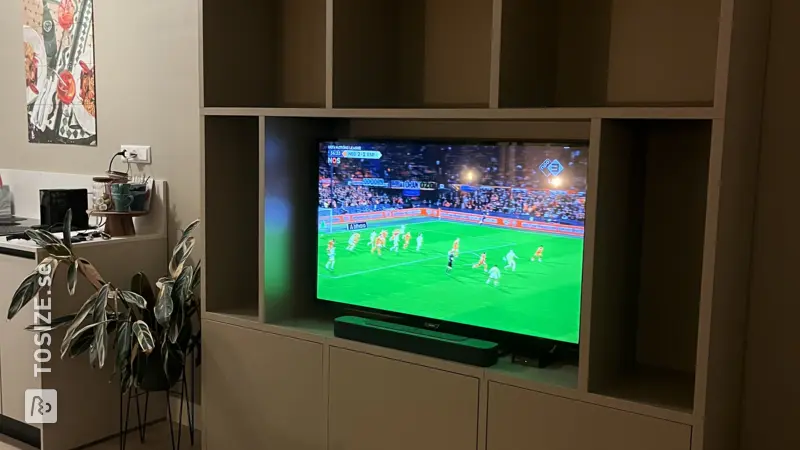
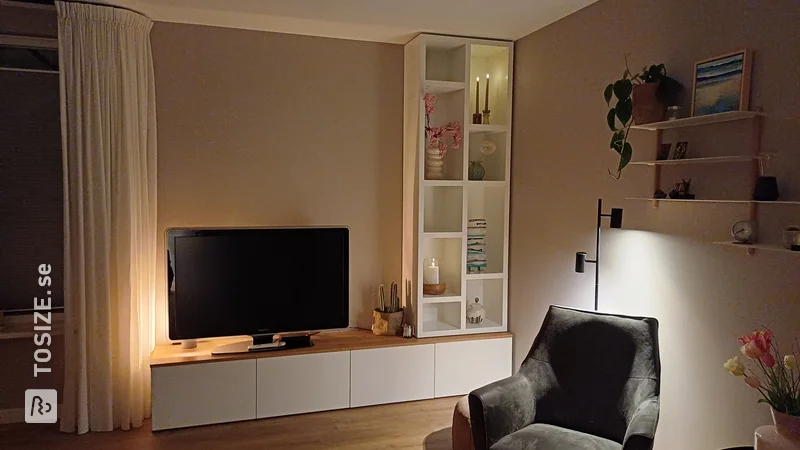
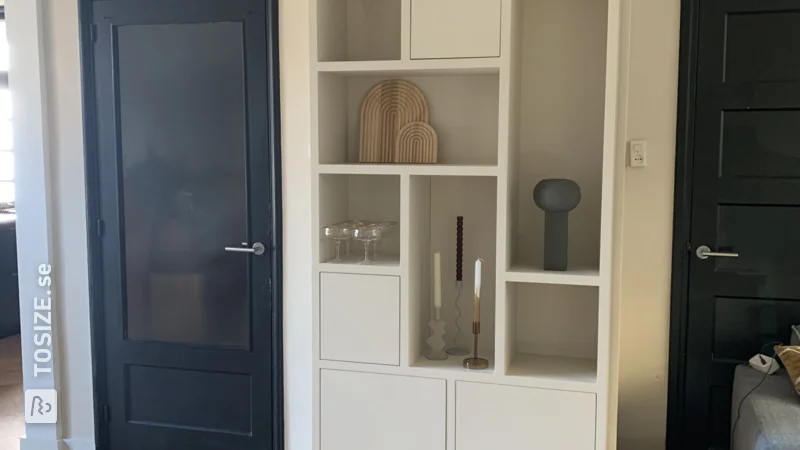
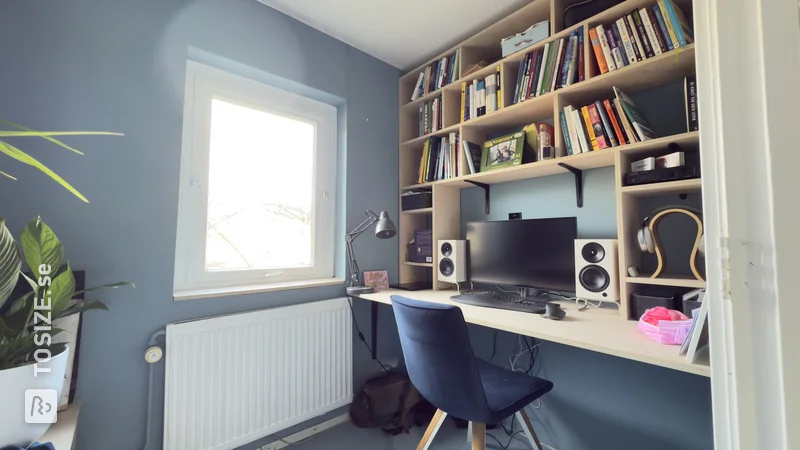
The current aquarium cabinet was no longer suitable and was made during the period with small children. This had to be replaced. Because no standard cupboard met the wishes and requirements, the plan arose to make a cupboard yourself. This had to be suitable for the aquarium and fit in with the rest of the room. The cabinet consists of 18mm MDF, is painted with MDF primer and wall paint. For long-term durability, the cabinet is coated with a colorless 2-component lacquer.
How I made this project
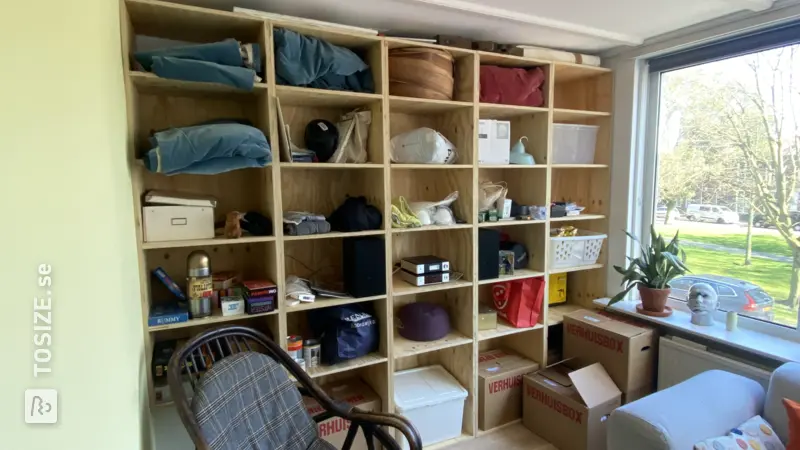
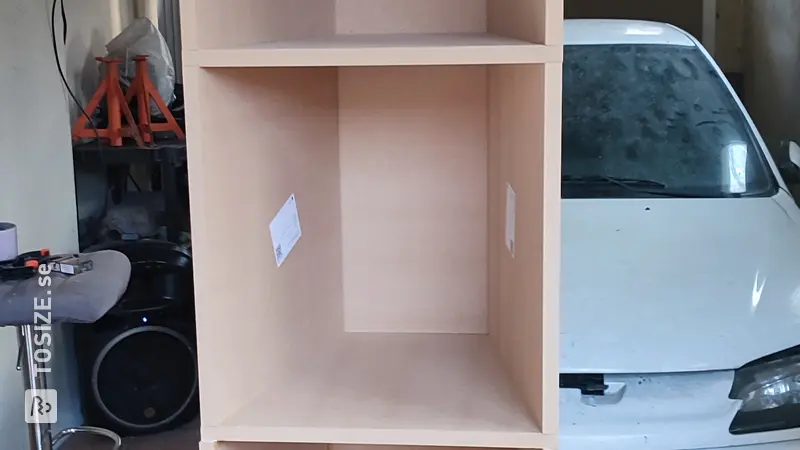
First of all, I made a design with Sketchup 3D (this is not really suitable for the specific sizes, but it works). Based on the drawing, I ordered all the wood to size and labeled each plank. Labeling the shelves is highly recommended, all shelves are neatly supplied with a sticker and all information. This made it easy to arrange the shelves before starting to assemble them.
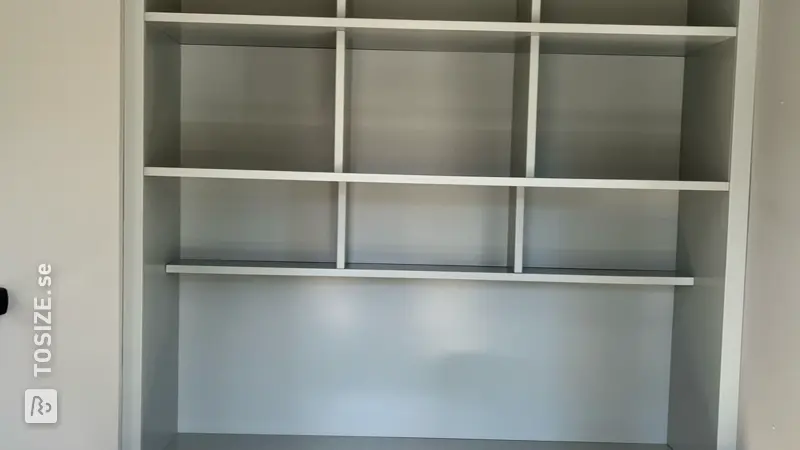
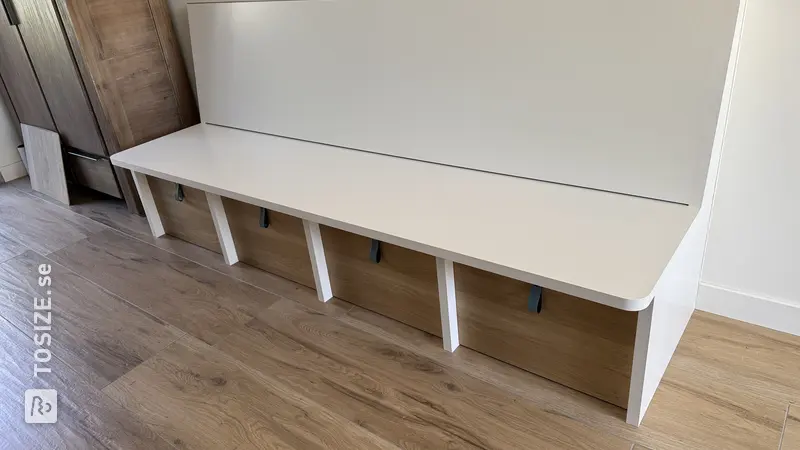
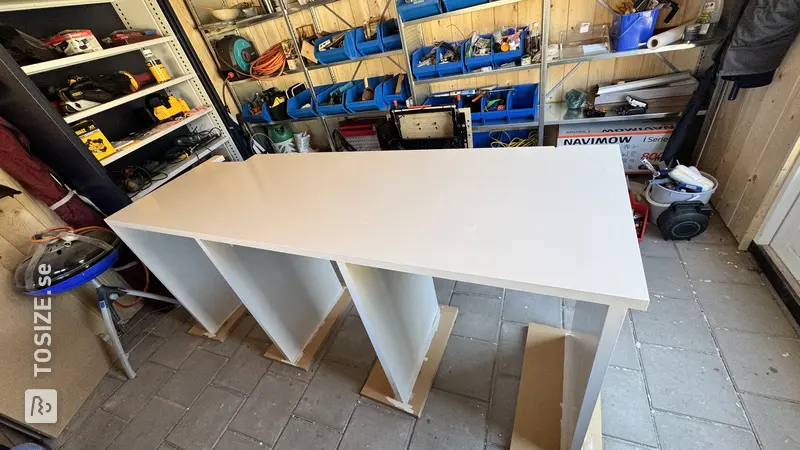
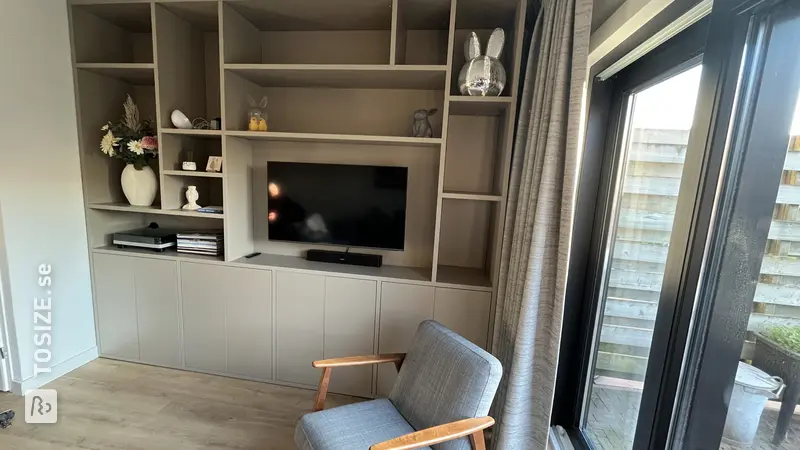
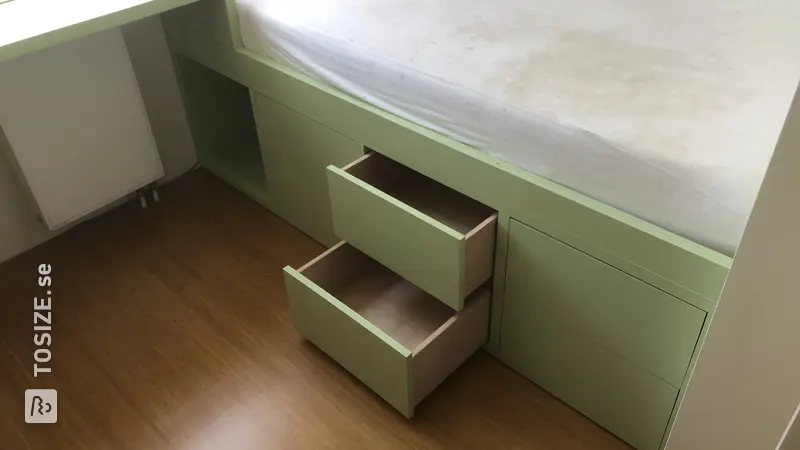
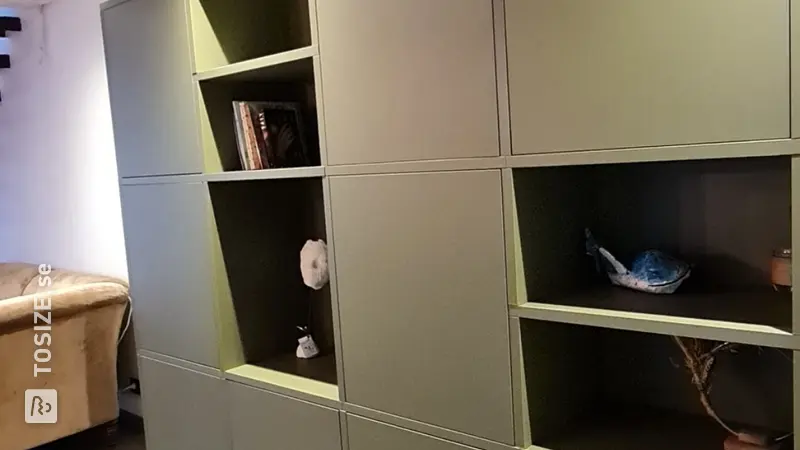
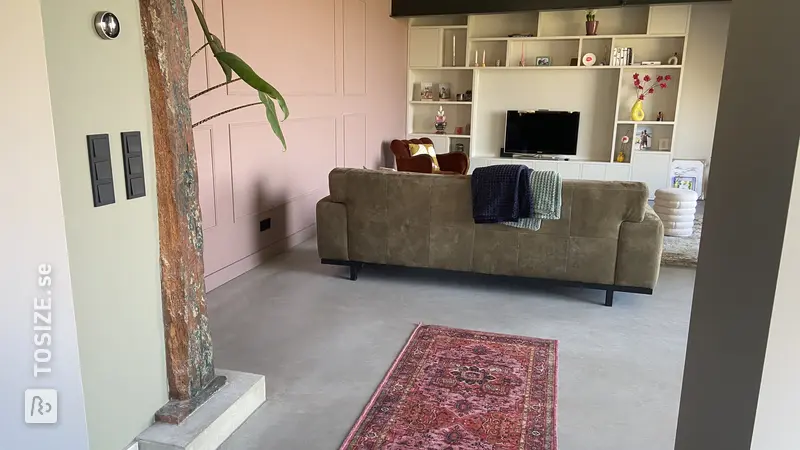
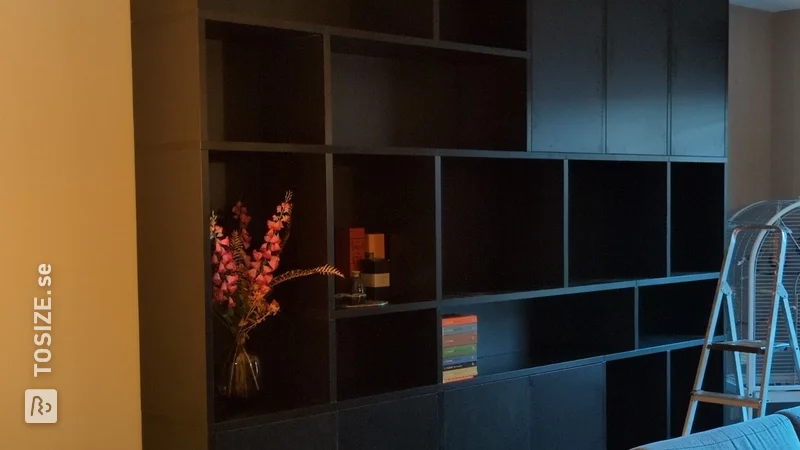
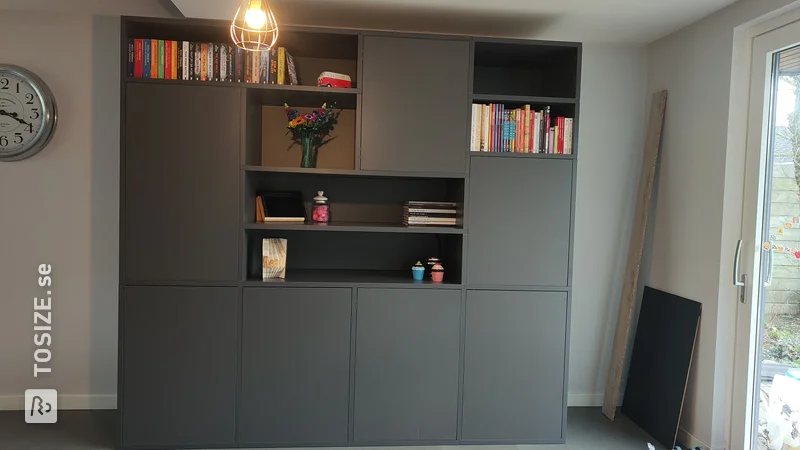
The cabinet has a foundation of pine beams, which are leveled for a stable base. The cabinets are placed on the beams, which are assembled using dowels and wood glue and with MDF screws for extra strength. Space was left on either side of the cupboard for a decorative plinth that was placed on the continuous side wall. The top, which consists of two parts, is placed on top of the cupboards.
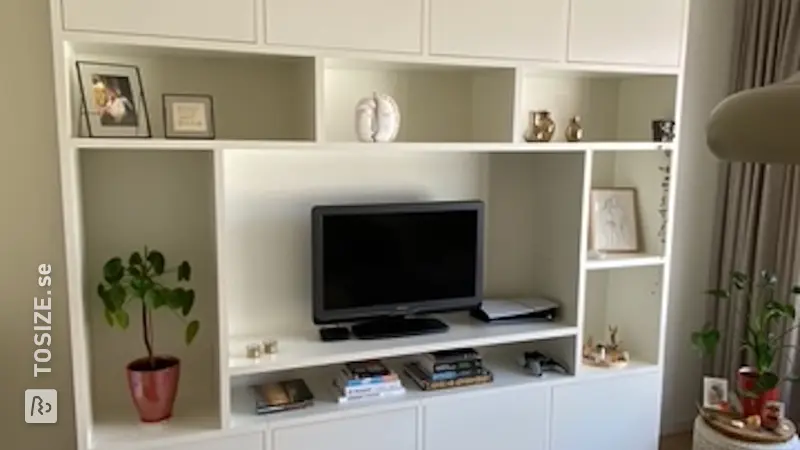
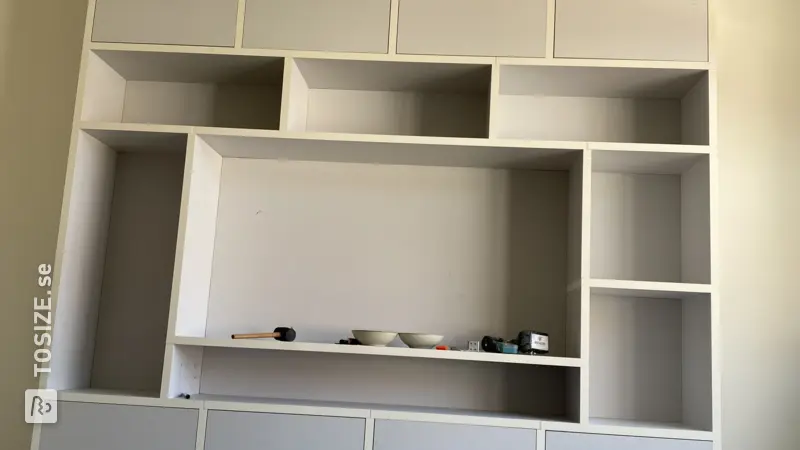
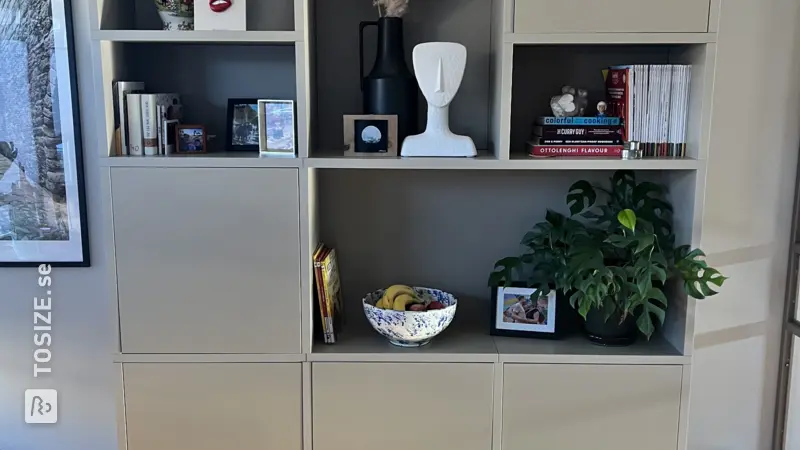
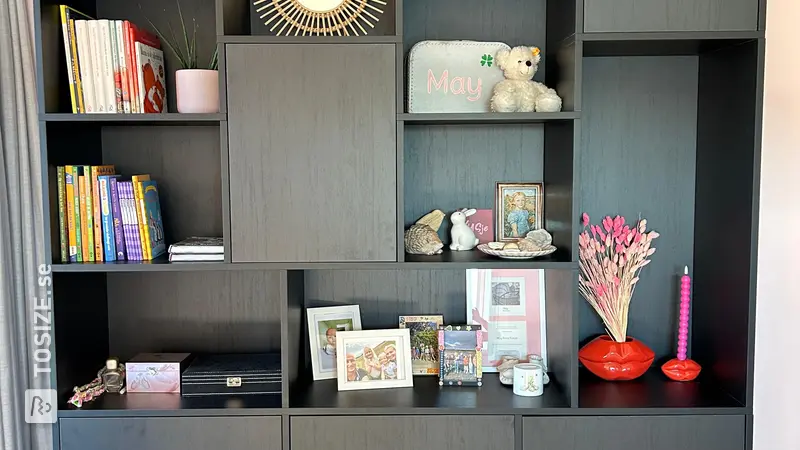
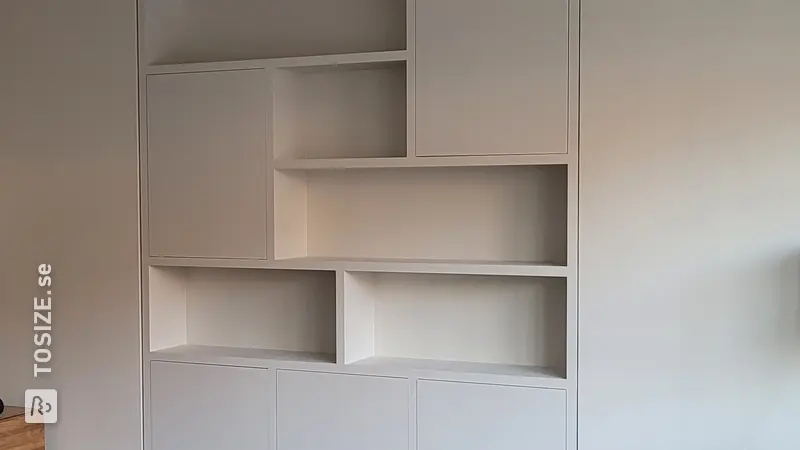
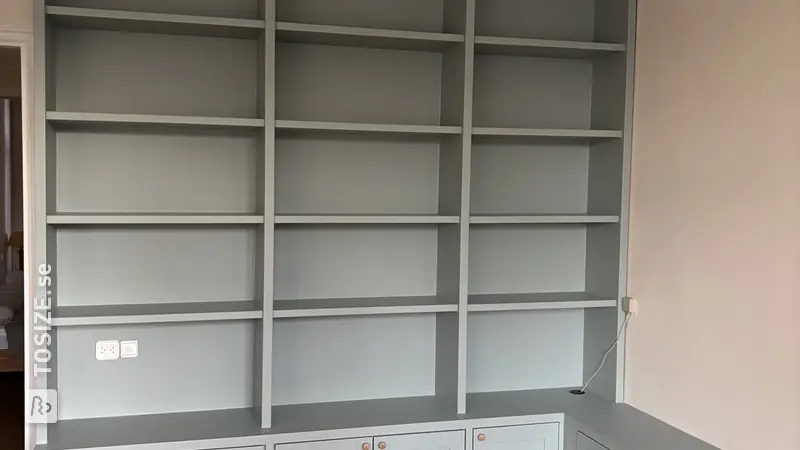
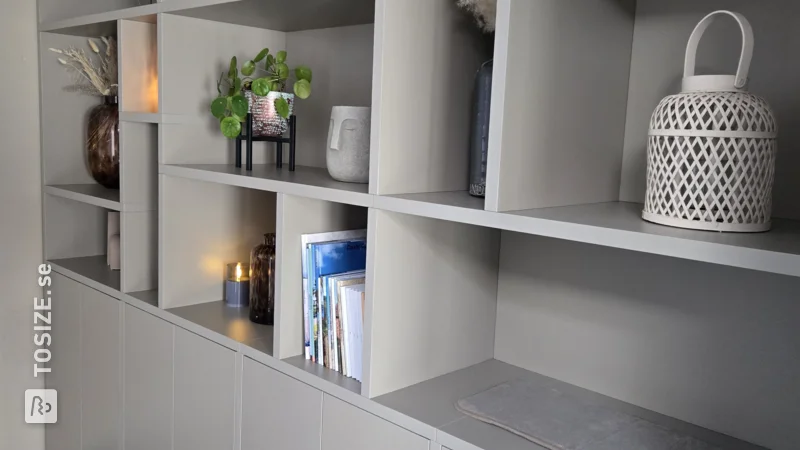
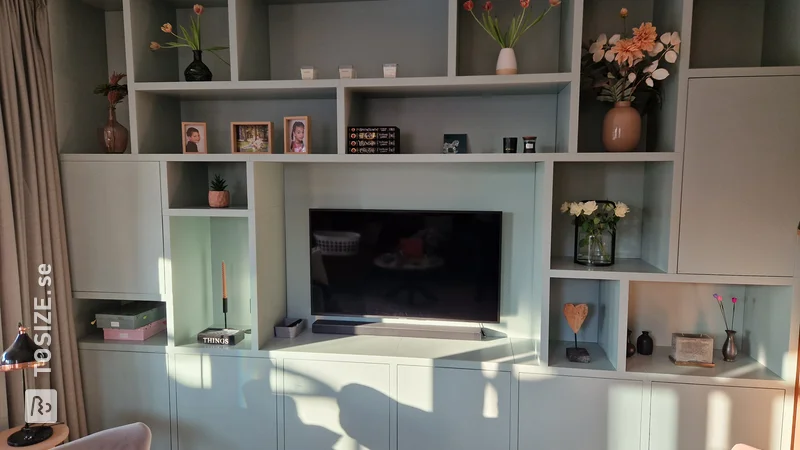
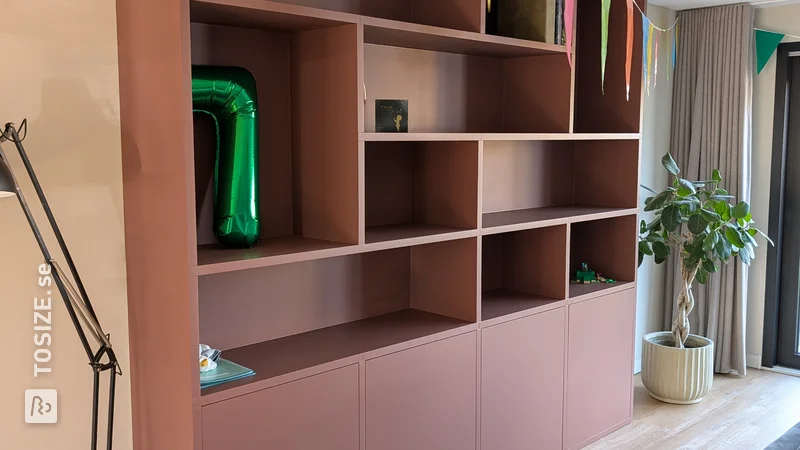
After the cupboard part was ready, the top shelf part could be placed. Here the design was not yet final, so the vertical uprights were first placed loosely and clamped to the ceiling. The position of the horizontal beams was then determined.
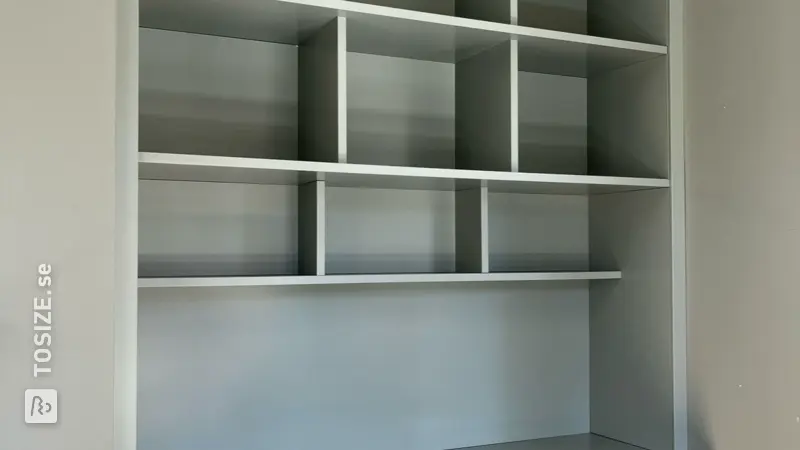
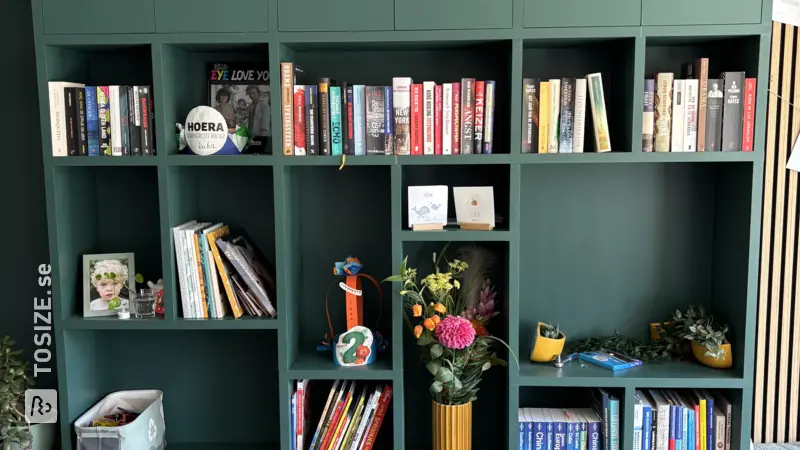
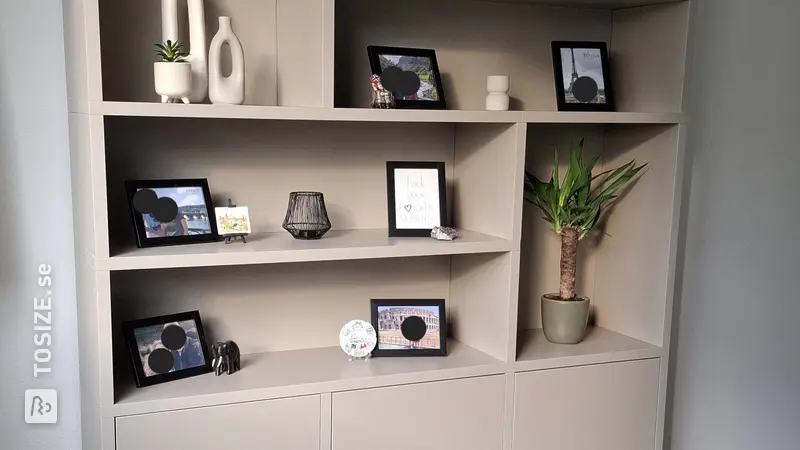
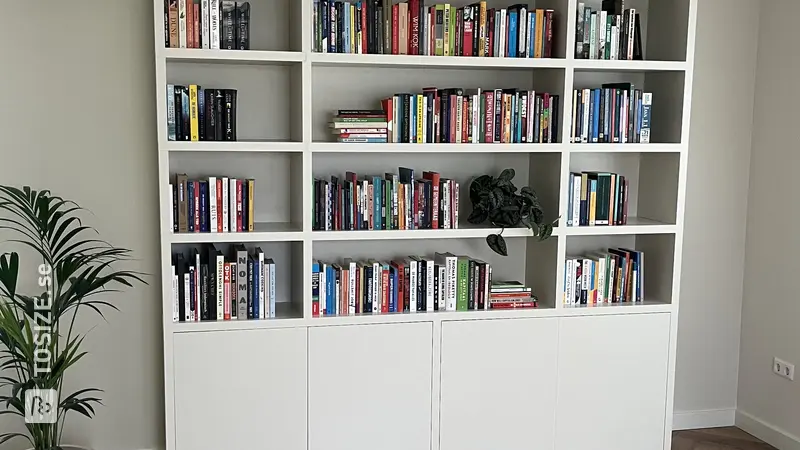
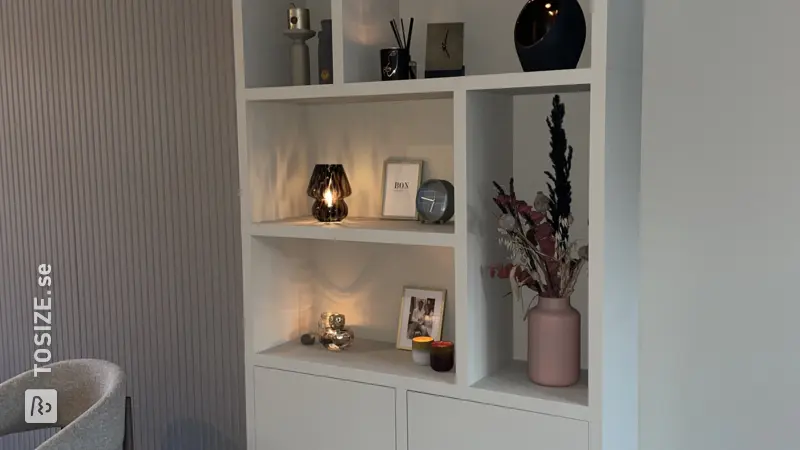
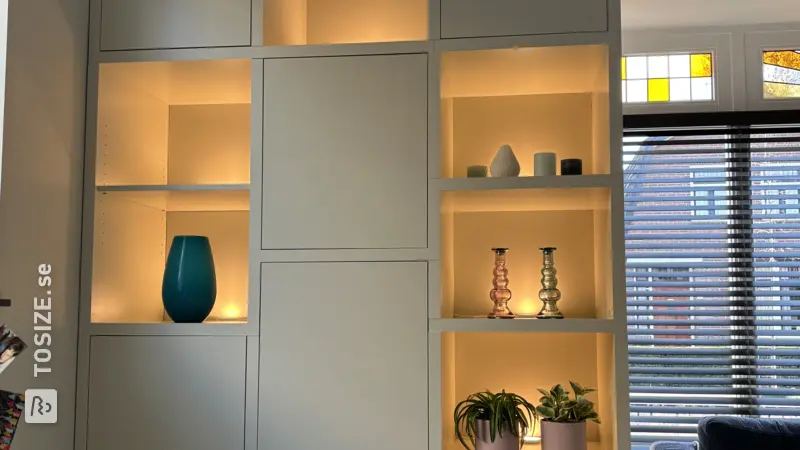
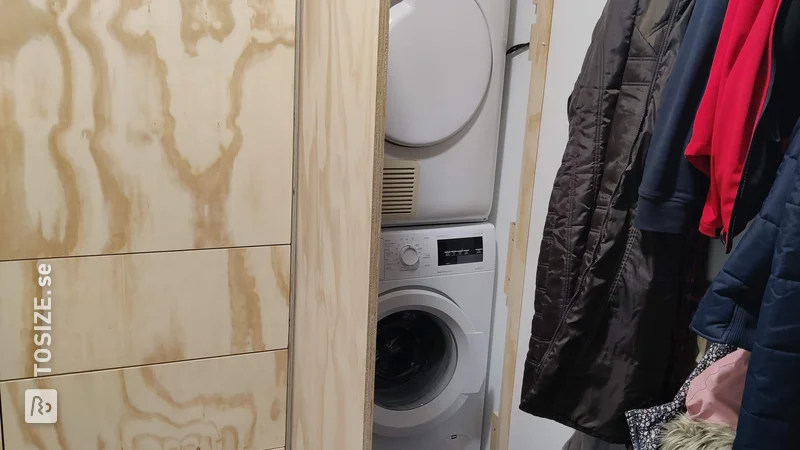
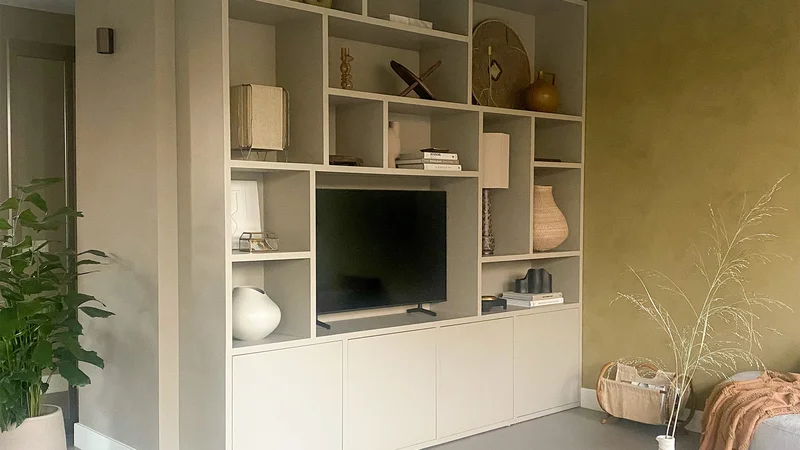
The shelving unit does not have a back wall, but in retrospect this would have been better as the wall turned out not to be exactly straight. For this reason, wooden panels were subsequently placed per section with the remaining residual wood.
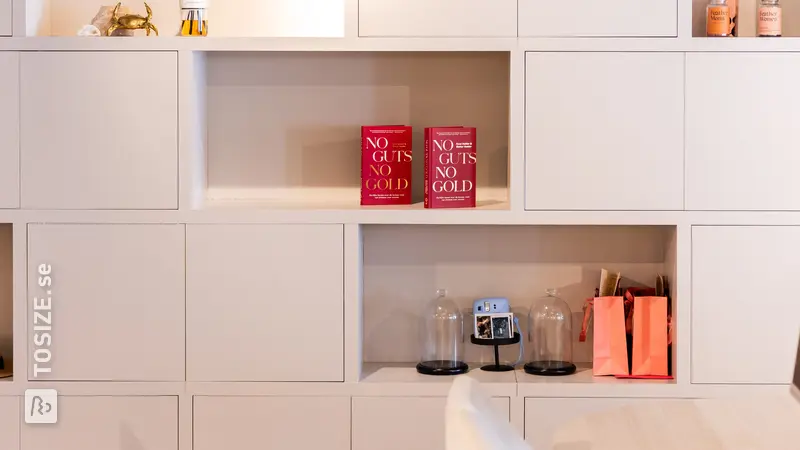
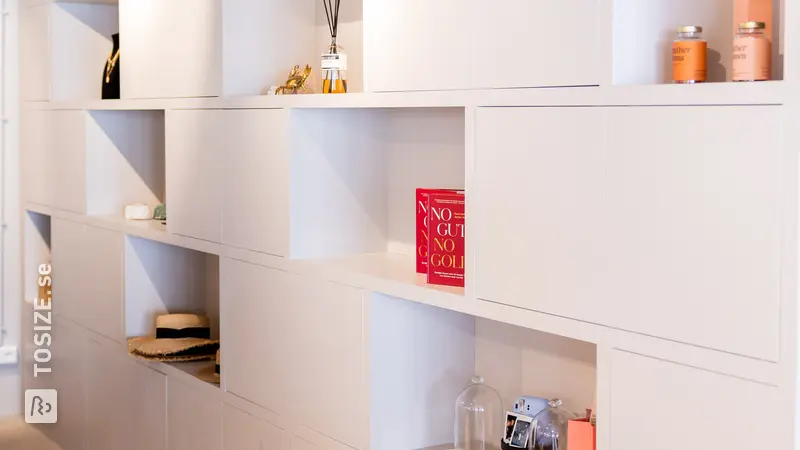
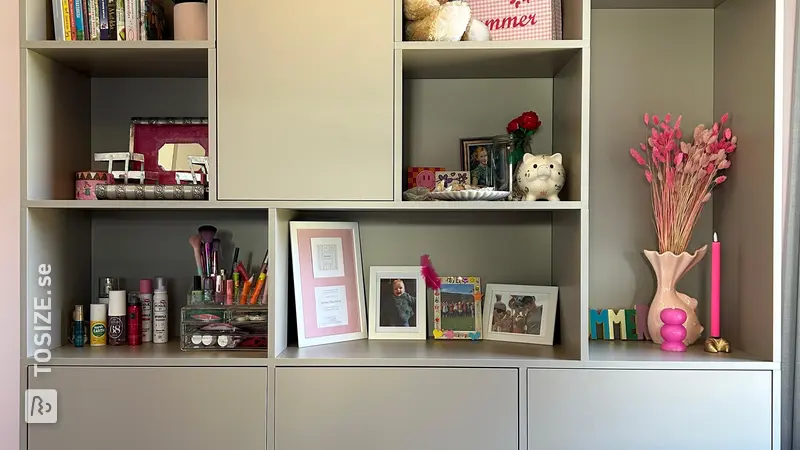
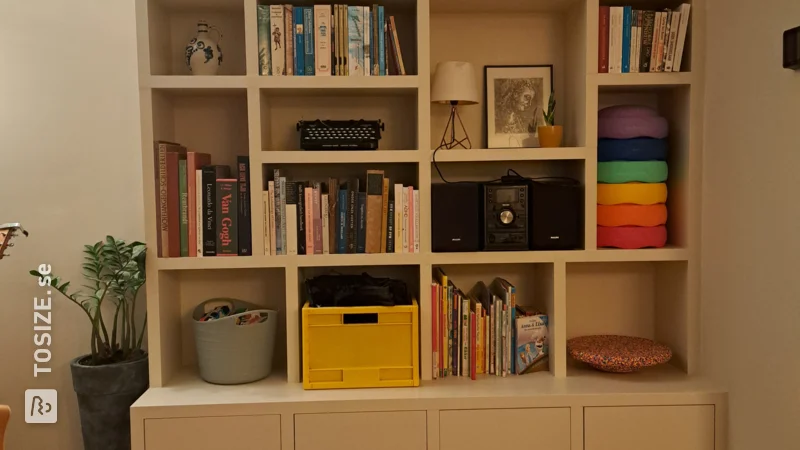
The seams were then finished with wood filler, as well as the end parts of the MDF (this makes it possible to achieve a smooth result more quickly). . The cabinet has a base coat of Alabastine MDF primer and is then painted with the wall in the same wall paint color.
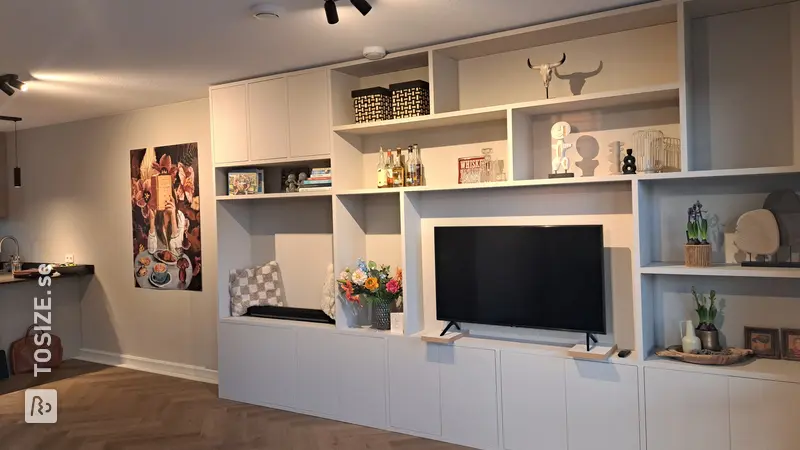
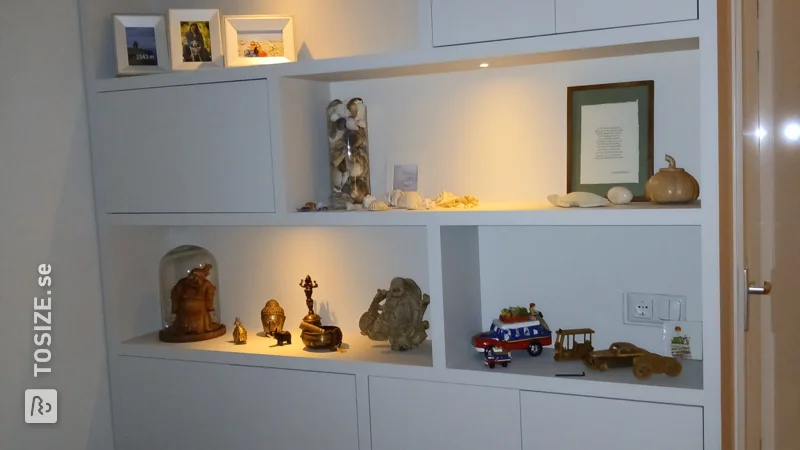
Because wall paint is not exactly scratch-resistant and removable, we have finished the cabinet with a colorless two-component lacquer. Because the cabinet is on a foundation of wooden beams, a plinth has been added under the cabinets and an LED strip has been incorporated into it.
Dimensions of my DIY project
280.0 x 243 .0 cm
Tip! Also check out our handy DIY tips!
What now?
Want to make this DIY project? Check out Ezra's saw list and complete your order easily.
5 263,57 Skr
All materials used
View all sheet materials