- TOSIZE.se
- Do it yourself
- DIY Projects
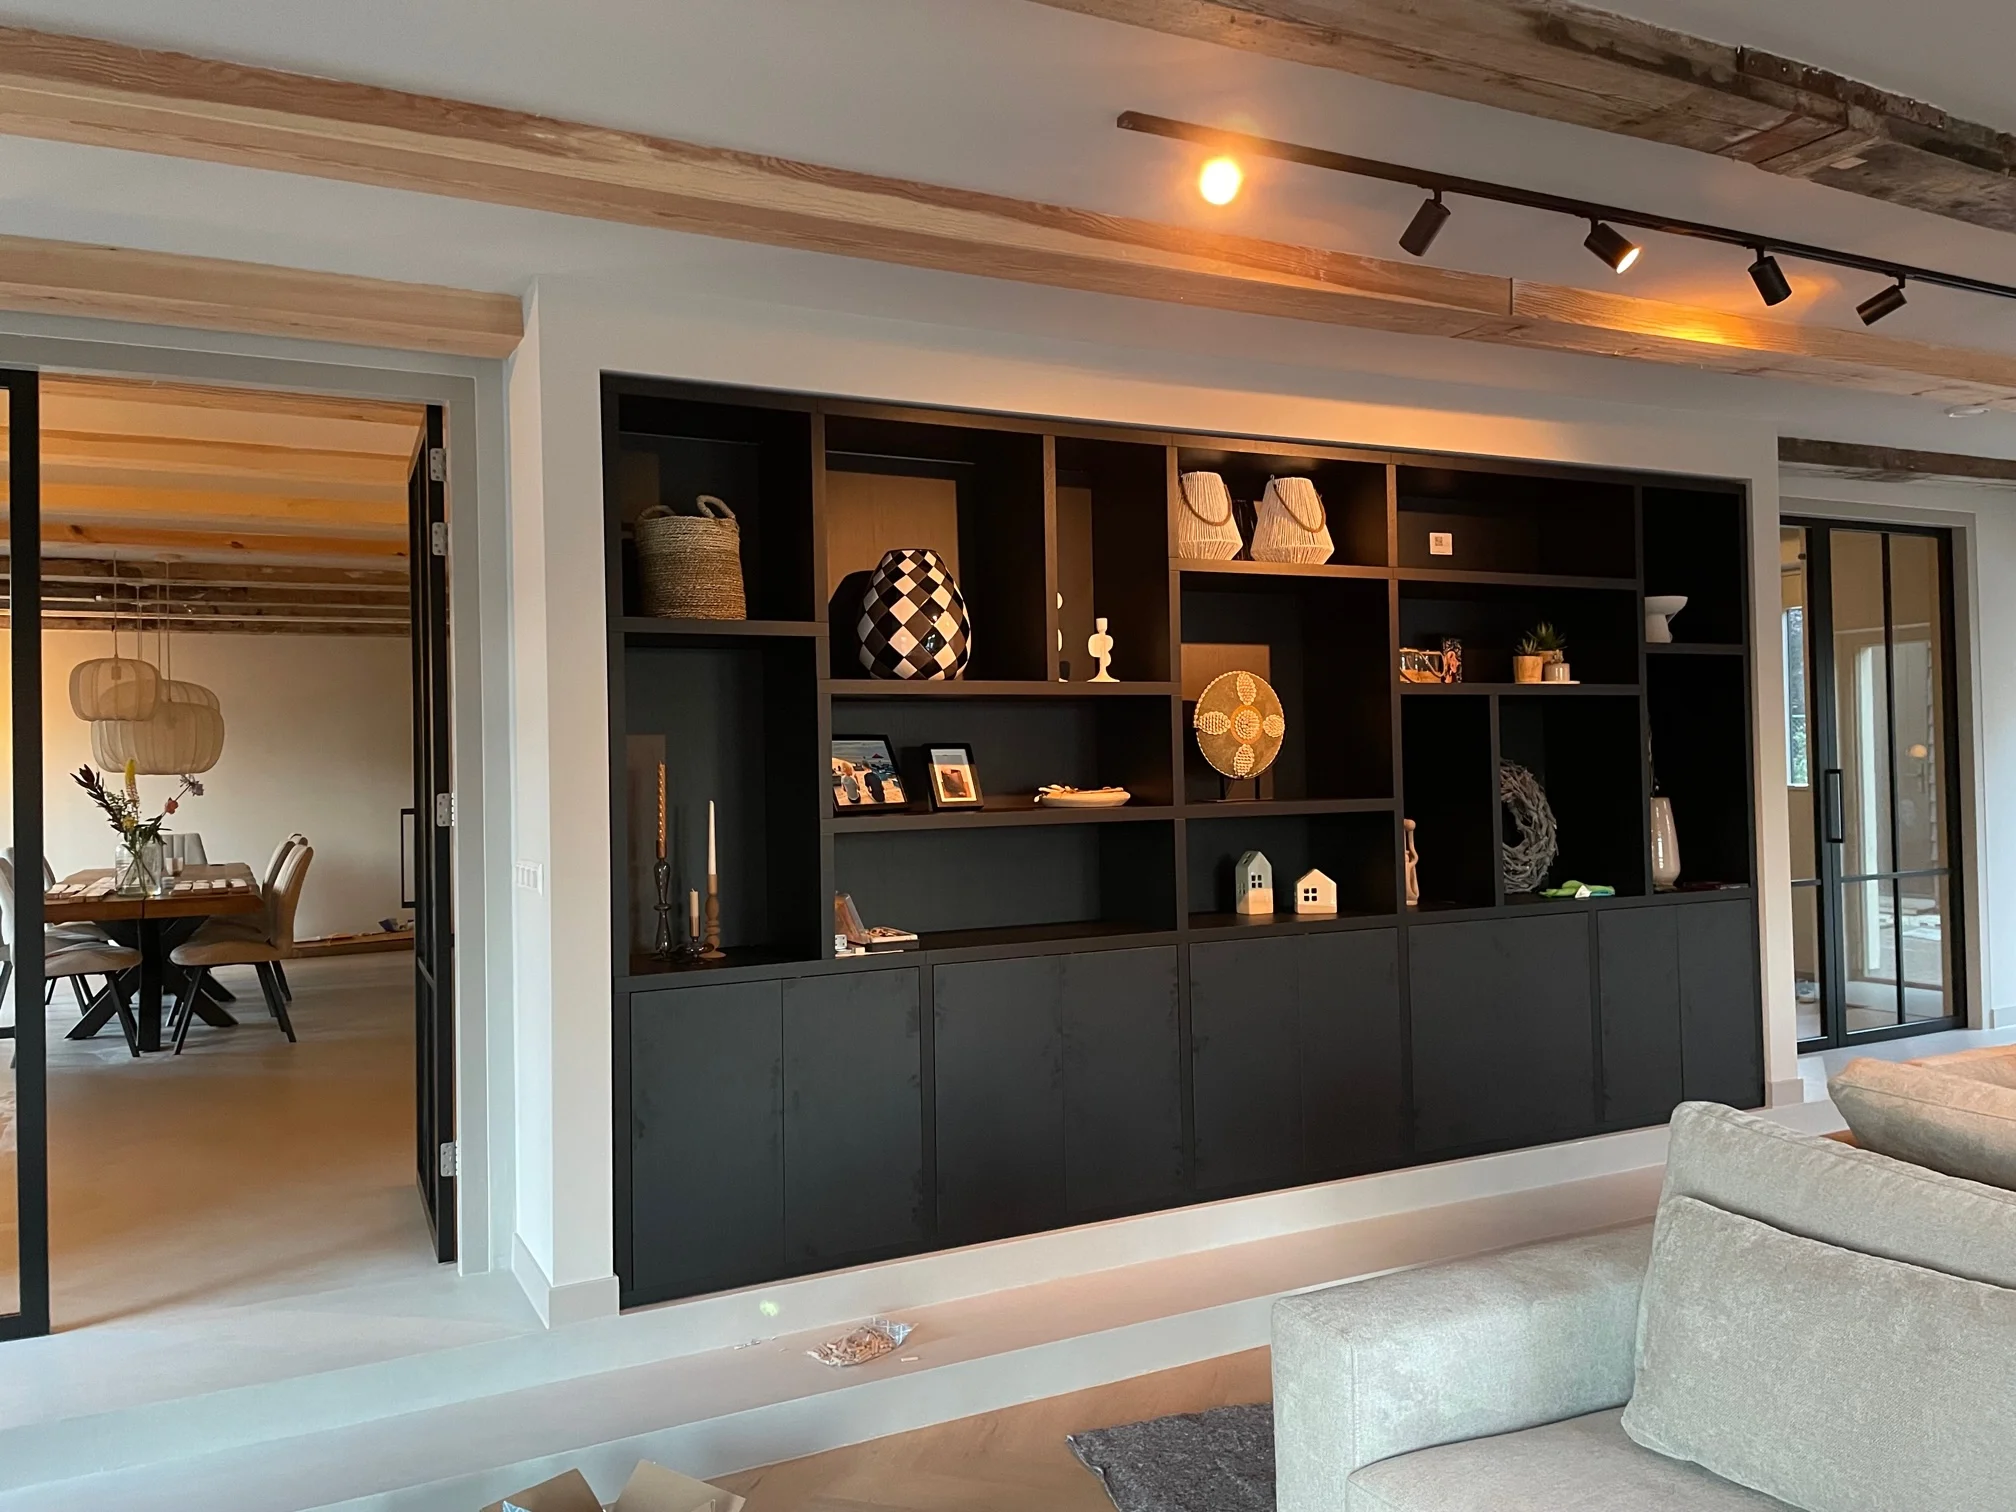
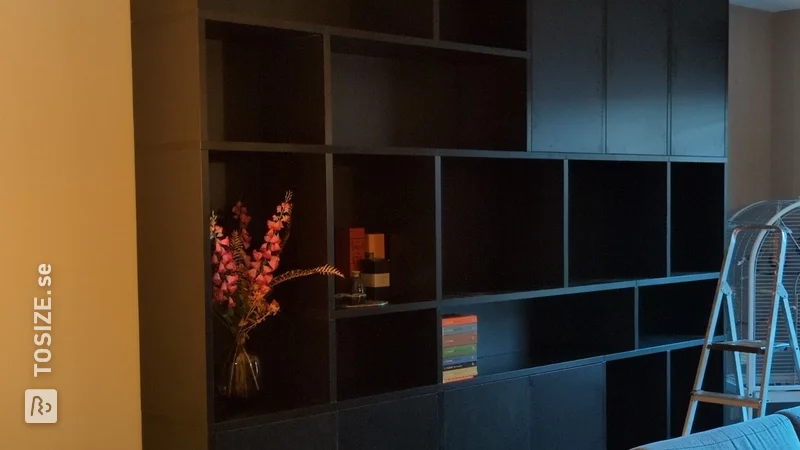
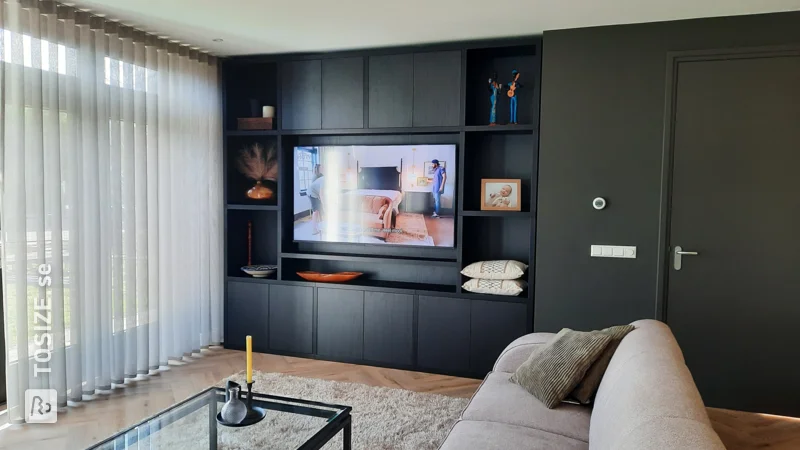
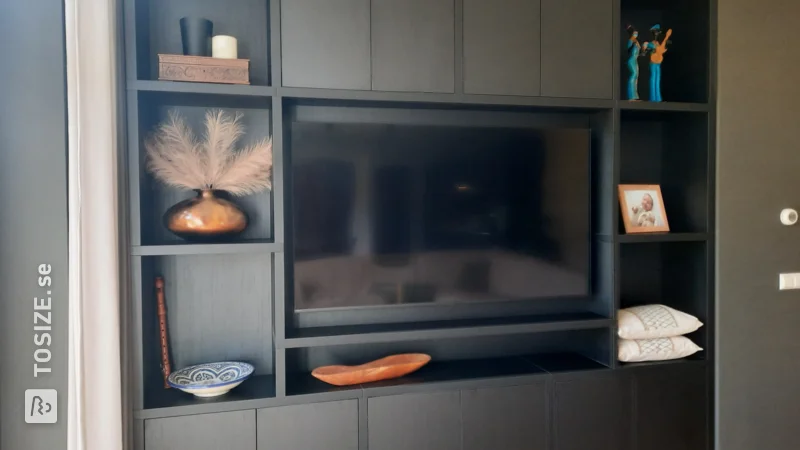
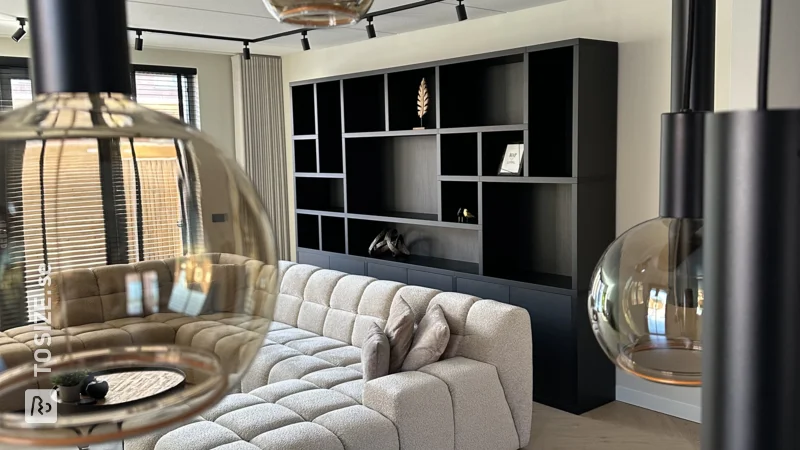
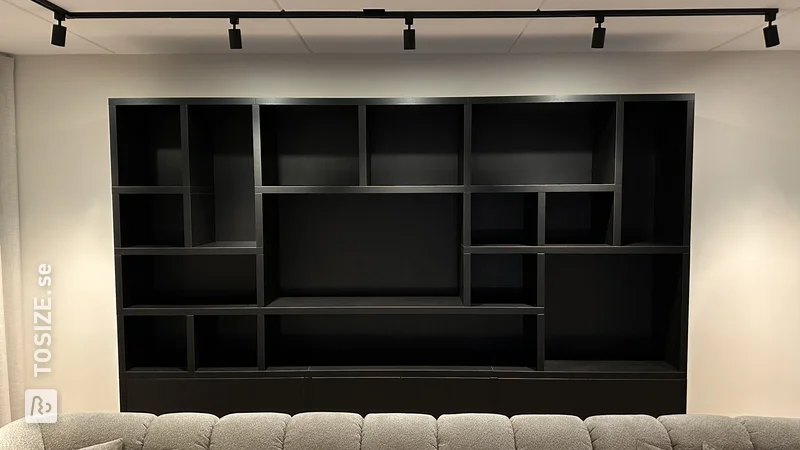
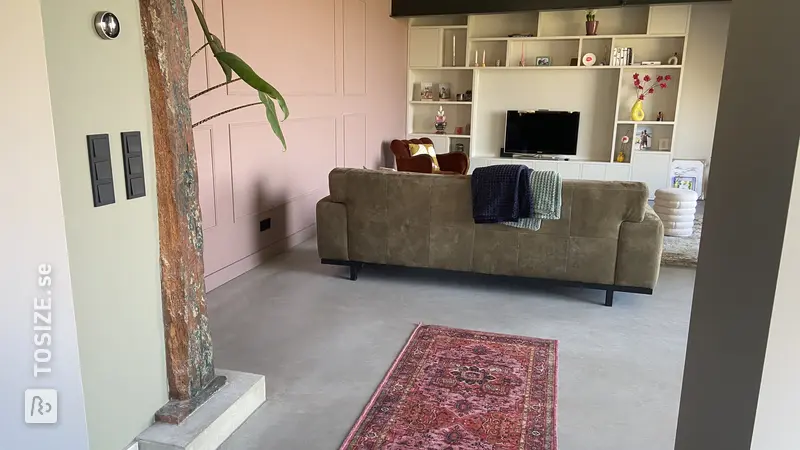
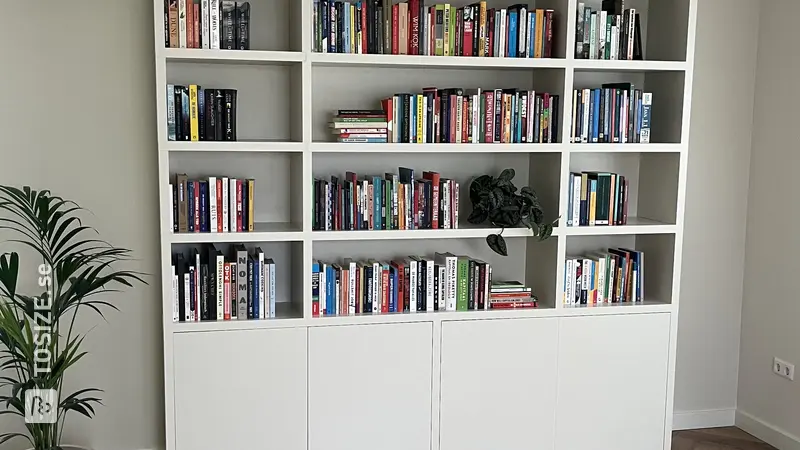
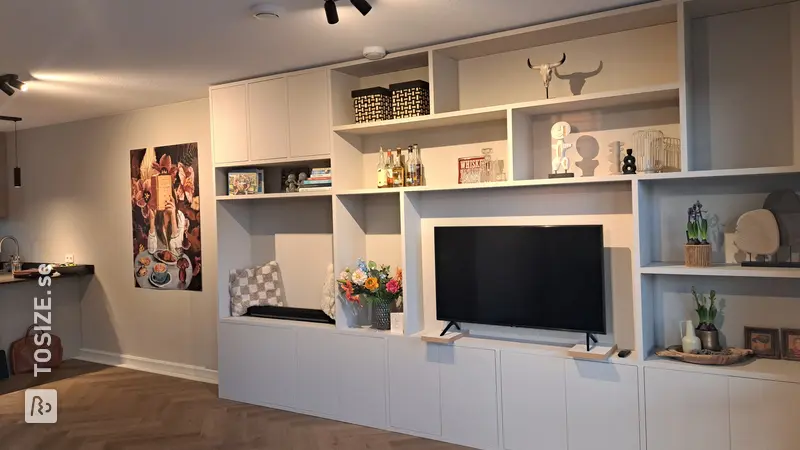
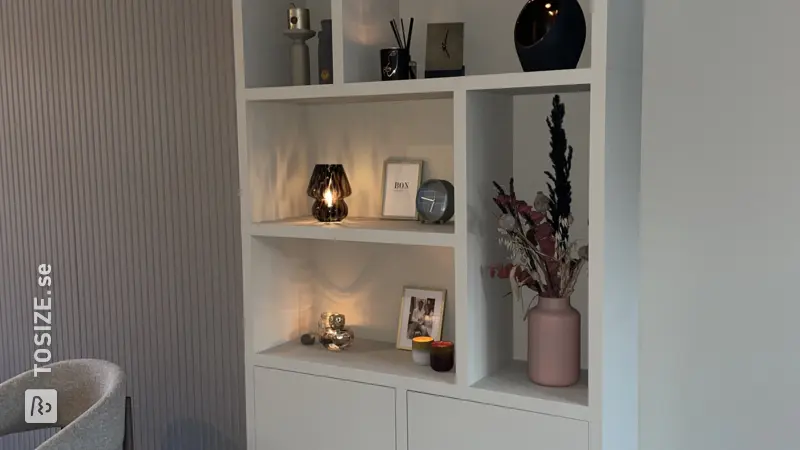
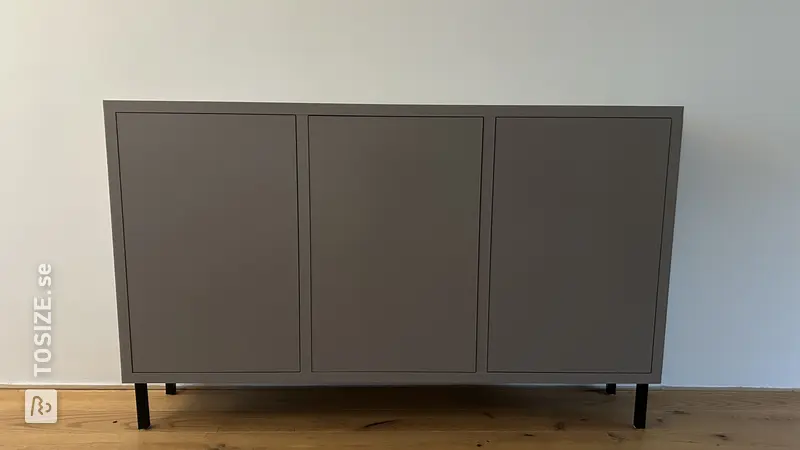
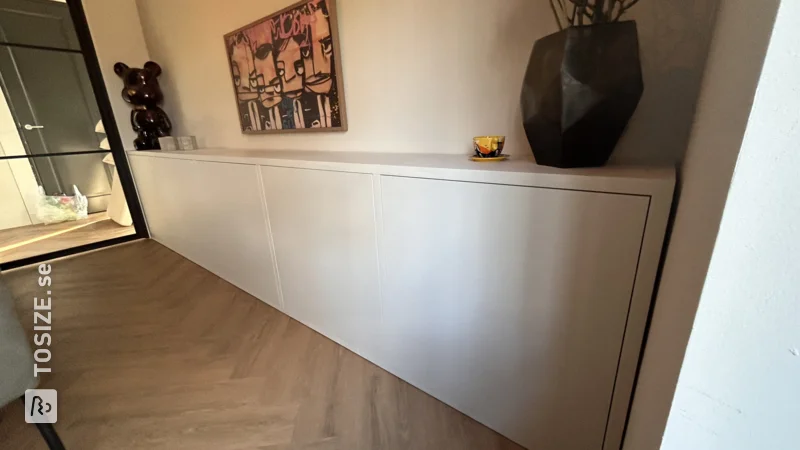
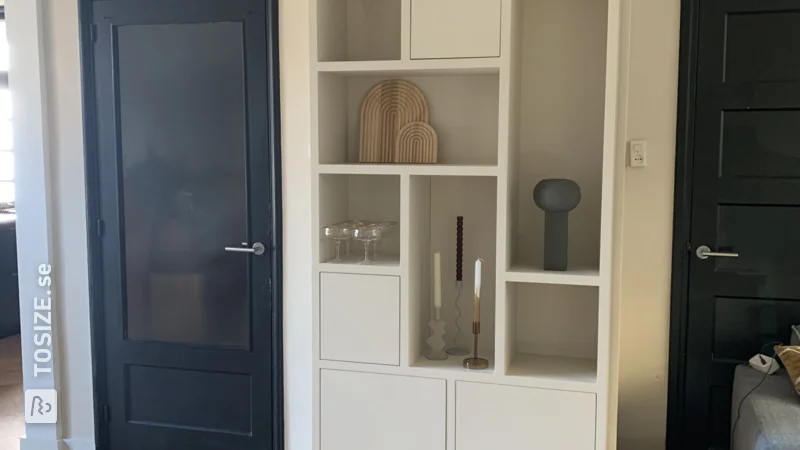
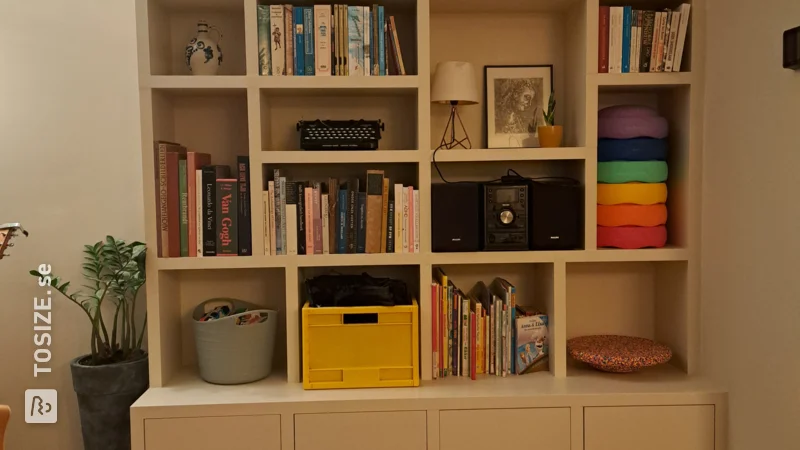
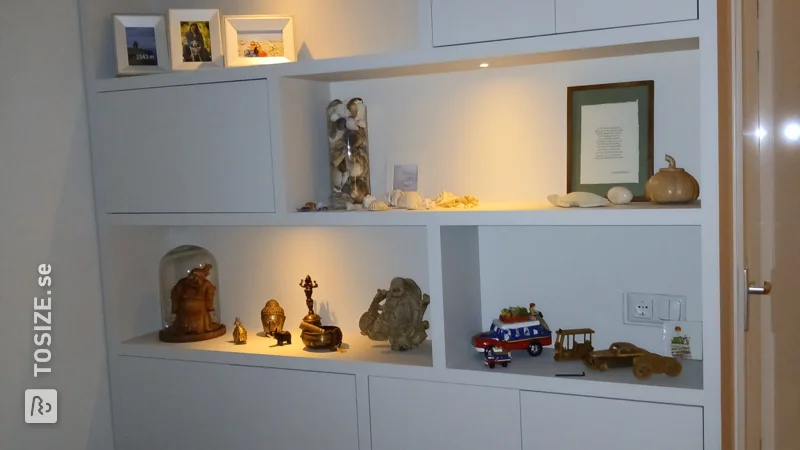
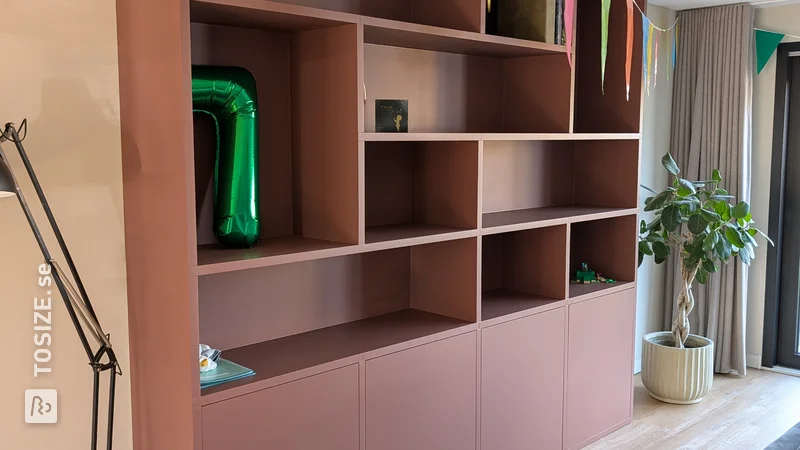
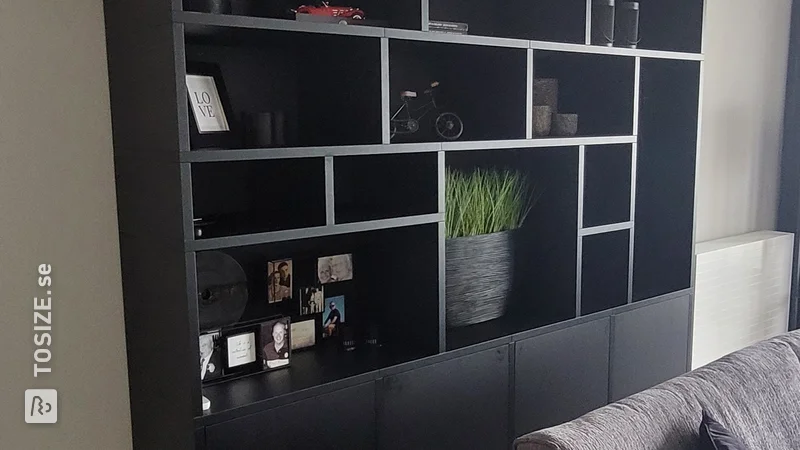
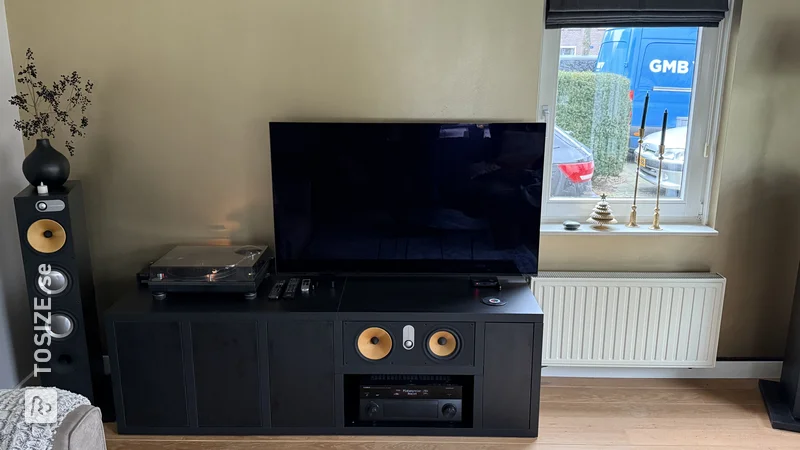
Sideboard with TOSIZE Furniture in black oak furniture panel, by Ivonne


Make this furniture yourself using TOSIZE.se
Ivonne
Easy
3 minutes
Description of Ivonne
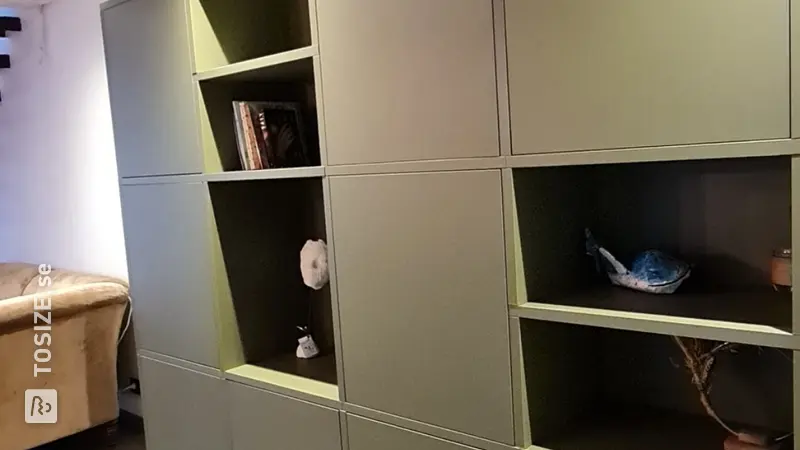
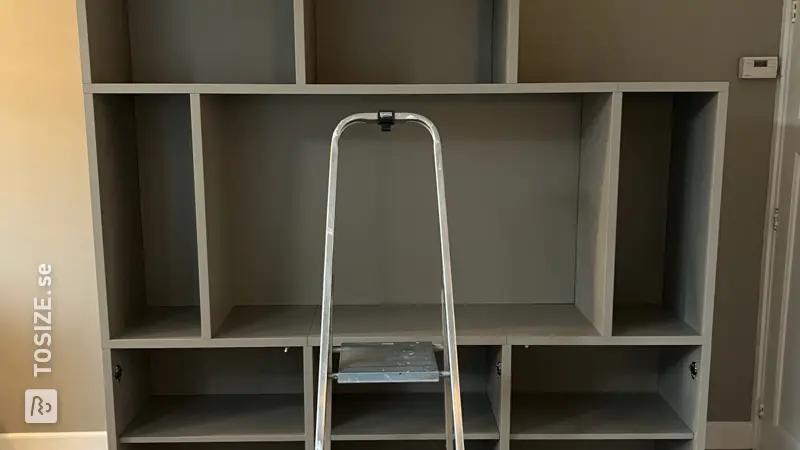
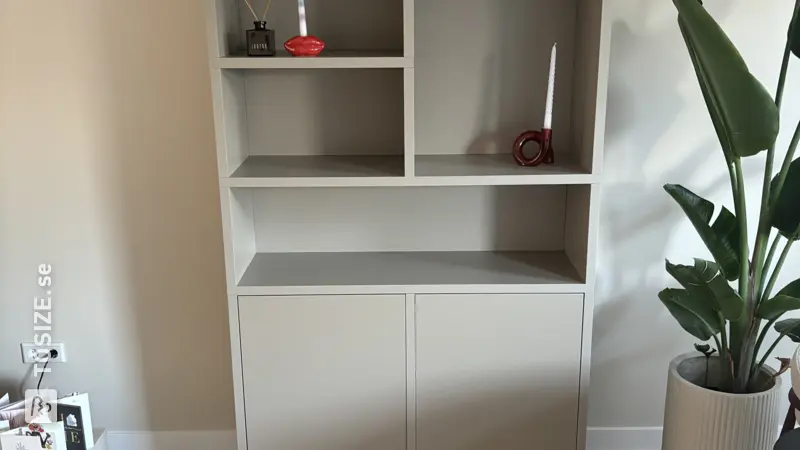
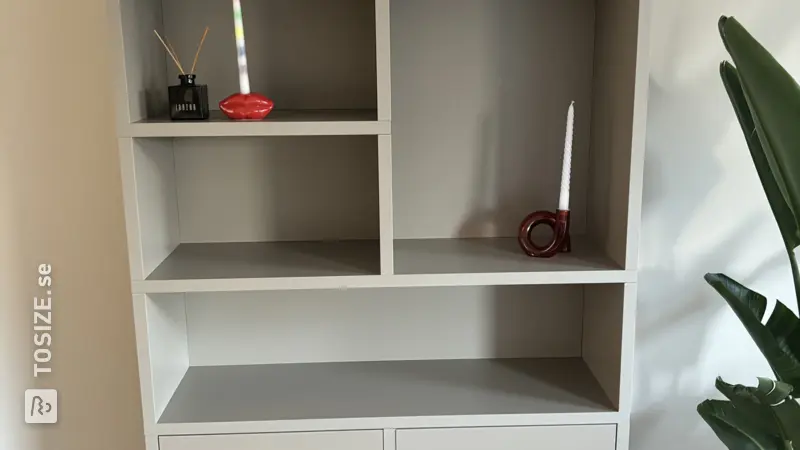
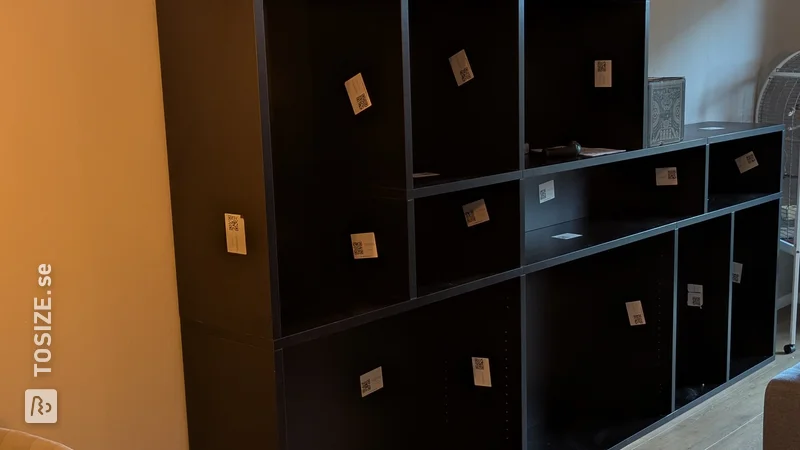
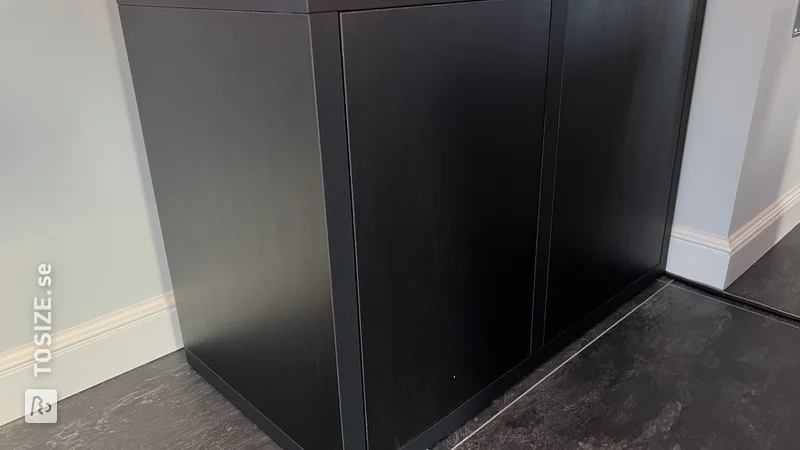
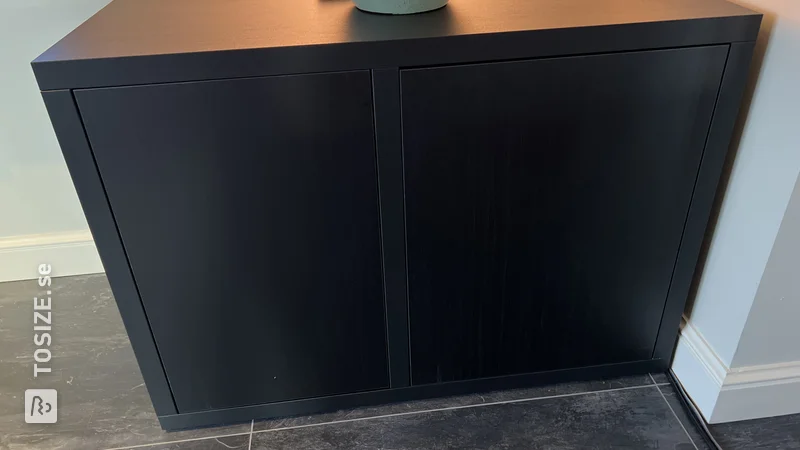
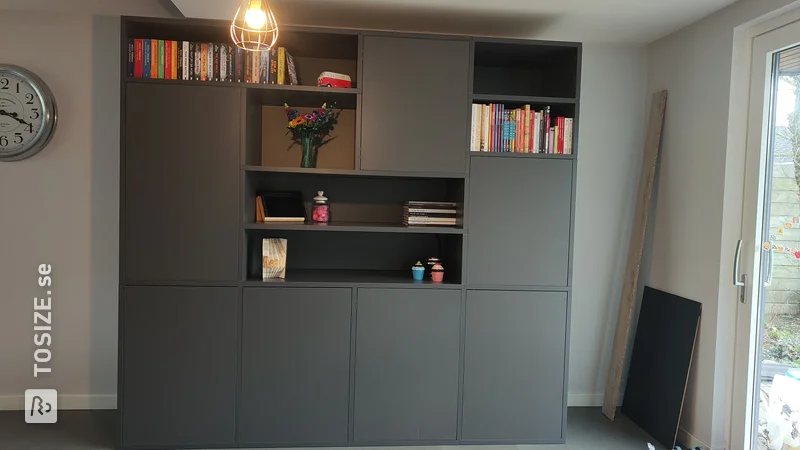
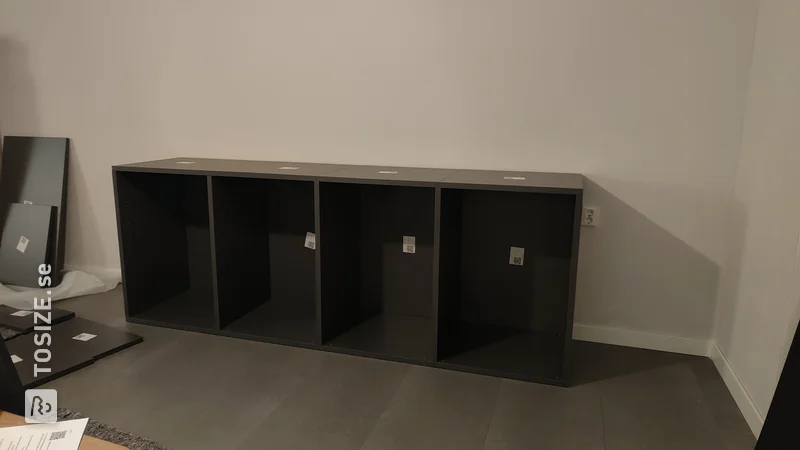
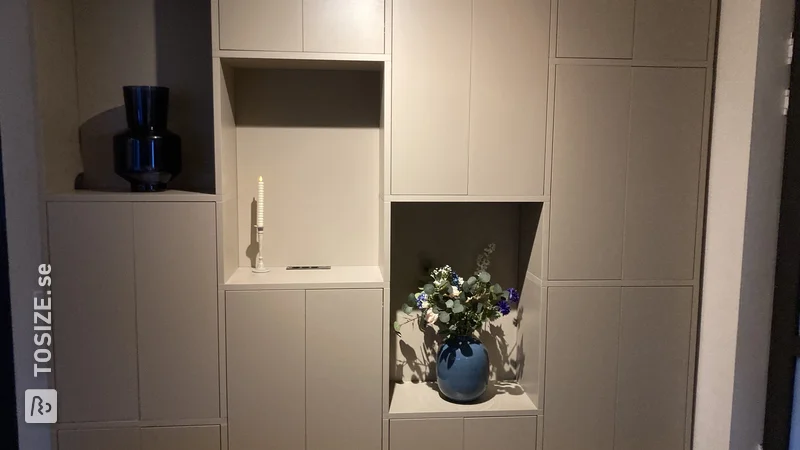
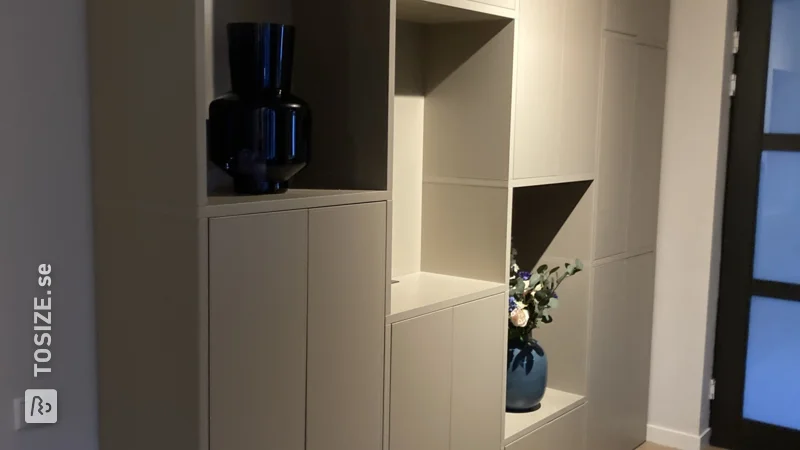
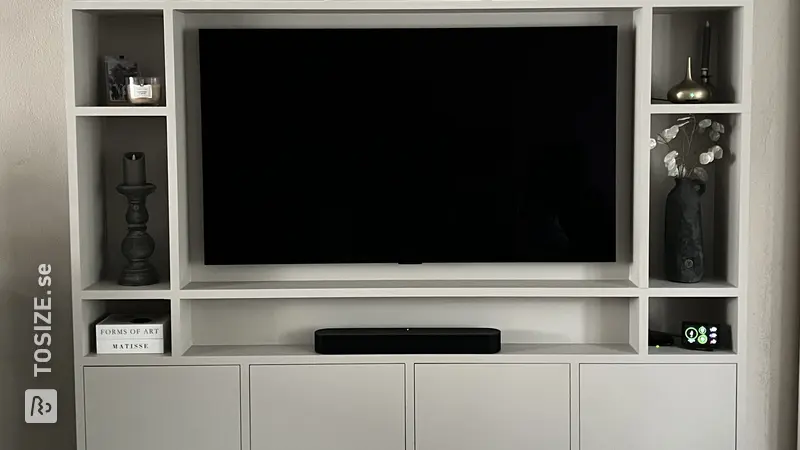
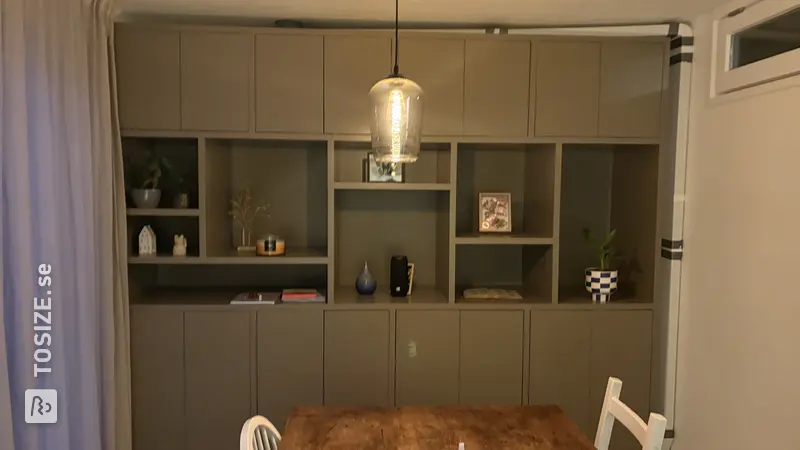
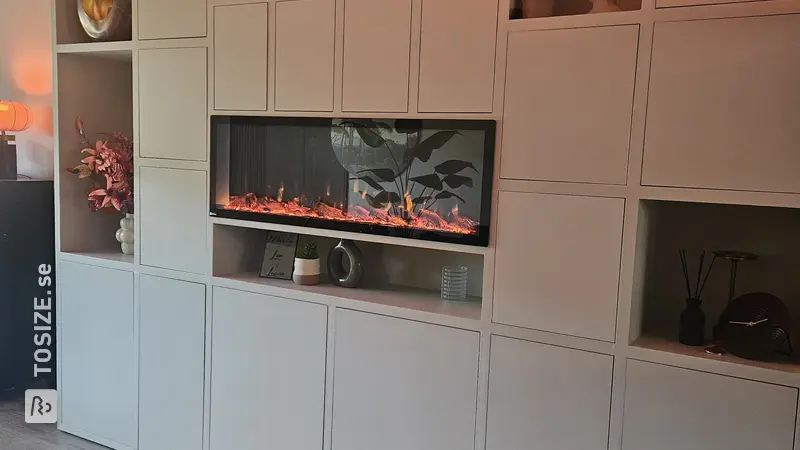
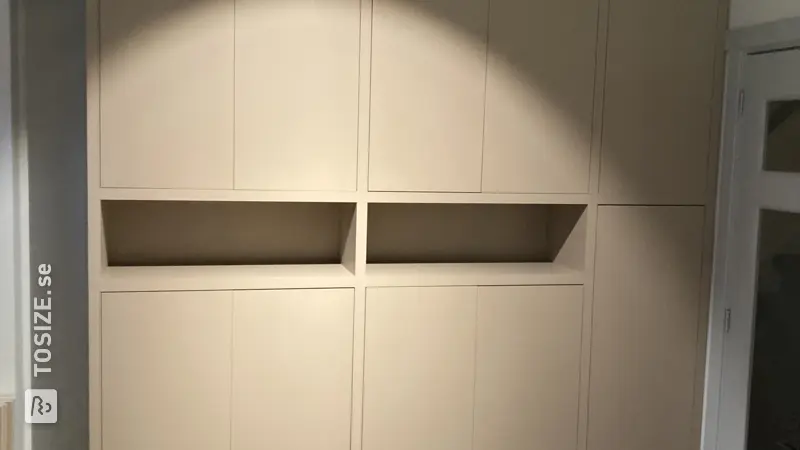
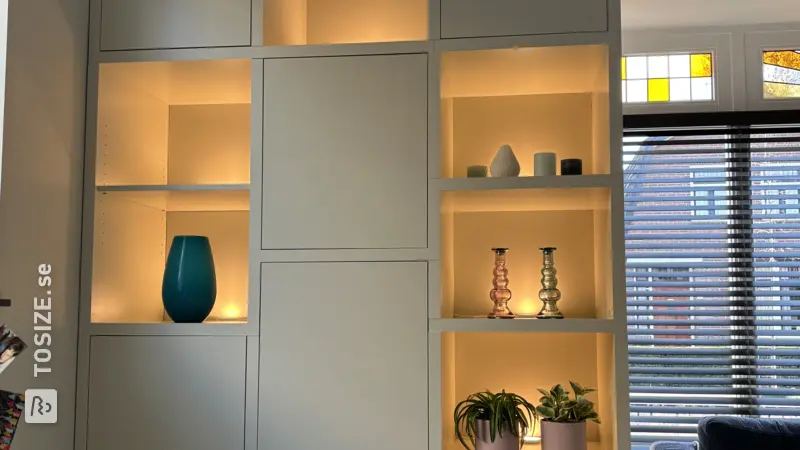
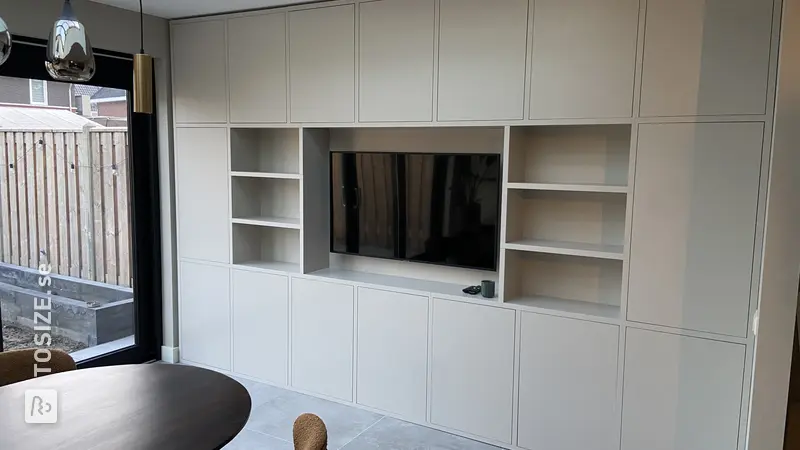
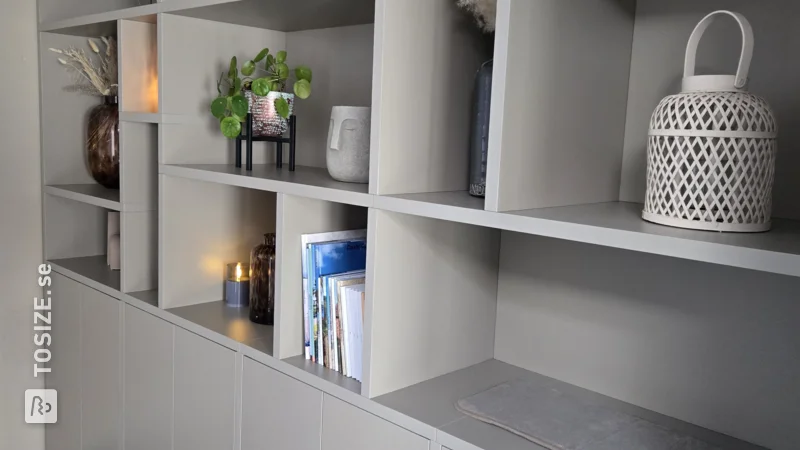
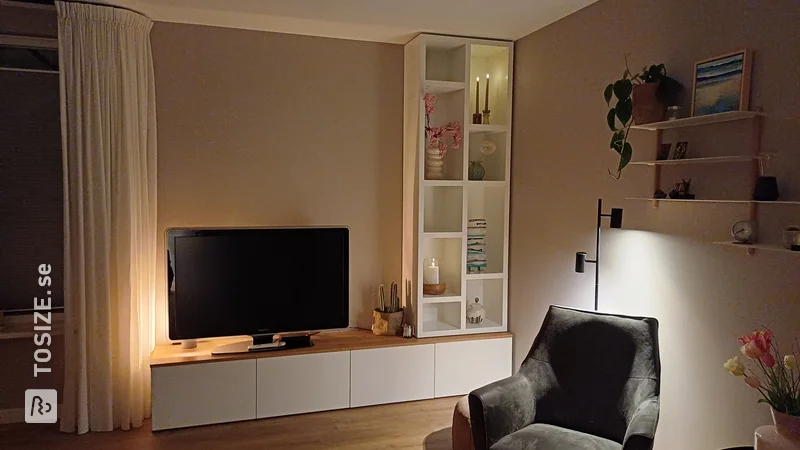
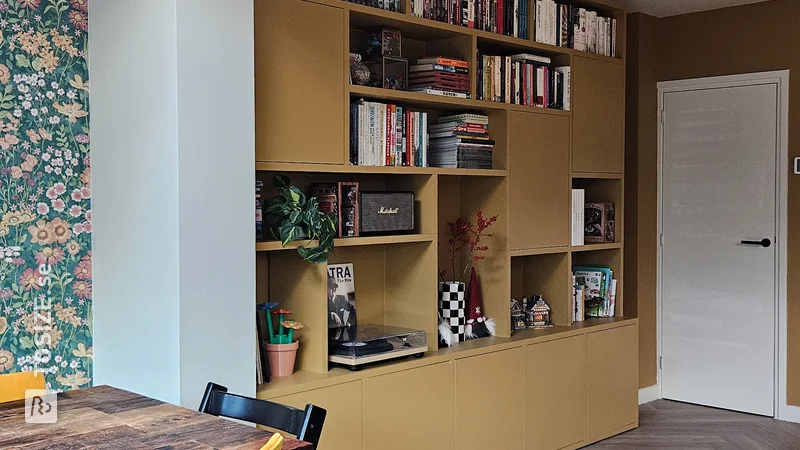
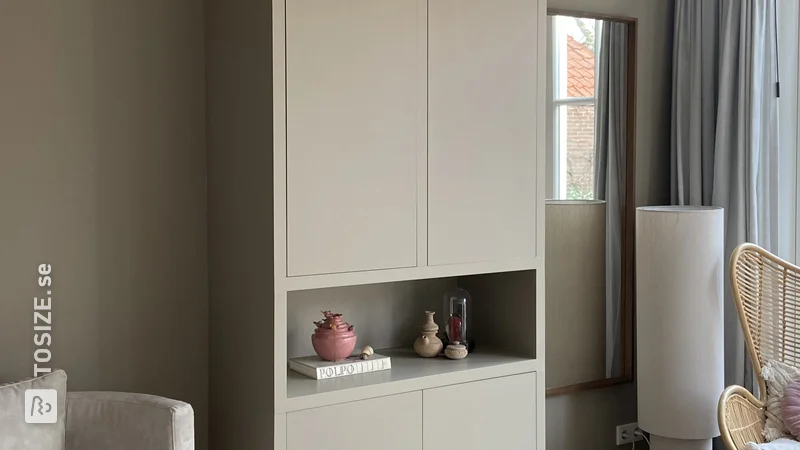
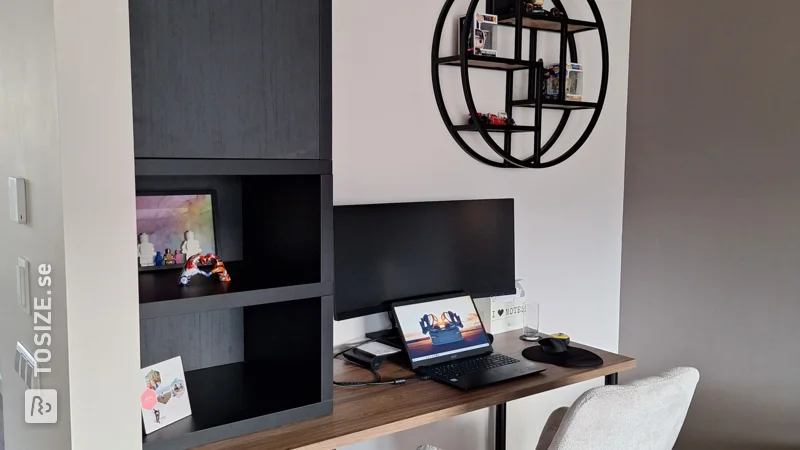
By ordering two cabinets in a different depth, I created a sideboard. I placed the two cabinets on top of each other to make it a single unit. In doing so, I removed the lower girder of the upper cabinet by taking over the holes in the deeper cabinet. This is not necessary (you can also leave a double edge), but I enjoyed experimenting with it. The cabinet looks super nice against the wall with the graphic wallpaper!
Step-by-step plan for making and building the cupboard
Preparation
I started by making a design in one depth. That way I had a good overview of what the cabinet would eventually look like and I was sure that the dimensions were correct. When I was satisfied, I took a screenshot and rebuilt the cabinet in the configurator in two parts: the lower, deeper part and the upper, less deep part. For the upper part, I added the thickness of the shelf (3 cm) to the height, because I would remove this shelf. This way, the height comes out right again in the end.
Mounting the deep (lower) part
You build the lower part in the standard way. Follow the supplied manual.
Mounting the shallow (upper) part
- Construct the lower part of the cabinet (cabinet 1) according to the instructions.
- Take the lower beams from the upper part of the cabinet (cabinet 2). These will be the templates to drill the drill holes through. Lay the bottom beams of cabinet 2 on top of cabinet 1. Make sure the back sides are exactly level.
- Fix the beams (carefully) with glue clamps or painter's tape.
- Use an 8 mm diameter wood drill bit to take over the holes. For the depth, take the thickness of the girder + 1 cm (depth of drill hole).
- Mark this distance with painter's tape on the drill bit. Do not count the tip of the wood drill bit.
- Drill holes through the girder of cabinet 2 to transfer it into cabinet 1.
- To take over oval holes, drill 2 times, on both sides, of the hole. This way, you keep the possibility of slightly adjusting the uprights of cabinet 2.
- Once you have taken over all the holes, remove the beams from cabinet 2. You won't need these anymore.
- Continue building the cabinet according to the instructions. The top of cabinet 1 has now become the bottom of cabinet 2.
Despite taping the beams in place, it turned out that some of the holes had gone a bit awry. In this case, I did not insert the dowel so I could continue building the cupboard. In the end, everything fitted well and the cabinet was assembled in about half a day!
Styling
The advantage of black oak is that it no longer needs to be painted and we could style it right away.
Dimensions of my DIY project
Height: 260.0 cm Width: 250.0 cm Depth: 45.0 / 30.0 cm
Tip! Also check out our handy DIY tips!
What now?
Do you want to create this DIY project? This piece of furniture is part of our TOSIZE Furniture collection. Design your personalized, custom-made furniture using our 3D configurator! Want more information? Learn more about available colors, assembly, or browse all frequently asked questions. You’ll receive a TOSIZE Furniture package, including an installation kit.
53 381,23 Skr
View all furniture
