- TOSIZE.se
- Do it yourself
- DIY Projects
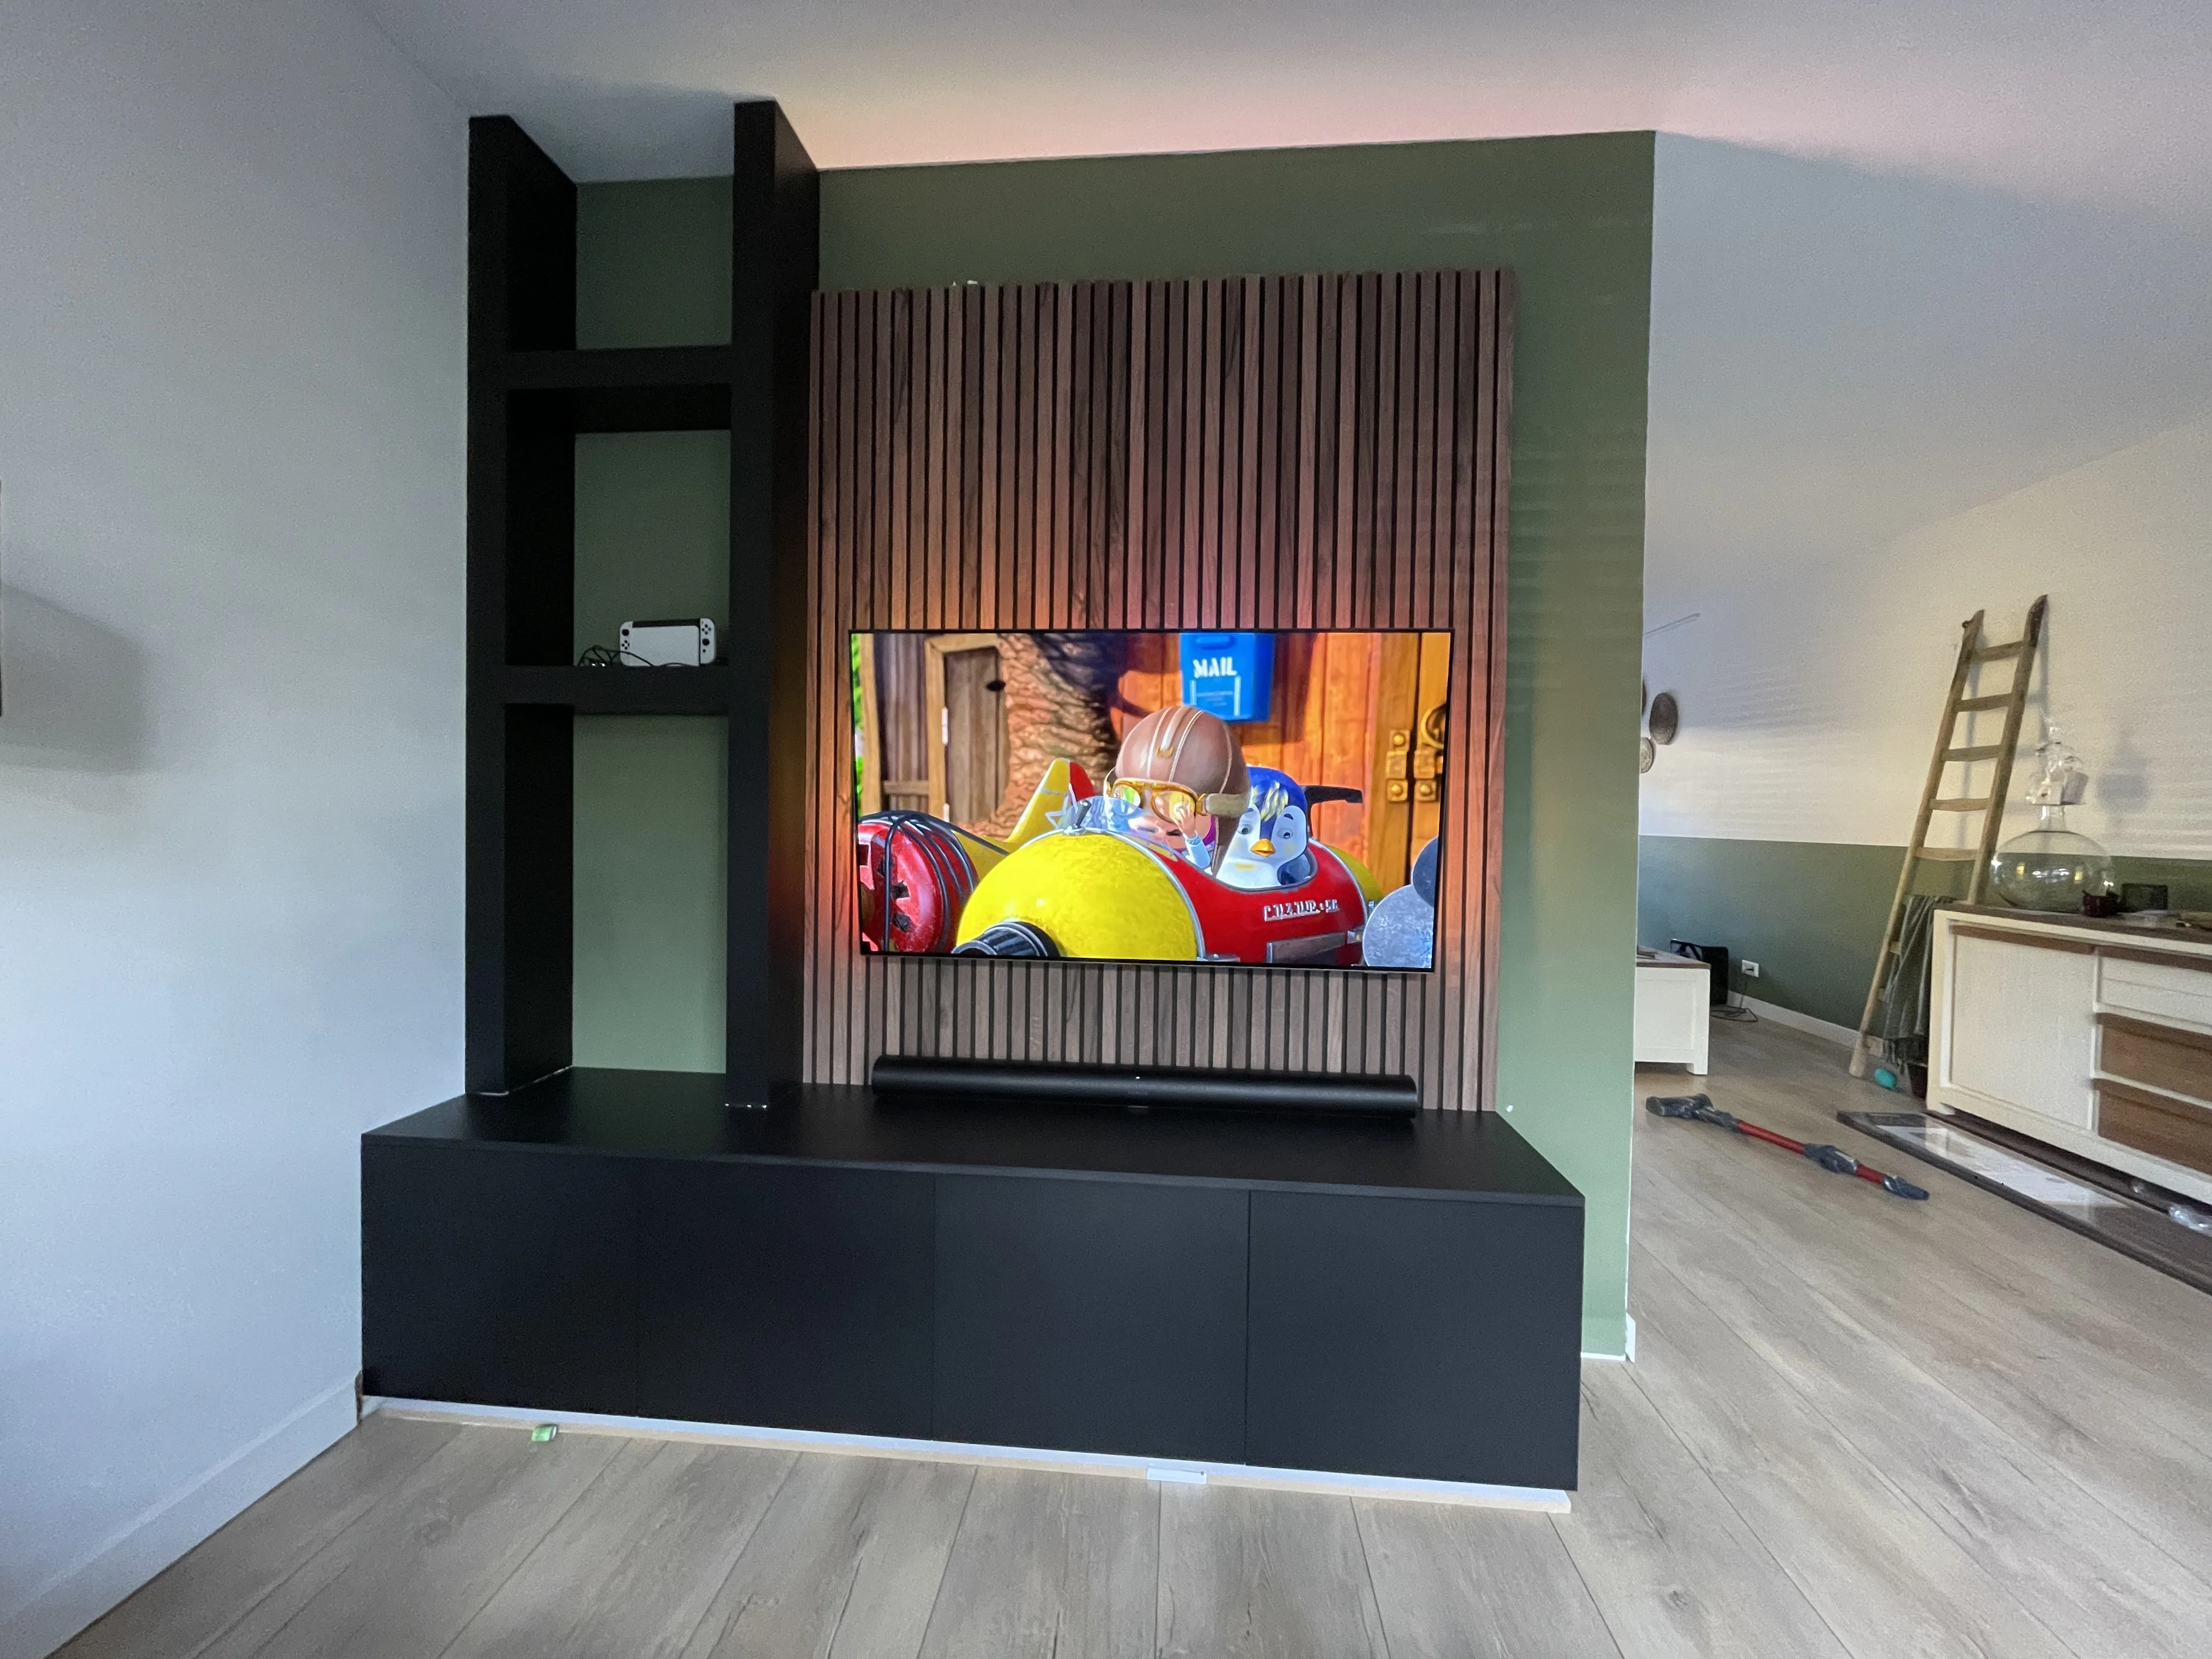
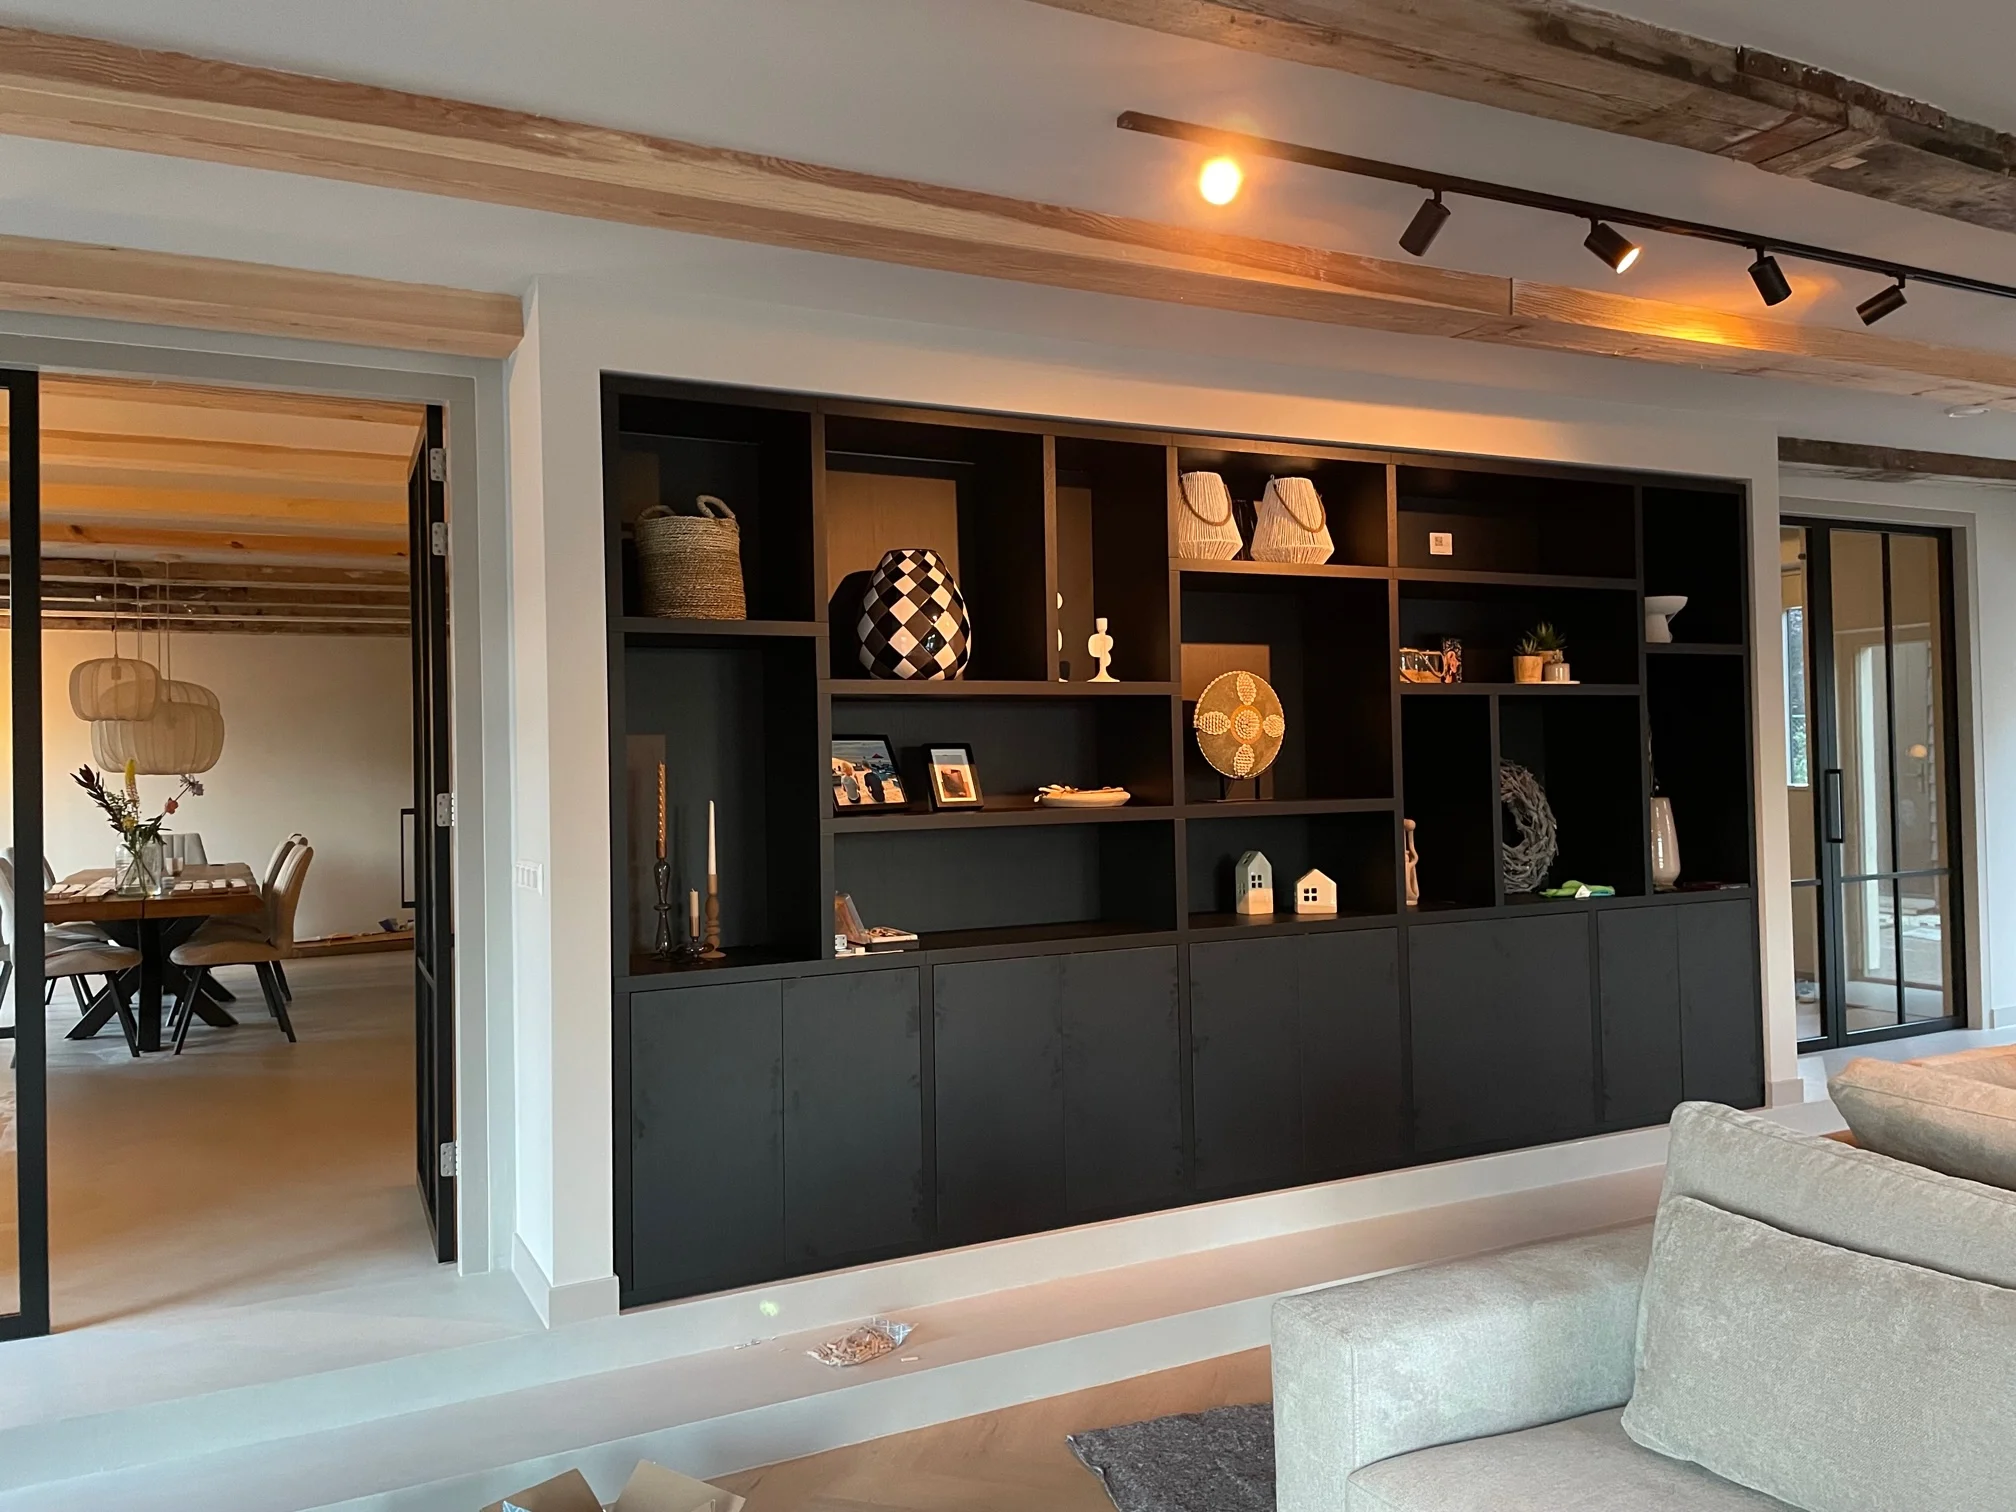
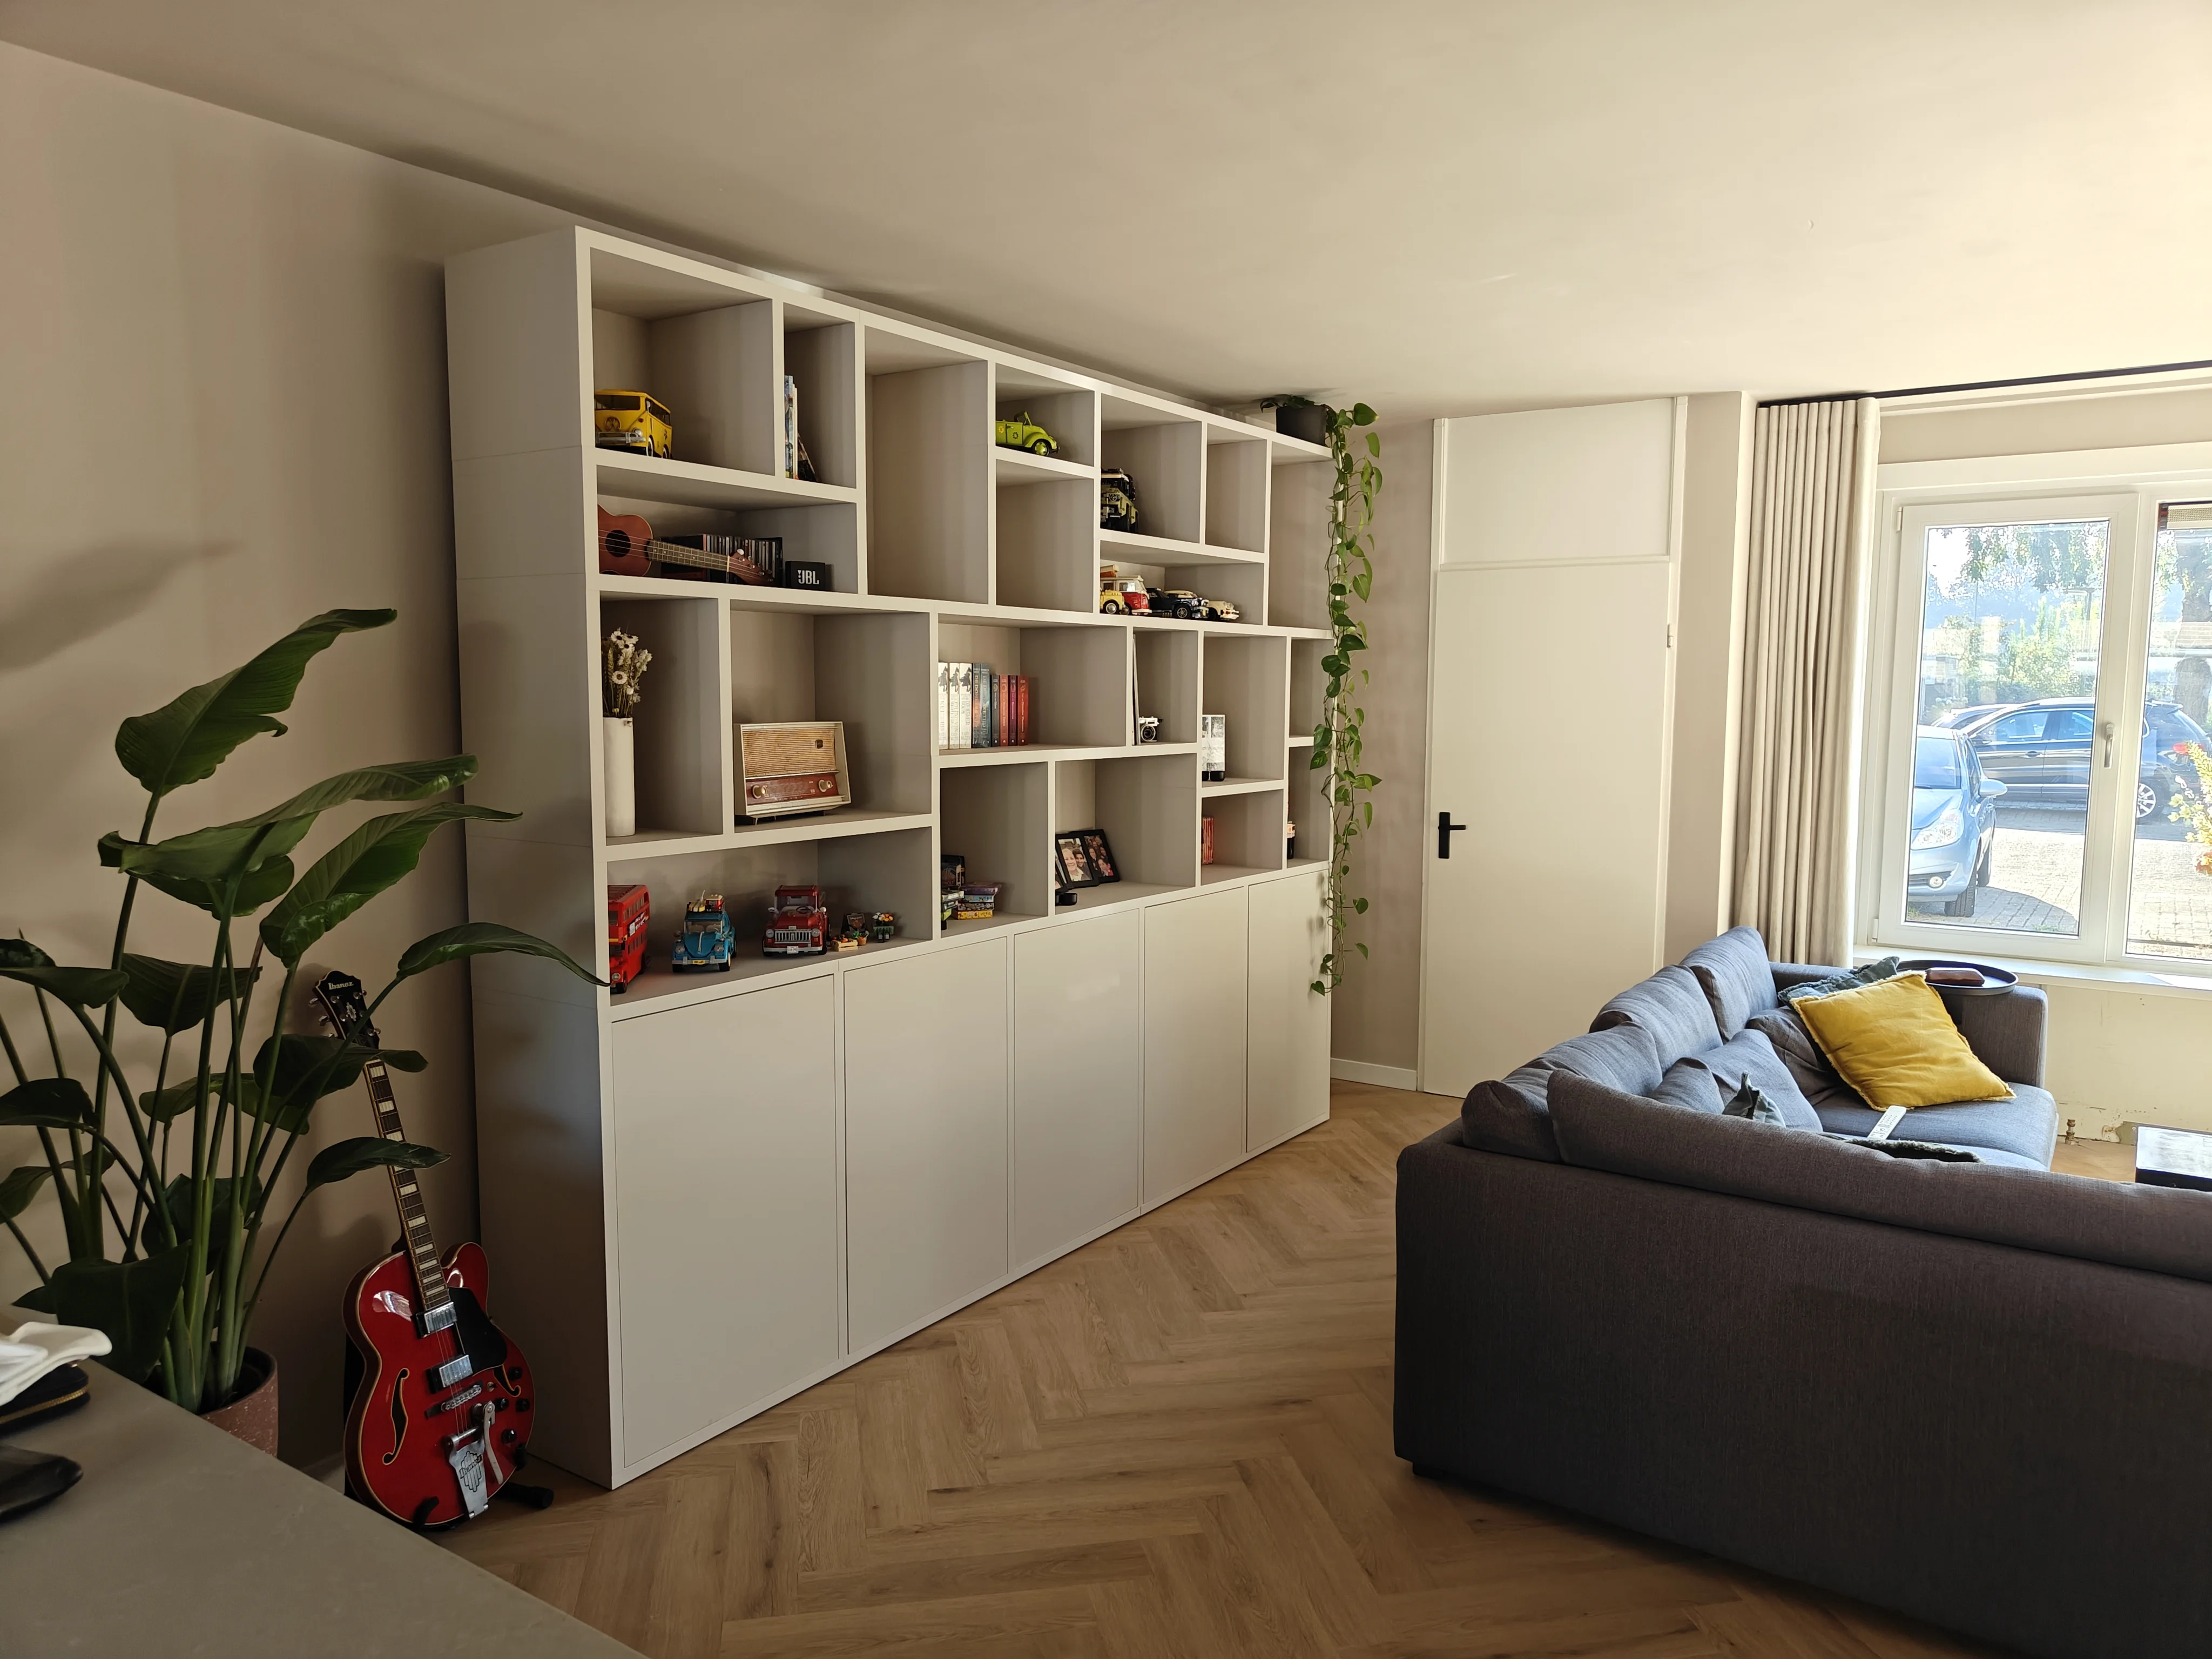
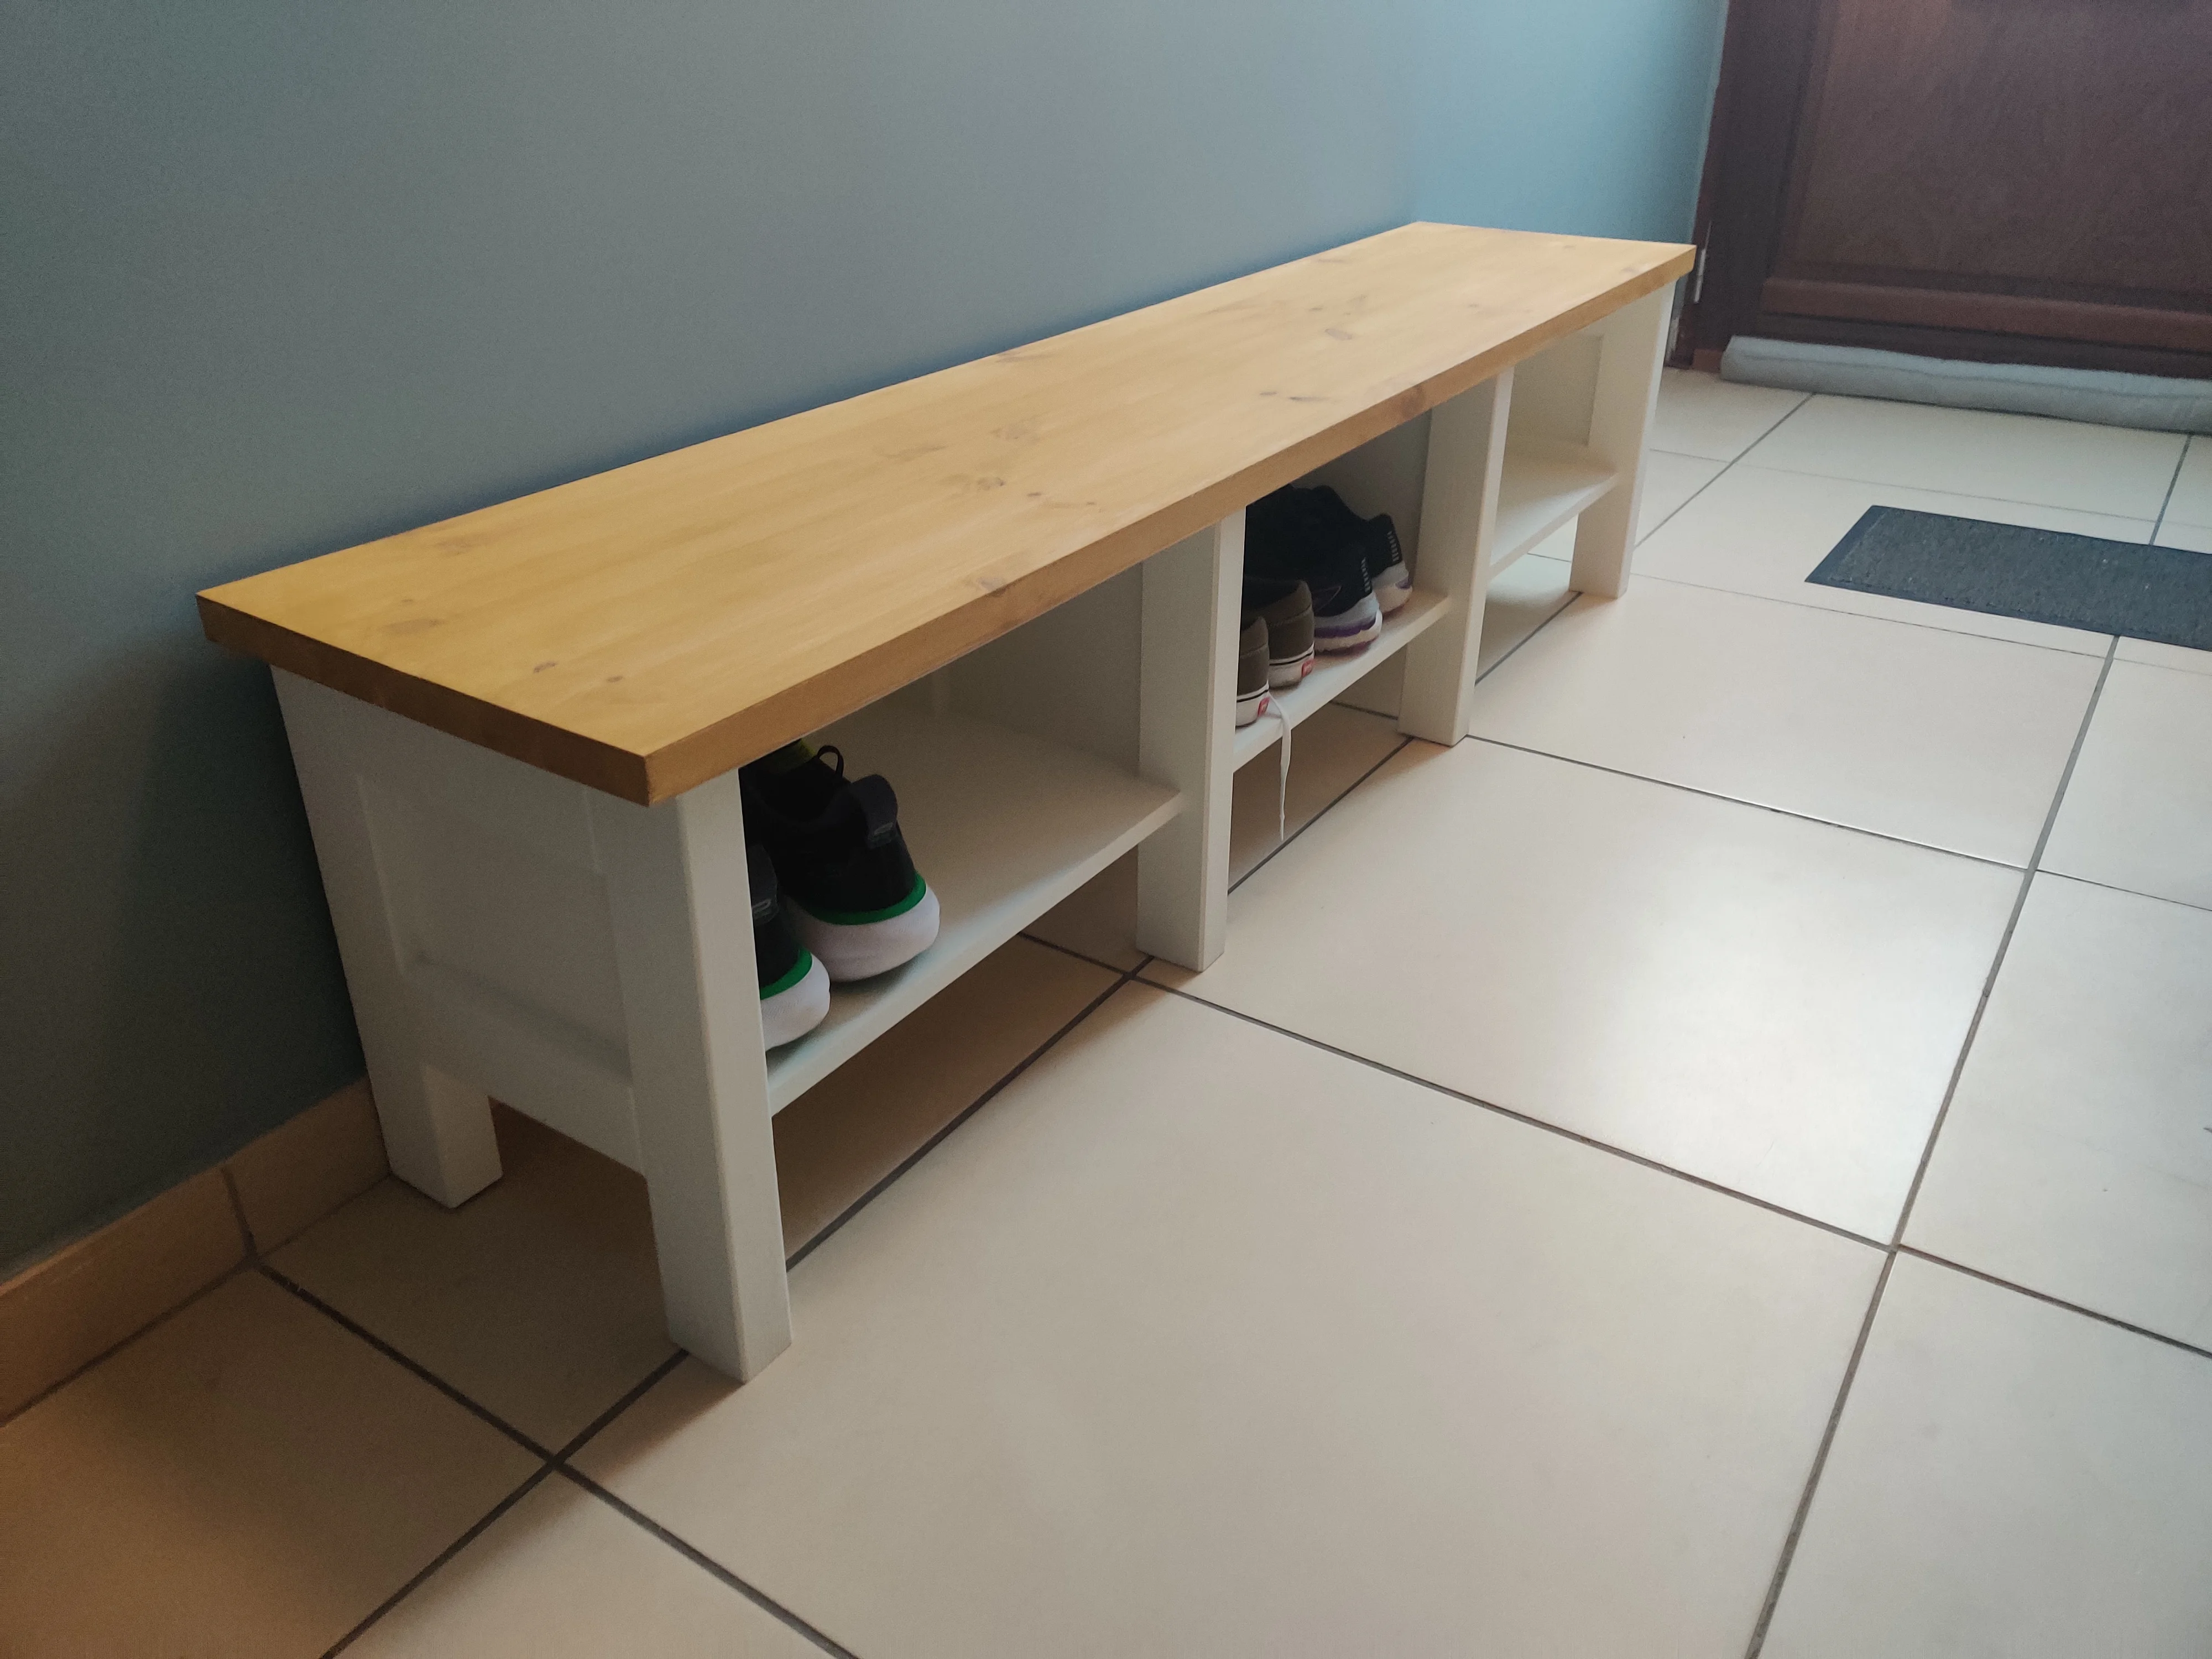
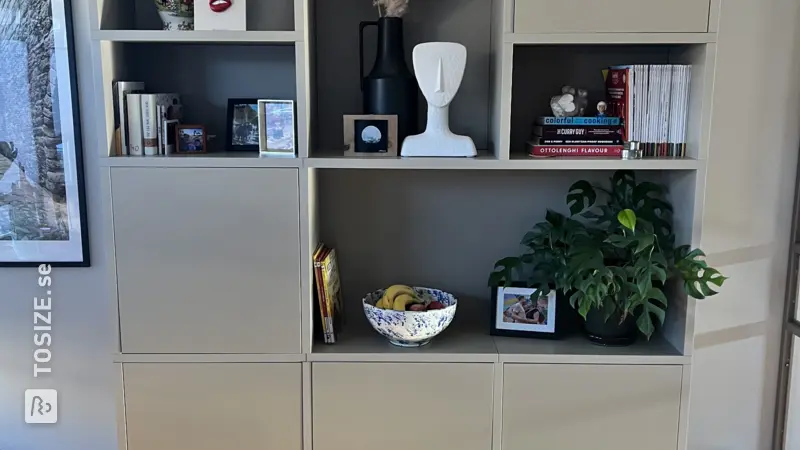
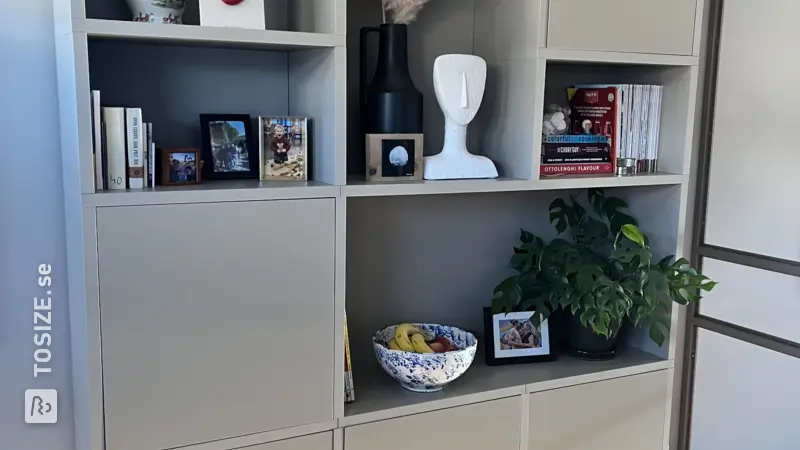
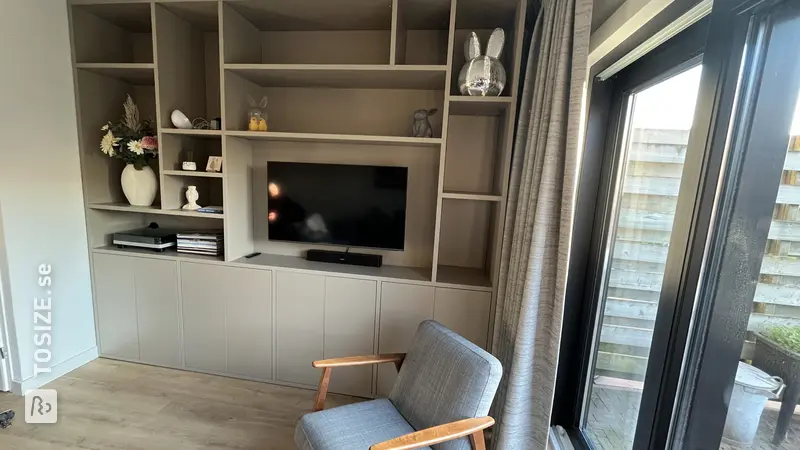
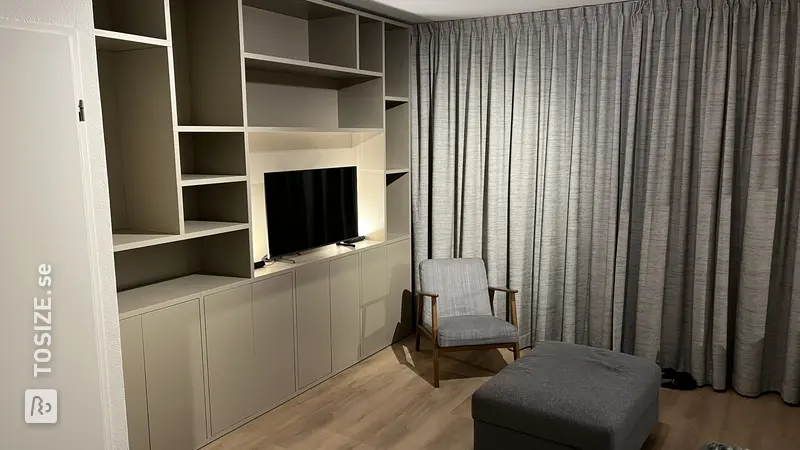
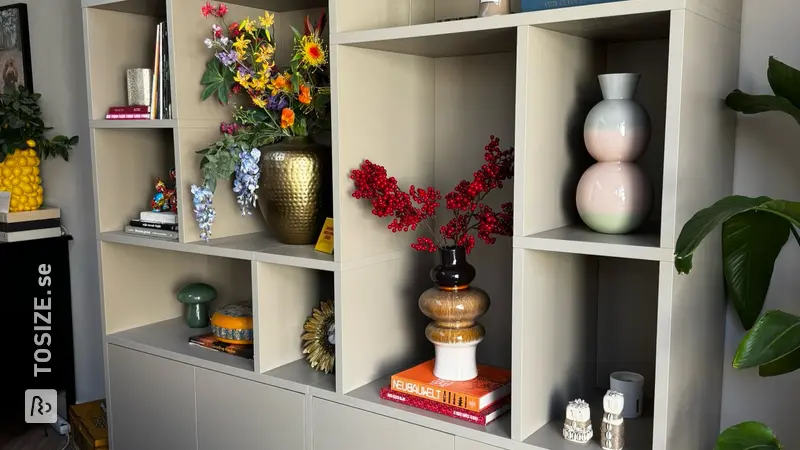
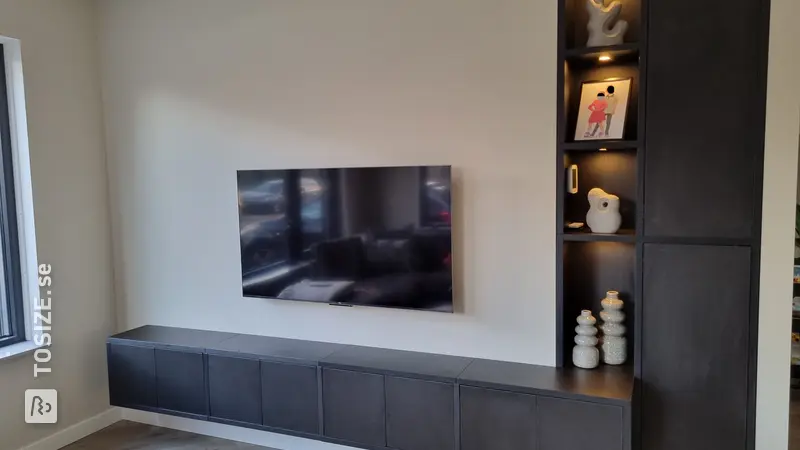
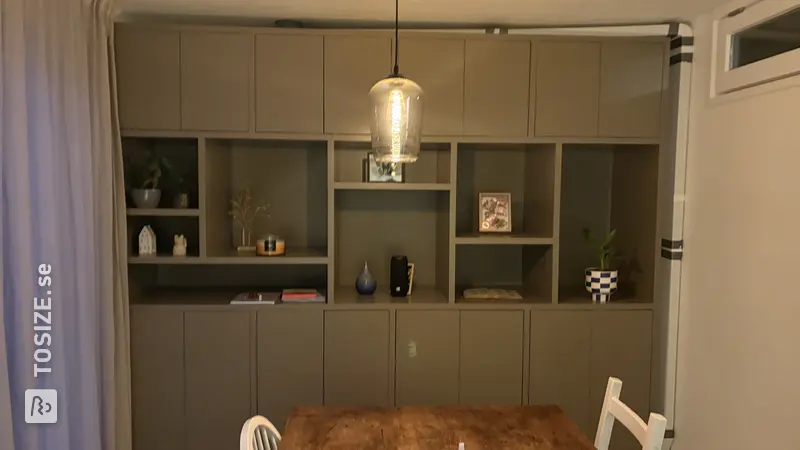
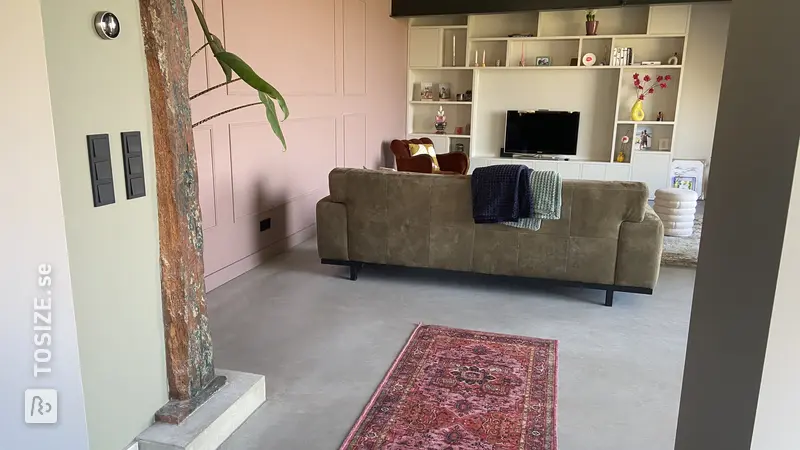
No fewer than three custom cabinets in black oak furniture panel with TOSIZE Furniture, by Bart and Harmtina


Make this furniture yourself using TOSIZE.se
Bart & Harmtina
Average
4 minutes
Description of Bart and Harmtina
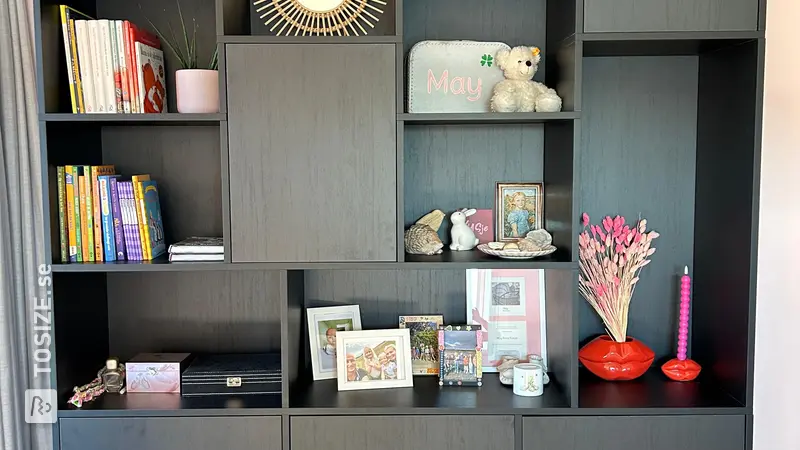
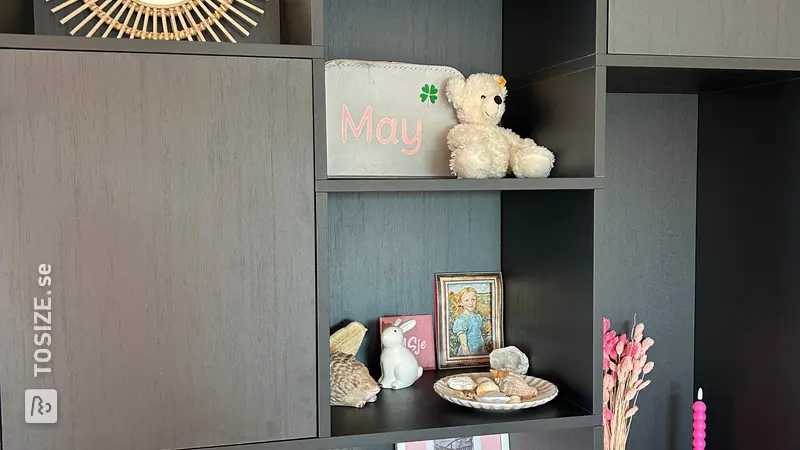
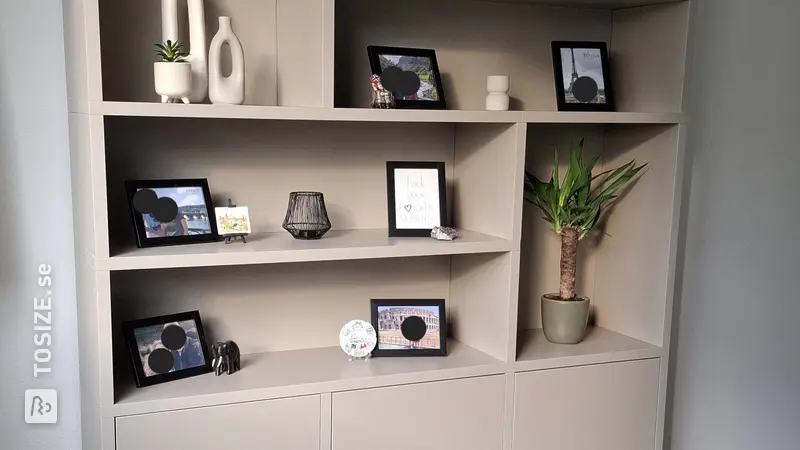
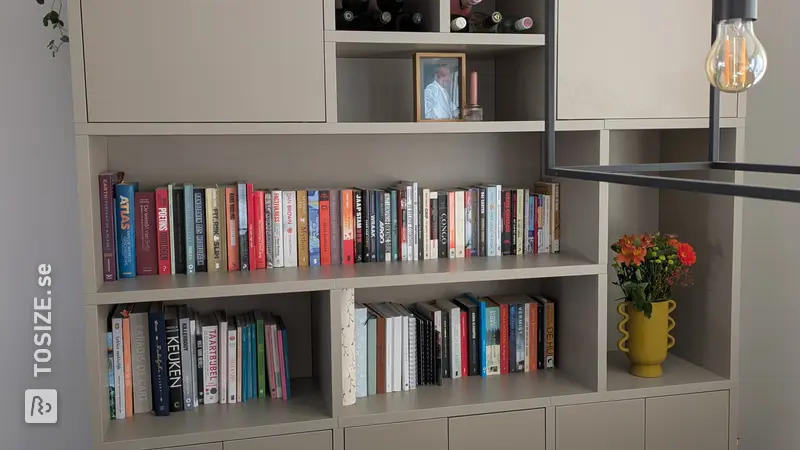
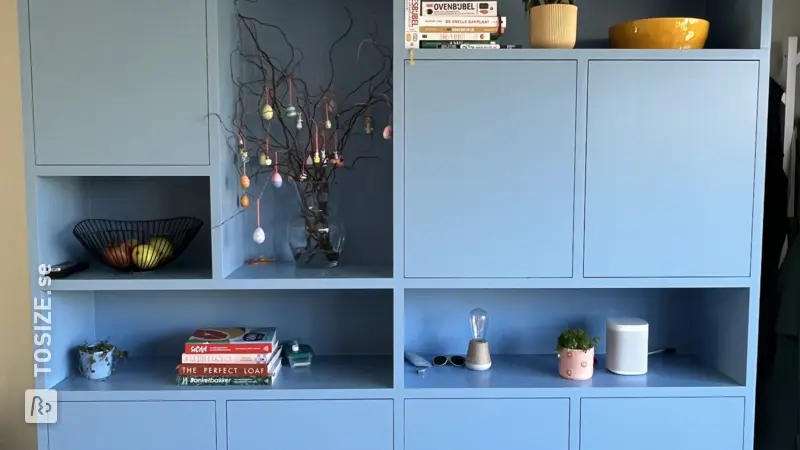
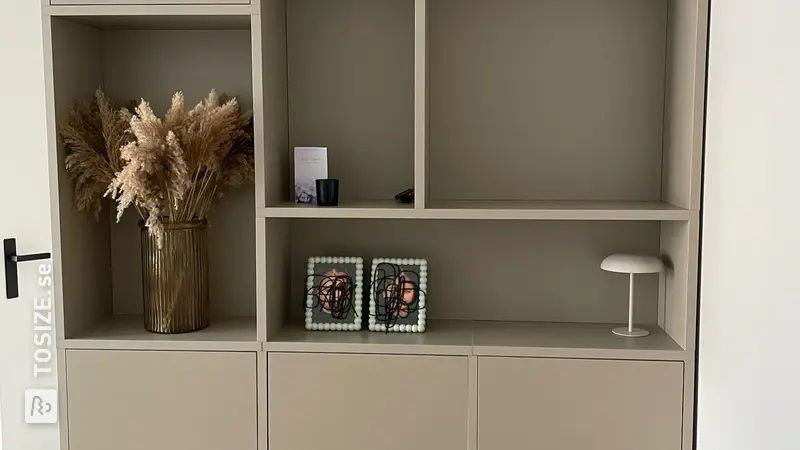
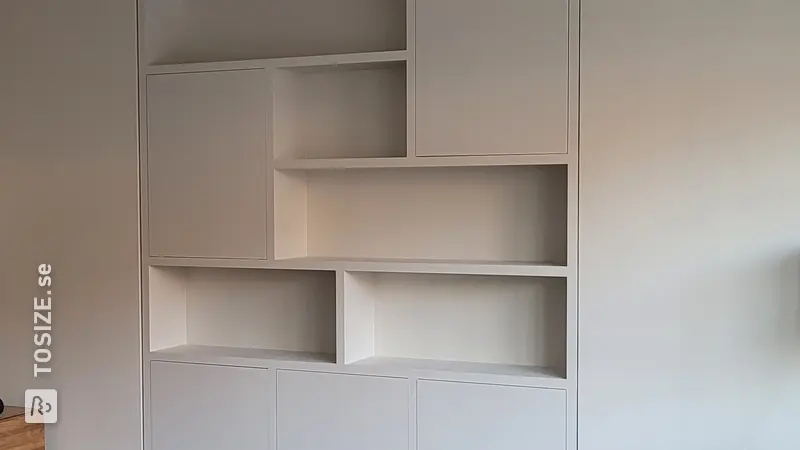
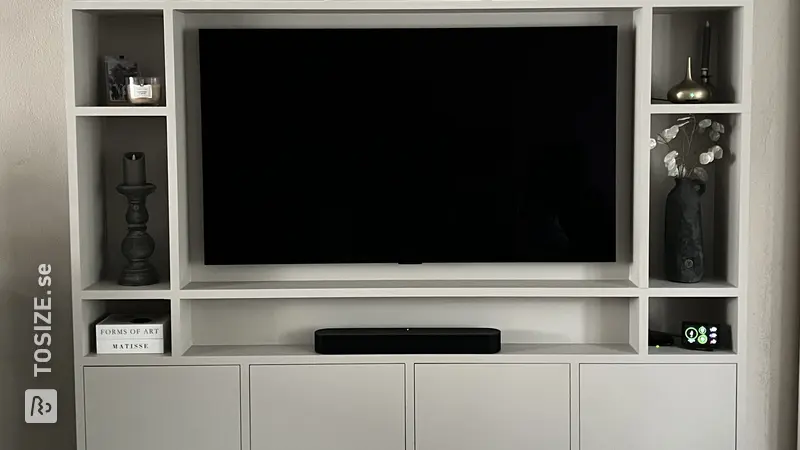
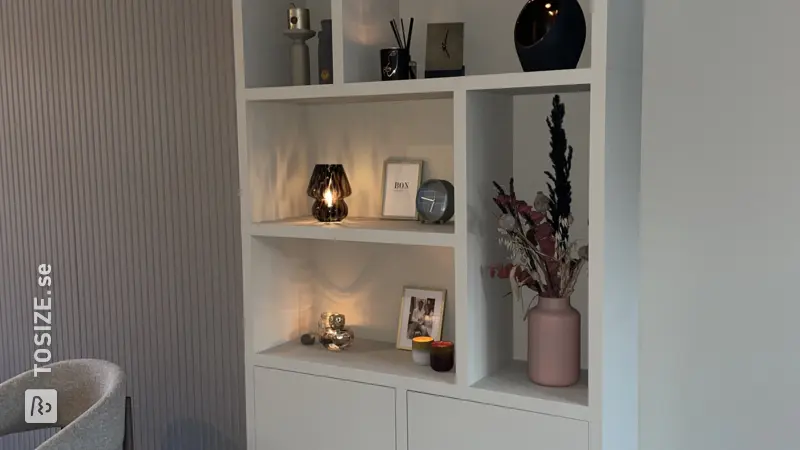
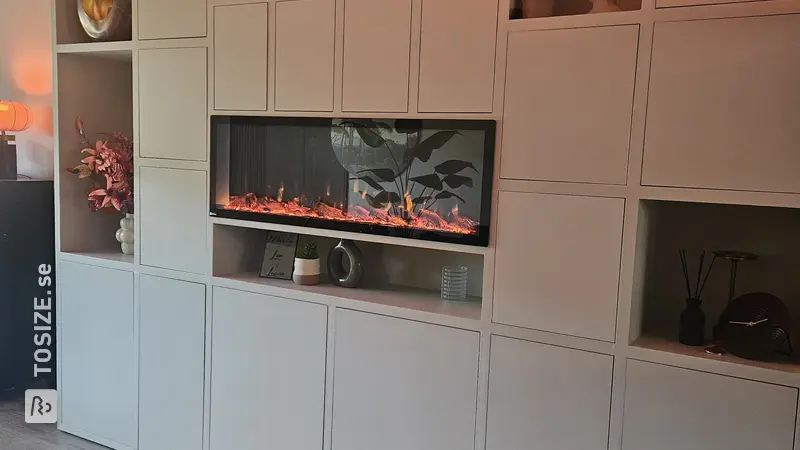
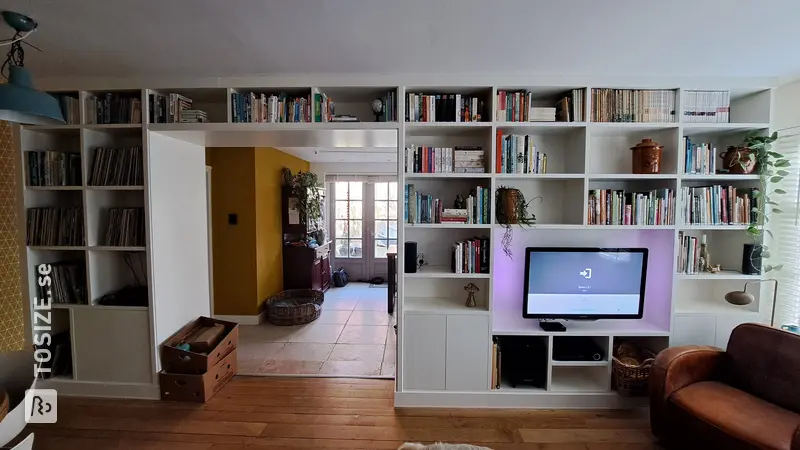
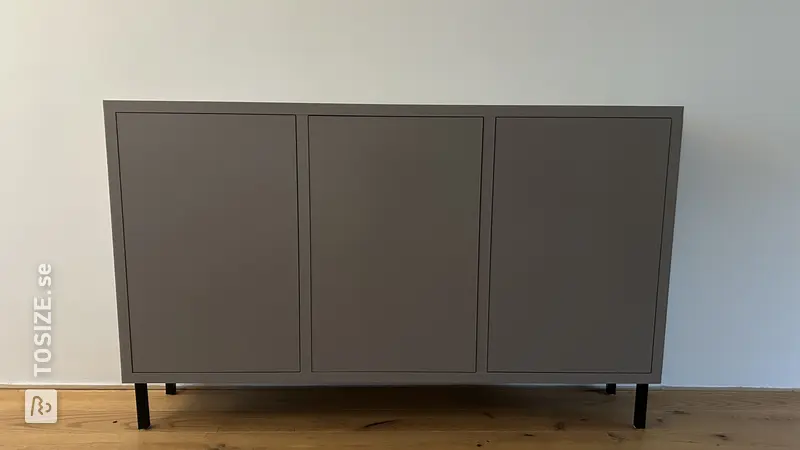
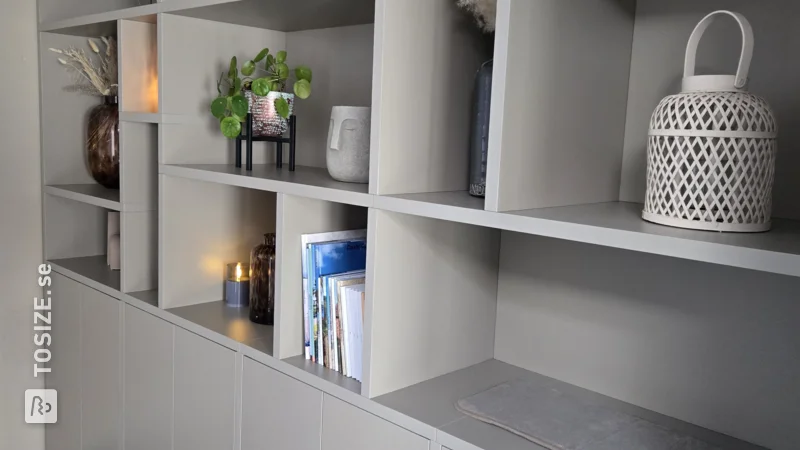
The reason for a new custom sideboard is because we sold the old furniture with the house. Our inspiration comes from Pinterest where we came across beautiful sideboards. We also came across a beautiful TOSIZE Furniture cupboard from TOSIZE.se here. I soon ended up on the website and after clicking around in the 3D configurator I showed my very pregnant wife the design of the sleek sideboard in black oak furniture panel. She was immediately enthusiastic. The advantage of black oak is that it no longer needs to be painted. Immediately afterwards I also made a design for a low TV sideboard and a shoe cabinet for the hall. We requested a sample that was delivered within 2 days. We ordered immediately, and I couldn't help but smile at the thought of how these new pieces of furniture would change our home.
Different dimensions of construction drawing
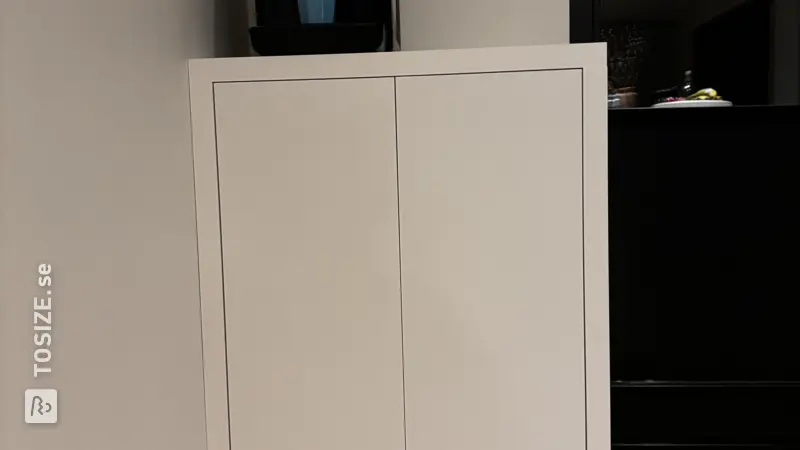
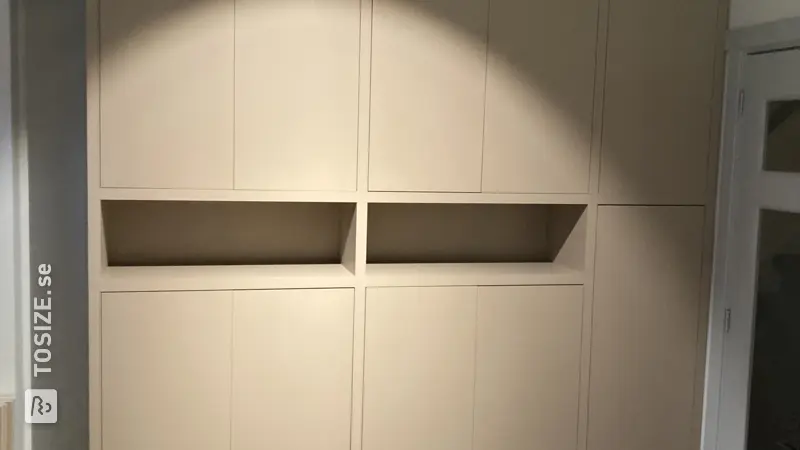
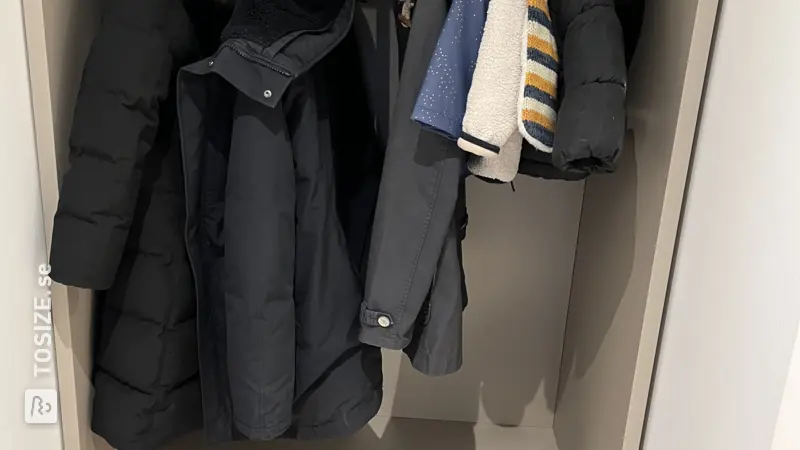
During the viewing of the new home, we discovered that the dimensions of the shoe cabinet did not correspond to the construction drawing. The walls were further apart. We immediately sent an email to customer service. Fortunately, the cabinet was not yet in the production hall and we could still adjust the design. Very nice :)
The order is delivered
In the meantime, we have moved to Assen and have become proud parents of our daughter Evi. Between the companies we worked hard to get the house ready. On November 20th the time had come. The order from TOSIZE.se with 500 kilos of panels was imminent.
The real work can begin
We first studied the drawing and colored all the panels sorted. This is quite easy due to the clear stickers with color code and numbering. Three pots of wood glue and three large bags of dowels and the necessary shelf supports and hinges for the doors. All the material is of top quality. The wood felt solid and the DIY work could begin.
How I made this project
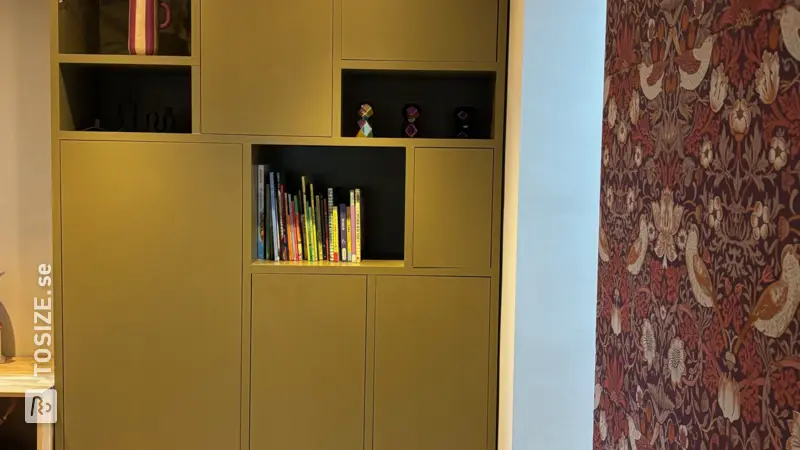
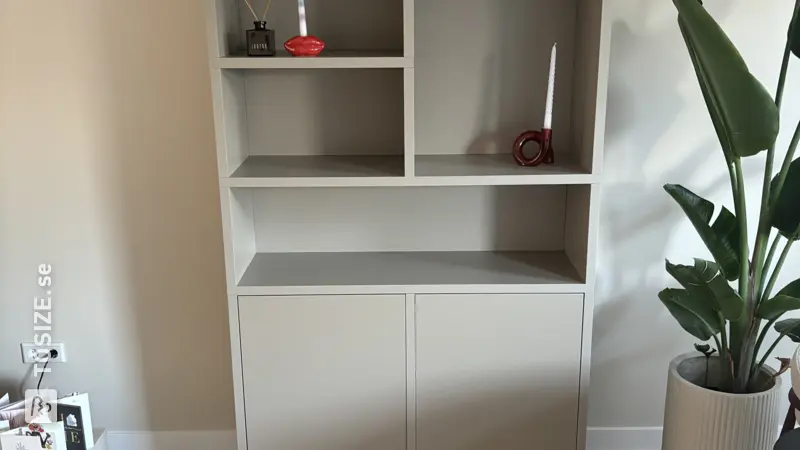
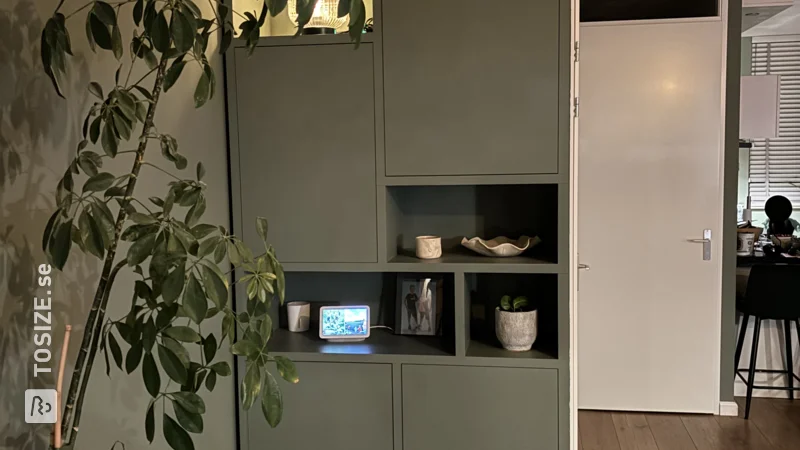
First up was the shoe cabinet. We first attached the dowels into the standing planks. We started building the cabinet at the bottom left of the drawing. However, in my haste I had forgotten the frame in the design. That's why it was a bit painful to cut into the brand new cupboard to make it fit. When the shoe cabinet was finally ready, we stood proudly looking at the result. With a smile on our faces we already started dreaming of the next project: the low TV sideboard and the sideboard.
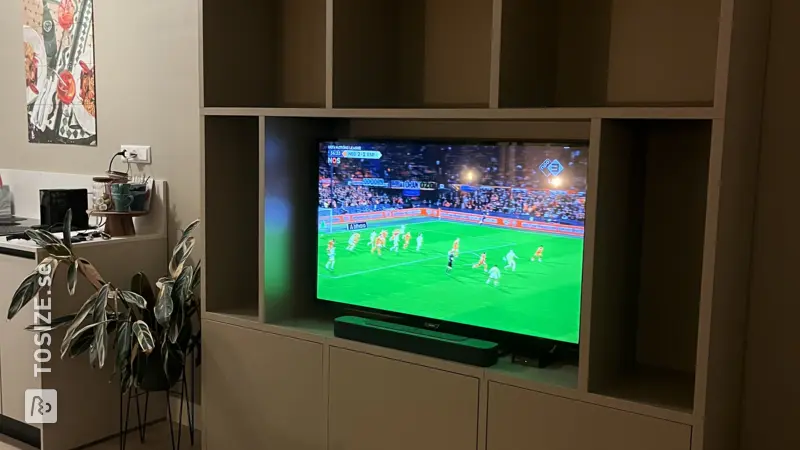
The low TV sideboard
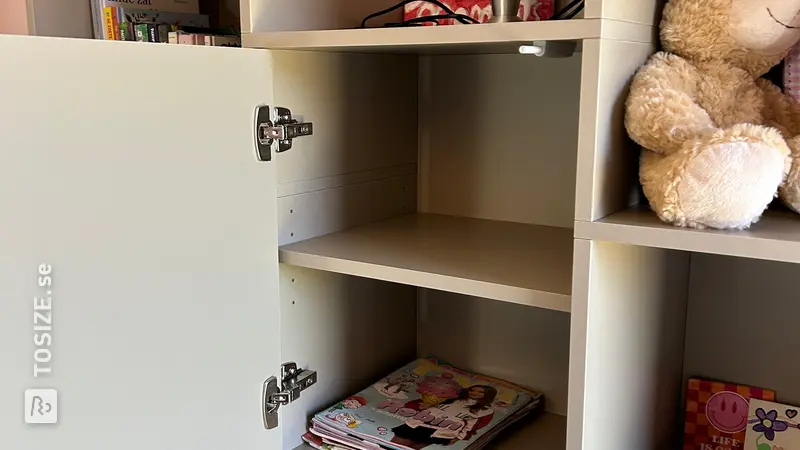
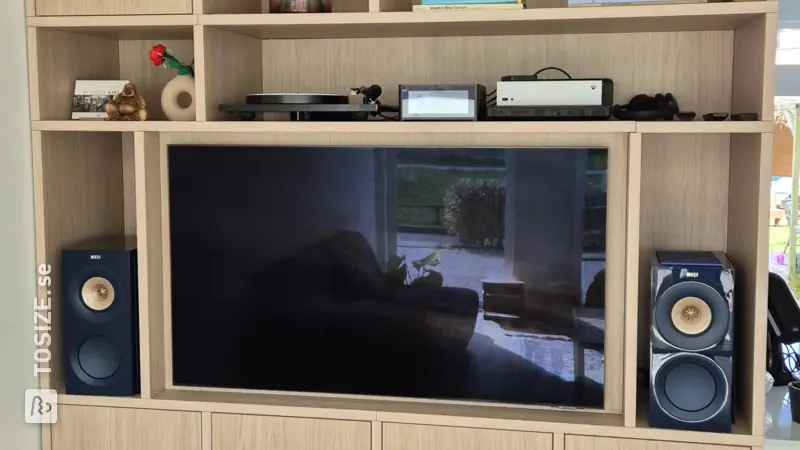
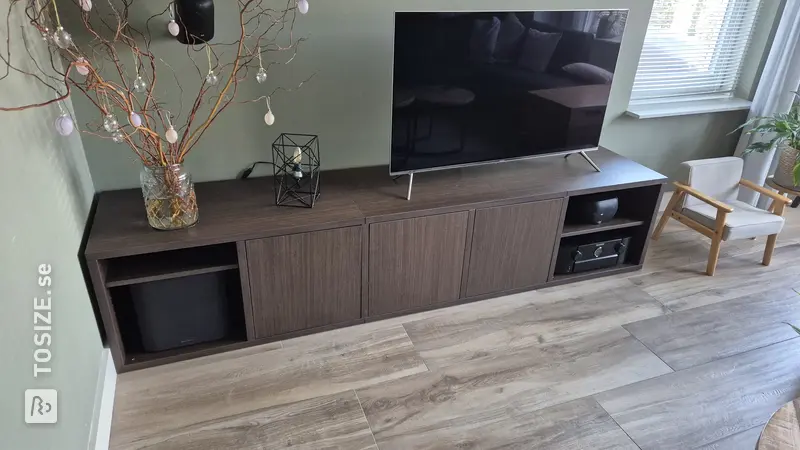
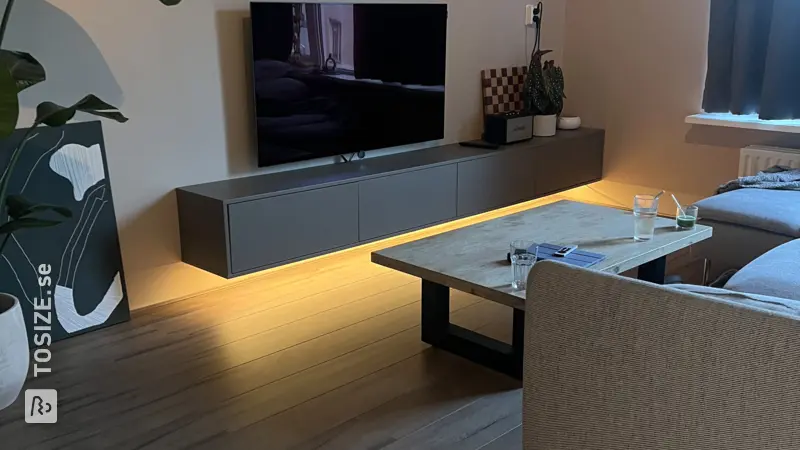
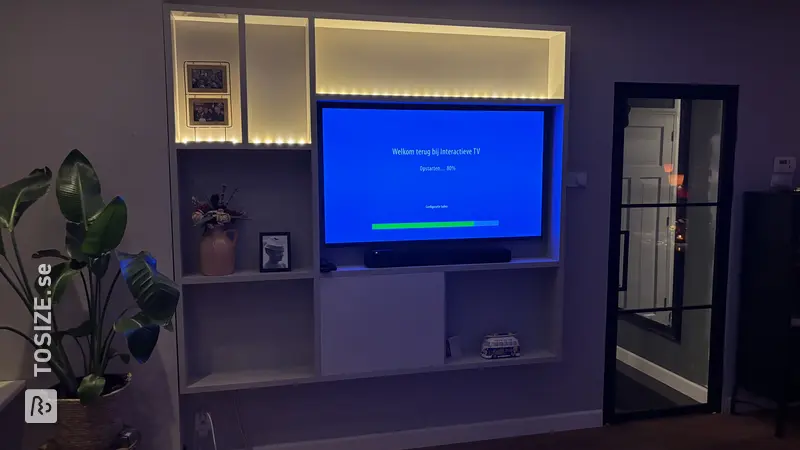
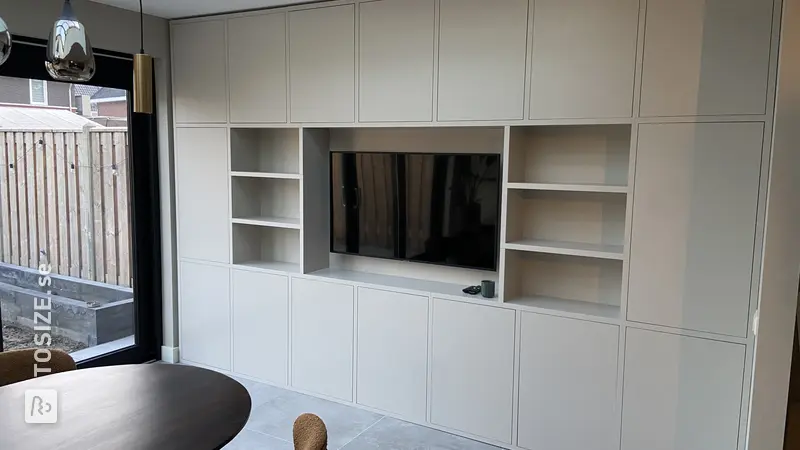
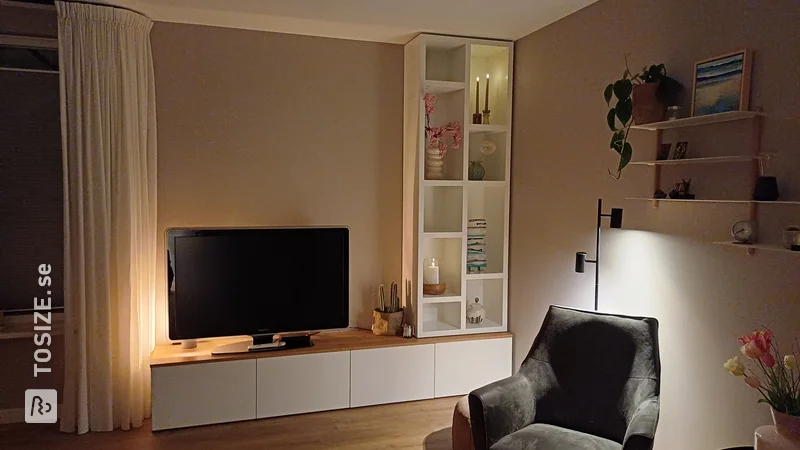
These were also a big pile small planks. From experience, we first laid the planks in number order because this is easy to build. We then placed the dowels in the standing shelves and attached the adjustable feet under the bottom panel. We used painter's tape to mark the position of the TV on the wall, so that we could measure exactly where the cabinet should be placed. A new aspect of this cabinet was that we had to attach hinges to the doors. This was ingeniously done with a click system. I was used to Ikea furniture, but this system turned out to be considerably easier to attach. Assembling the TV sideboard was a fun experience. From mounting the doors to accurately placing the shelves.
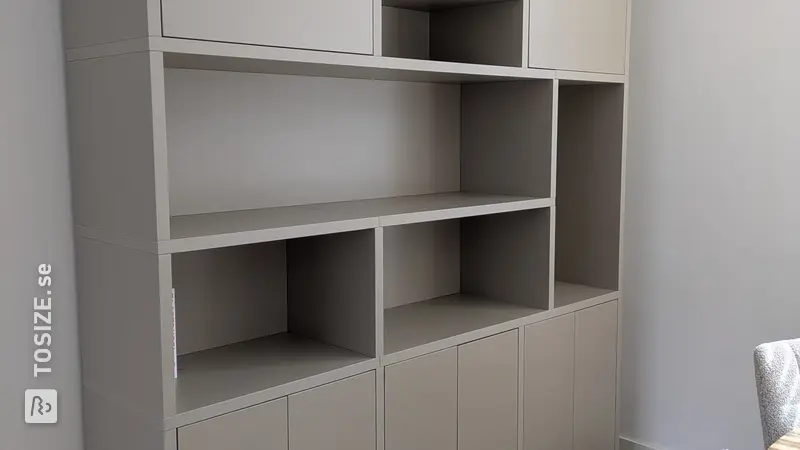
The largest project, the sideboard
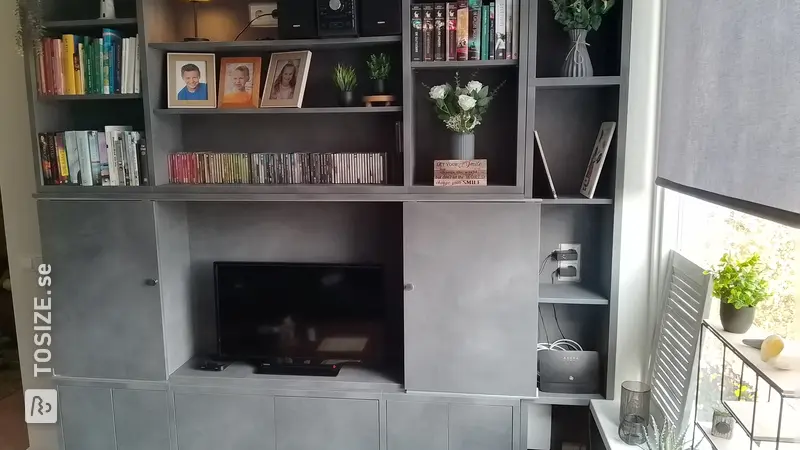
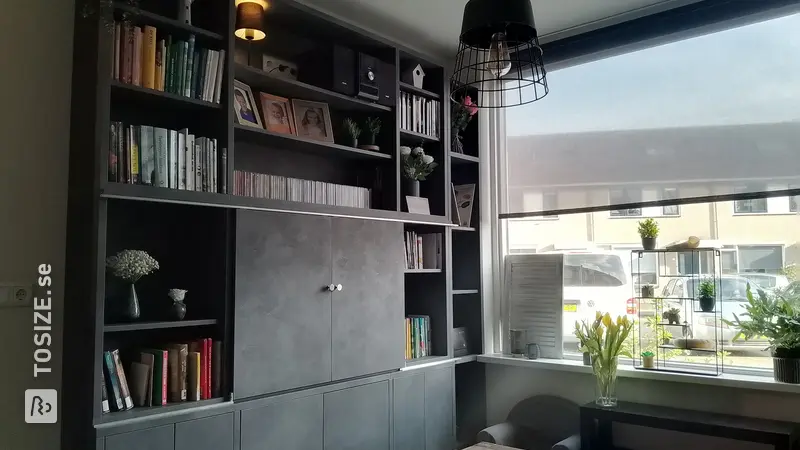
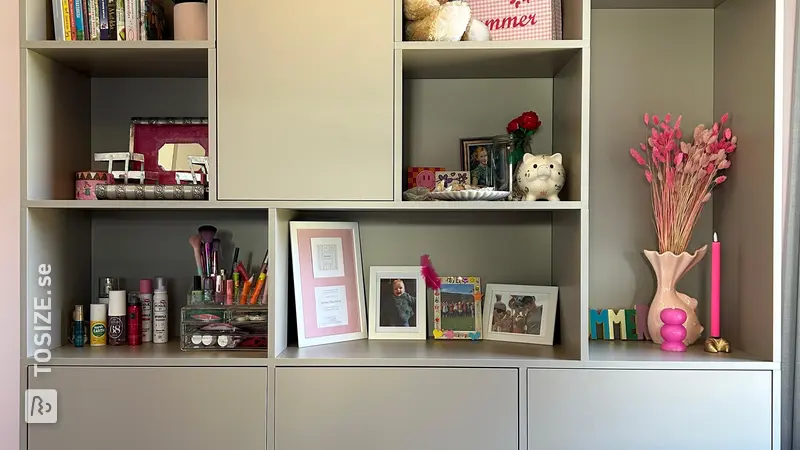
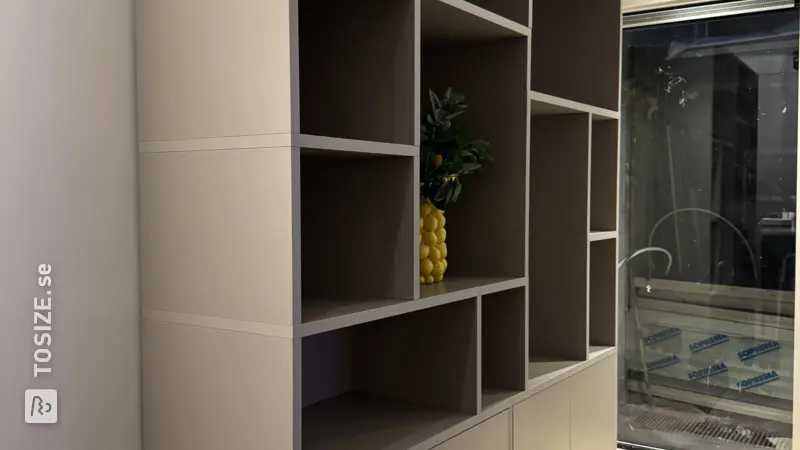
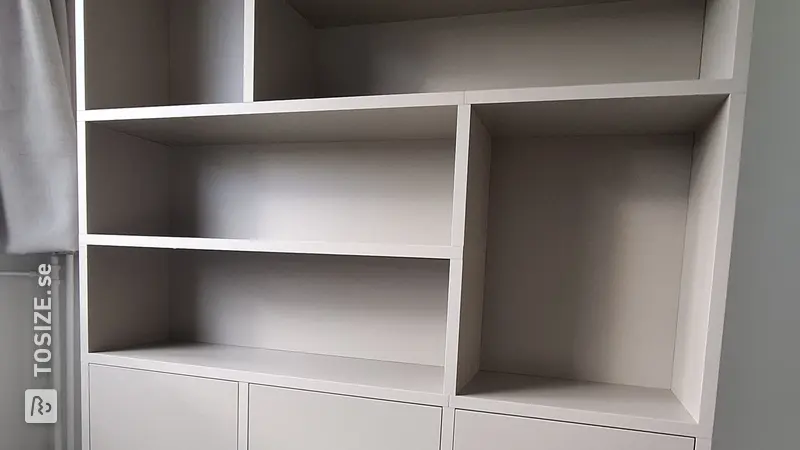
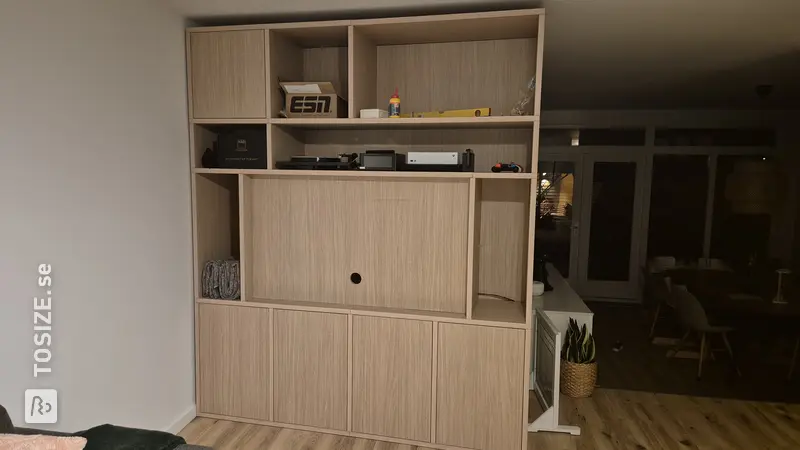
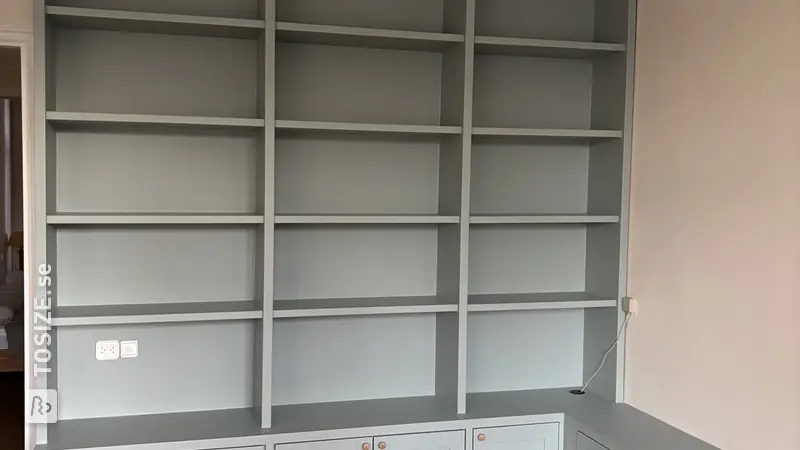
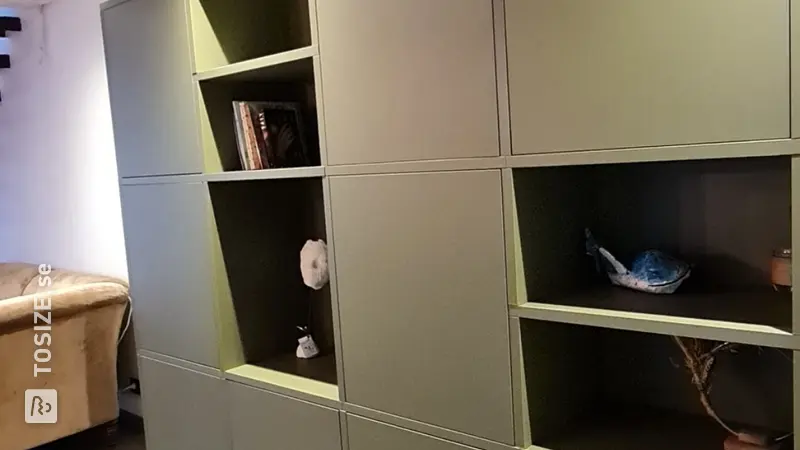
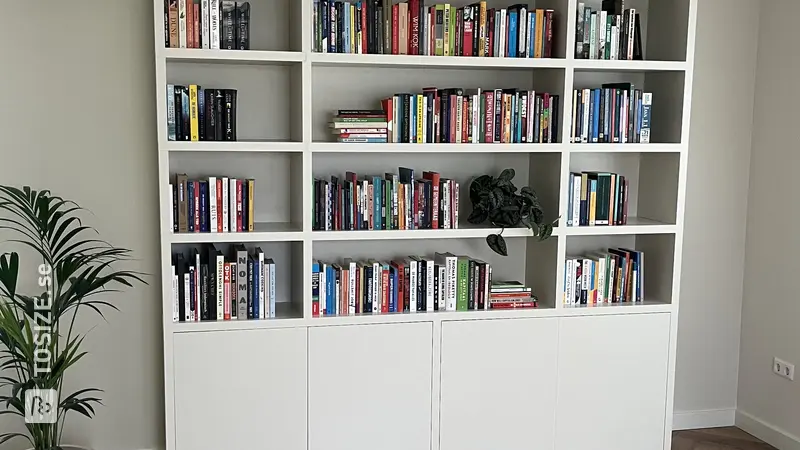
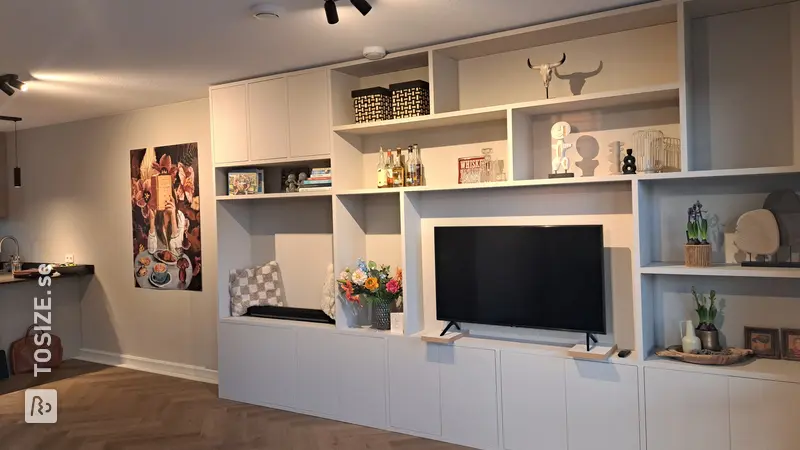
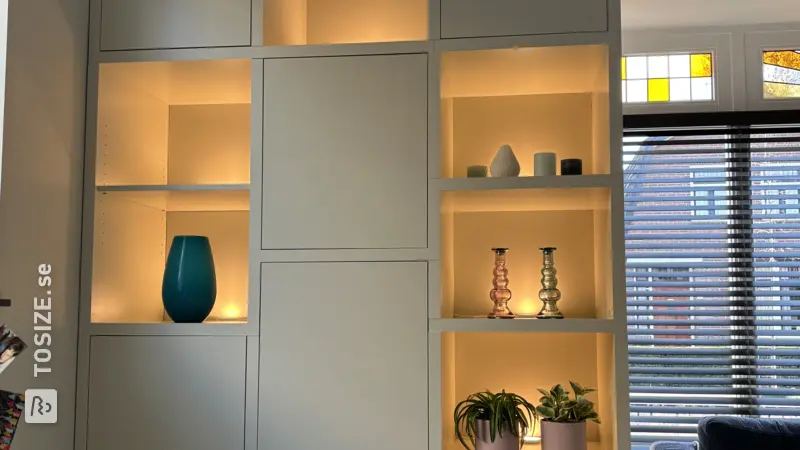
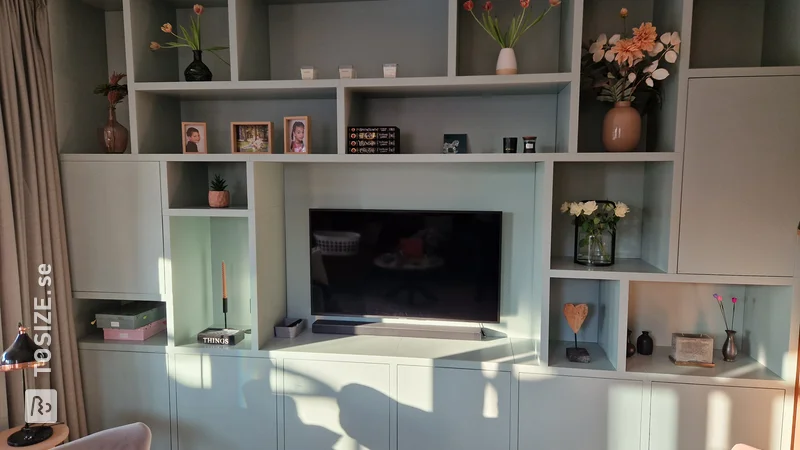
The shelves of this cabinet were somewhat larger than the previous cabinets. This also went smoothly thanks to the clear description and numbering of the parts. We immediately used the socket behind the cupboard by connecting a power strip and an extension cord. This way we can put lighting on the cupboard and take the extension cord from the cupboard when I work from home to connect my laptop. We then completely assembled the cupboard and then we could install the doors. The doors with the pressure system give a sleek look!
Dimensions of my DIY project
The shoe cabinet:
H: 41.0 cm
W: 203, 5 cm
D: 40.0 cm
The low TV sideboard:
H: 46.0 cm
W: 45.0 cm
D : 300.0 cm
Take into account a compartment for the amplifier (W x H x D) in mm 43.4 x 16.7 x 38.9 cm and for the center speaker of (W x H x D ) in mm 51.2 x 15.4 x 21.0 cm.
The sideboard:
H: 220.0 cm
W: 260.0 cm
D: 45.0 cm
This is the same height as the cabinets in the kitchen.
Tip! Also check out our handy DIY tips!
What now?
Do you want to create this DIY project? This piece of furniture is part of our TOSIZE Furniture collection. Design your personalized, custom-made furniture using our 3D configurator! Want more information? Learn more about available colors, assembly, or browse all frequently asked questions. You’ll receive a TOSIZE Furniture package, including an installation kit.
88 023,68 Skr
View all furniture
085 888 29 55
